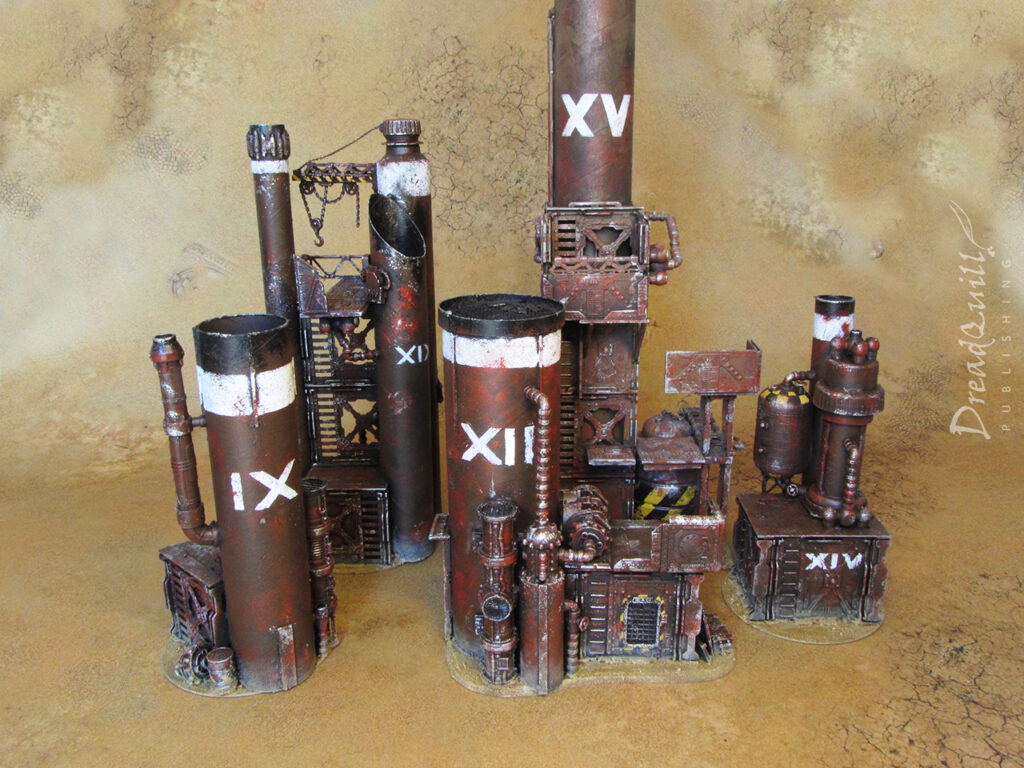
Week 7: They look like us now | Necromunda: Moon of the Mad Magos

This is the seventh and final week of the Moon of the Mad Magos Necromunda campaign being run at Asgard Wargames.

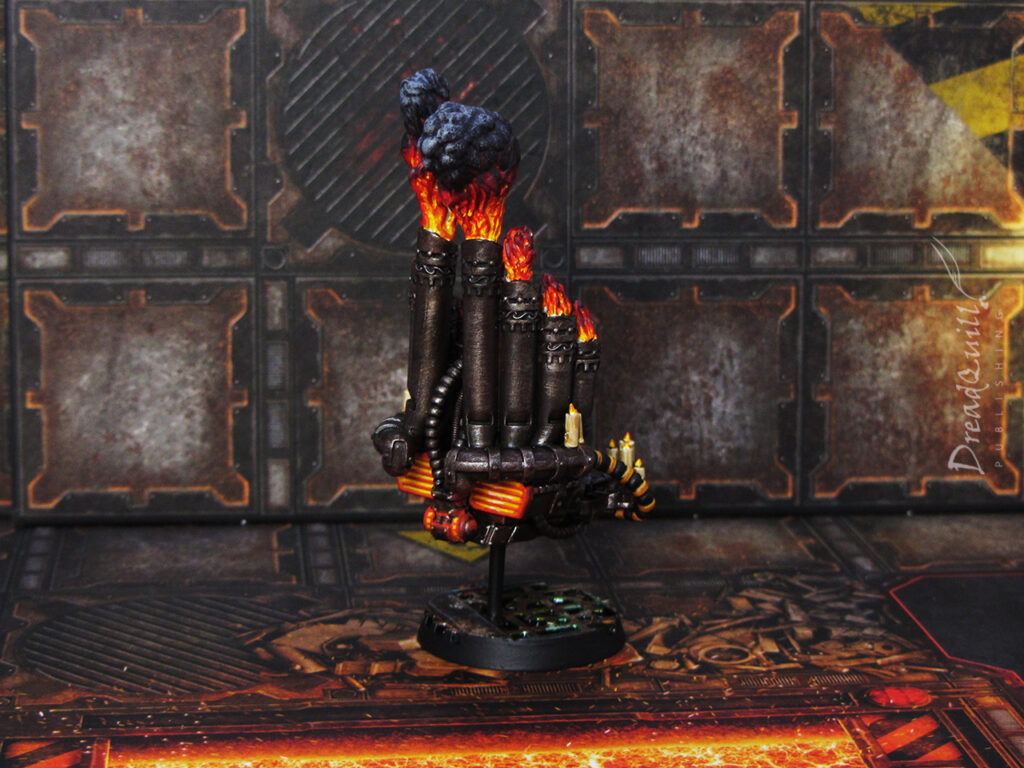
Weekly event: They look like us now

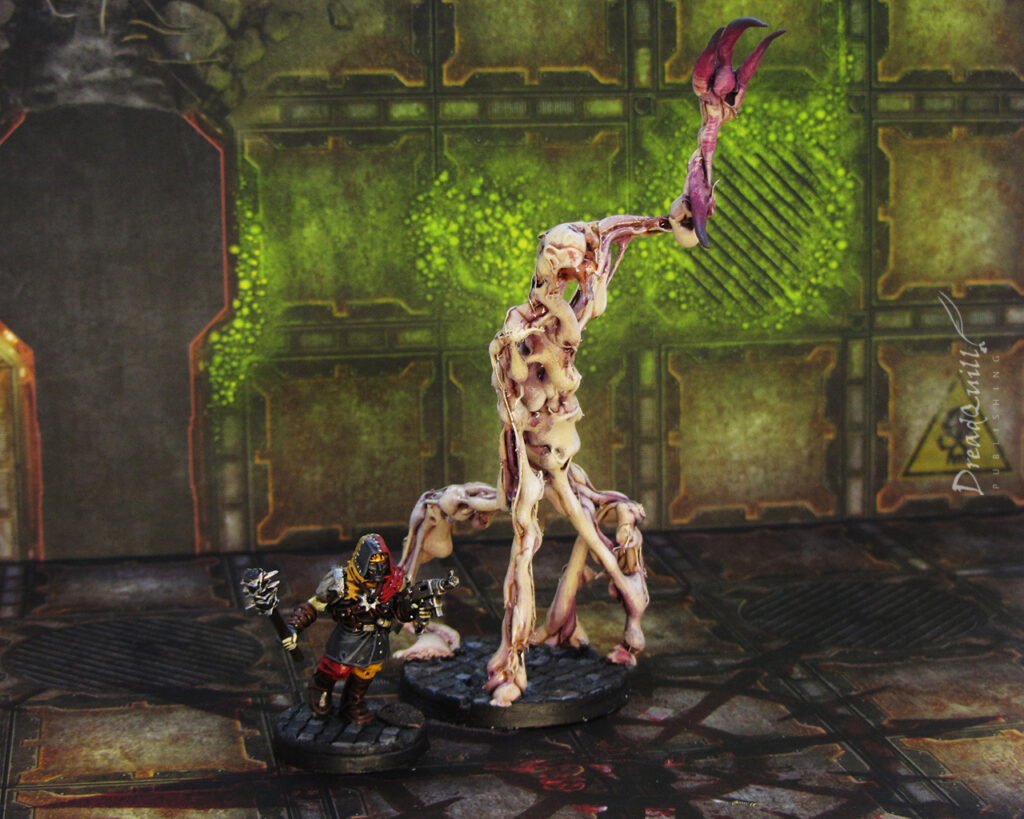
The plan of the mad Magos is revealed. The finest fighters of Helicon have been replaced with gene-hanced replicas of themselves. Perfect Skitarii infiltrators with subdermal implants, lightning reactions, and the memories of all those who have died and been reclaimed by the moon. They can’t be reasoned with, they don’t feel pity, or remorse, or fear. And they absolutely will not stop, ever… until you are dead.

All scenarios contain a Murder Cyborg hidden among the fighters. 

Additionally, the strange devices previously ransacked by gangs turned out to be atmospheric stabilisers. The Badzone effects from the previous week are still in effect. You may permanently eliminate these effects from your settlement by removing a Xenoculum, Archeotech Device or Malefic Artifact from your gang list.

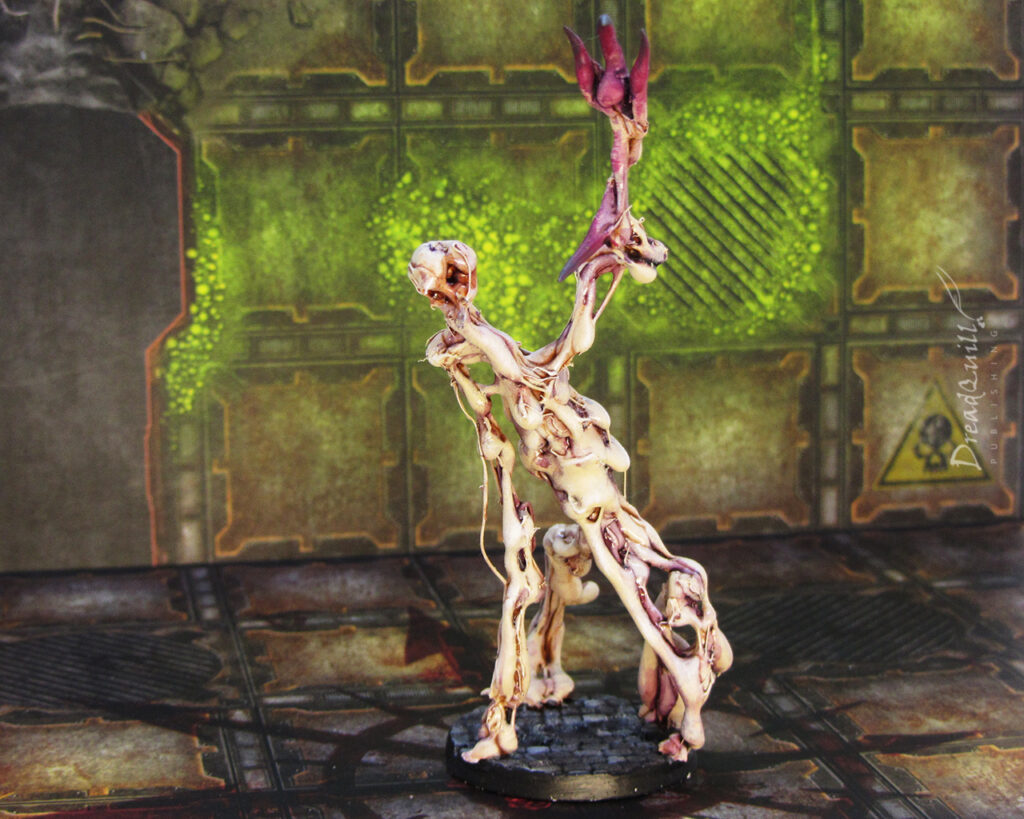
The Murder Cyborg

The Murder Cyborg does not begin on the board – it is revealed part way through the game.

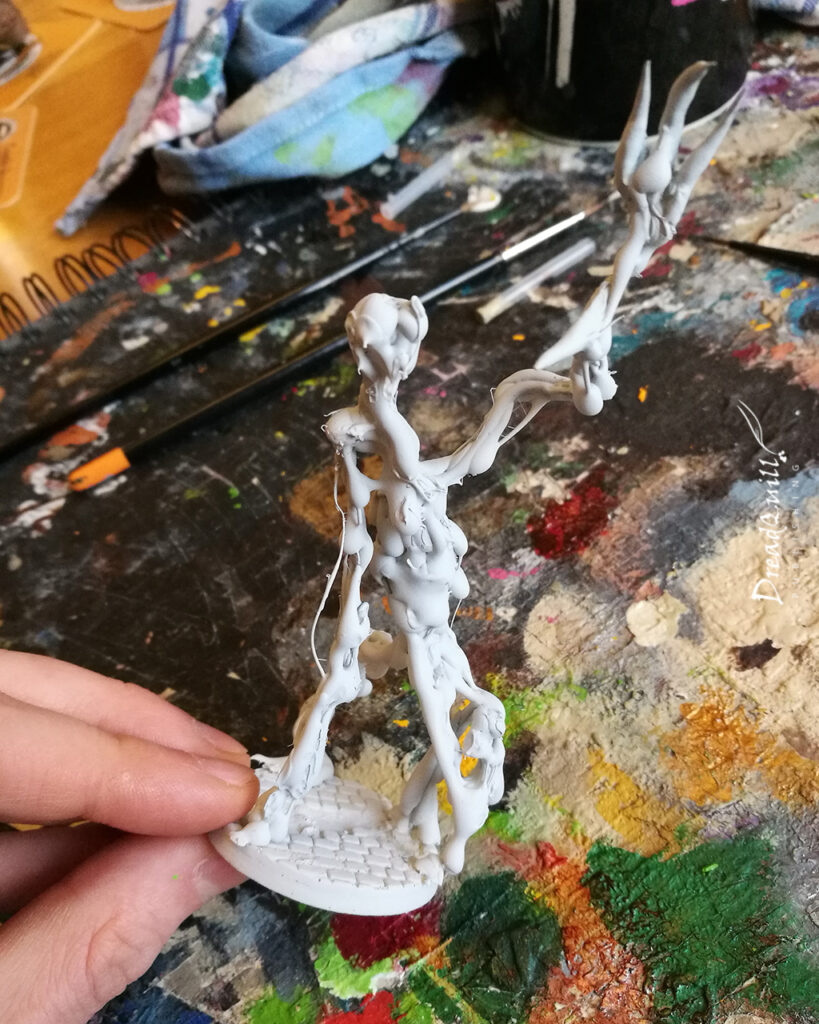
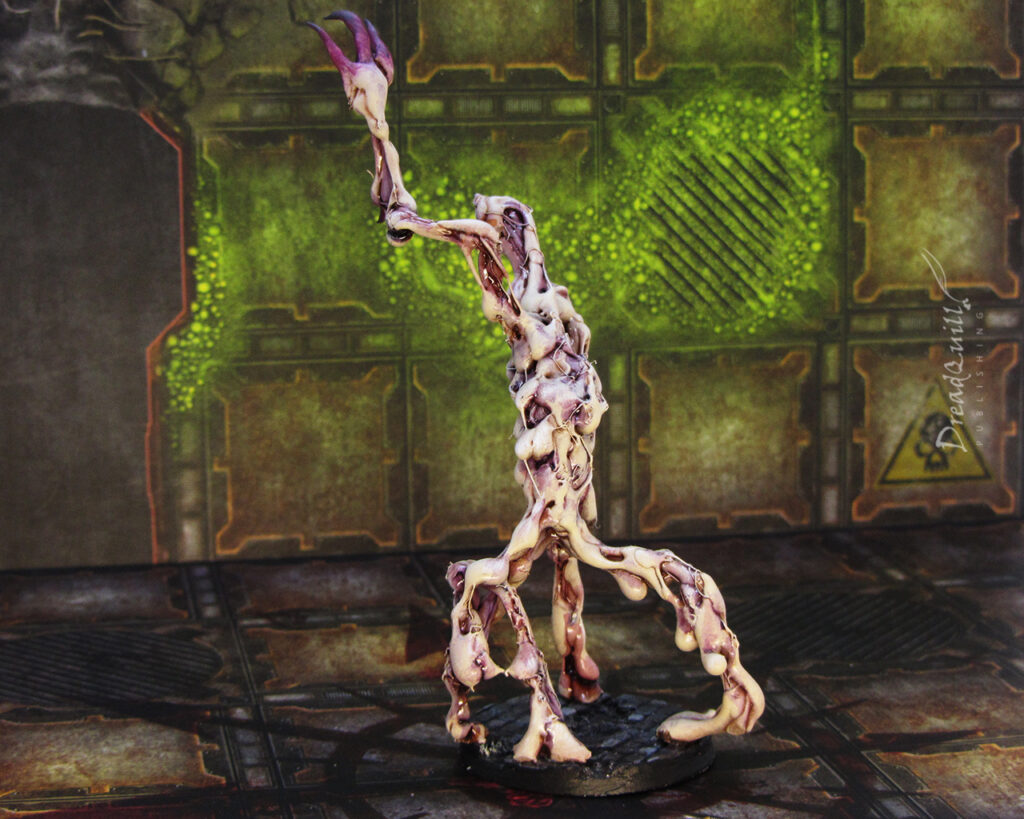
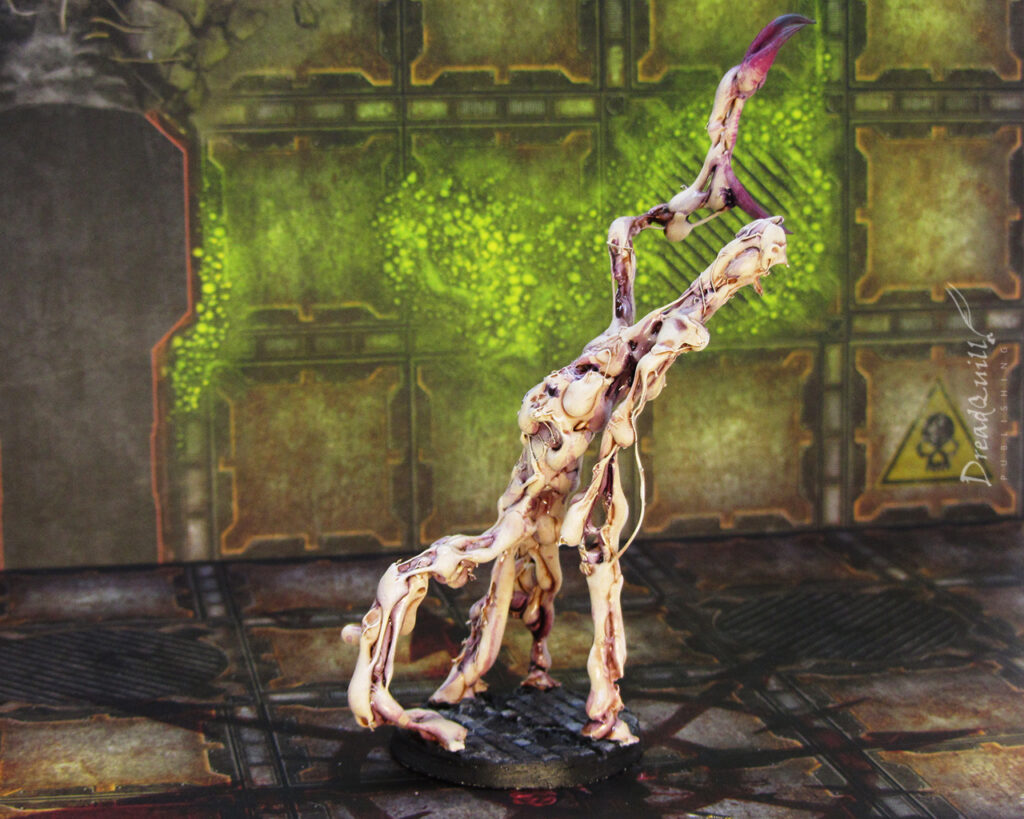
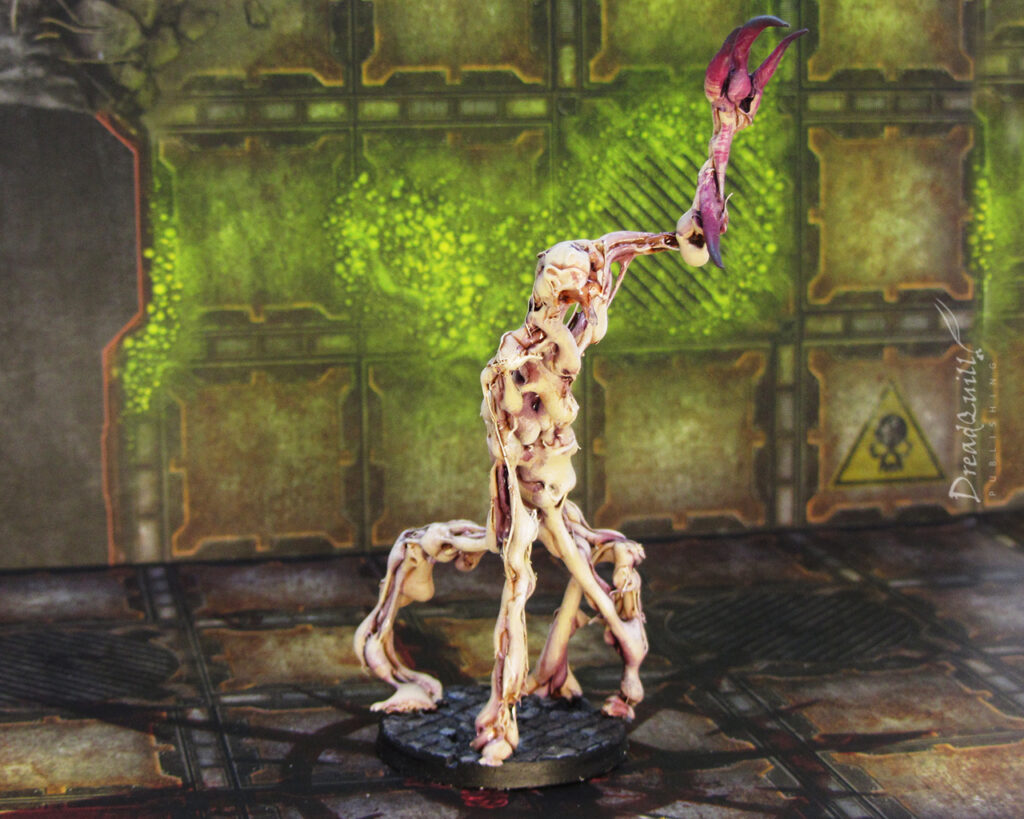
When any fighter suffers a wound, roll a D6. On a 5+, their flesh peels away to reveal they were a Skitarii infiltrator all along! Immediately roll a mission directive for the murder cyborg on the table below.

The Murder Cyborg has its own stats and special rules, but uses the weapons of the fighter it replaced. It is extremely difficult to kill, see Terminating the Cyborg.

For all game rules and effects, the original fighter never participated in the battle.

Mission Directives

1-2 Extermination: If Engaged, the cyborg must make the Fight (Basic) action. If a fighter is visible, it must target them with a ranged attack. If multiple targets are visible, it must divide its attacks as evenly as possible. If no fighters are visible, it must move towards the closest fighter.

3-4 Decapitation: As above, but the cyborg focuses on gang Leaders. It may only attack other targets if they are Engaged with the murder cyborg, or are between it and a gang Leader.

5-6 Self-preservation: Once revealed, the player with Priority picks a battlefield edge furthest from the cyborg as its extraction point. The cyborg must always make at least one Move (Simple) action towards the extraction point, and may use the other action to make a ranged attack at the controlling player’s discretion. If the cyborg ends its activation within 1” of the extraction point, it is removed from play.

Cyborg behaviour

The cyborg is controlled by the gang with Priority, taking an activation as if it were a friendly fighter. It is, however, anything but friendly. It must always follow its mission directives, and is never counted as a friendly fighter.

Terminating the Cyborg

The Murder Cyborg cannot be taken Out of Action by any usual methods – it always treats Out of Action results as Seriously Injured, and is immune to Coup de Grace.

The only way to take the cyborg Out of Action is to reduce it to zero wounds, then cause enough Flesh Wounds to reduce it to zero Toughness. It can then finally be finished off with a Coup de Gras. (This is the only exception to being immune to Coup de Grace)

Pitfalls, such as crevasses or open furnaces, are effective (and appropriate) ways of terminating the cyborg assassin.

Operating system

The cyborg assassin uses the weapons of the fighter it replaced, but has the following statline:

MWSBSSTWIALdClWilInt
4″3+2+4534+38+3+5+8+

Equipment

  • Subdermal implants (4+ armour save)
  • Displacer field (4+ field save, if successful, scatters distance equal to the attacking weapon’s Strength)
  • Photo Goggles (can see through smoke and targets within 12” while in Pitch Black)

Skills

  • Fast Shot: The cyborg treats the Shoot (Basic) action as Shoot (Simple)
  • Iron Jaw: The cyborg gets +2 Toughness when being hit by unarmed close combat attacks

Special rules

  • Cannot be Pinned.
  • Immune to Coup de Grace (unless taken to zero Flesh Wounds), and immune to Flash, Gas and Toxin traits.
  • If subject to Blaze, the cyborg takes the automatic hit as usual, but may otherwise act normally.
  • When rolling for Injury, treats any Out of Action result as Serious Injury.
  • If Seriously Injured it does not roll for Recovery in the end phase. Instead it checks Toughness, recovering and gaining a Flesh Wound if it passes.
  • Once on zero Toughness, the cyborg can no longer recover (but may still take the Crawl and Blind Fire actions) and is no longer immune to the Coup de Grace action.

To the victor, the spoils

Any fighter that inflicts a wound on the murder cyborg gains +1 XP.

The gang that performs the killing blow on the murder cyborg gains +D3 Rep and 3D6x10 credits.

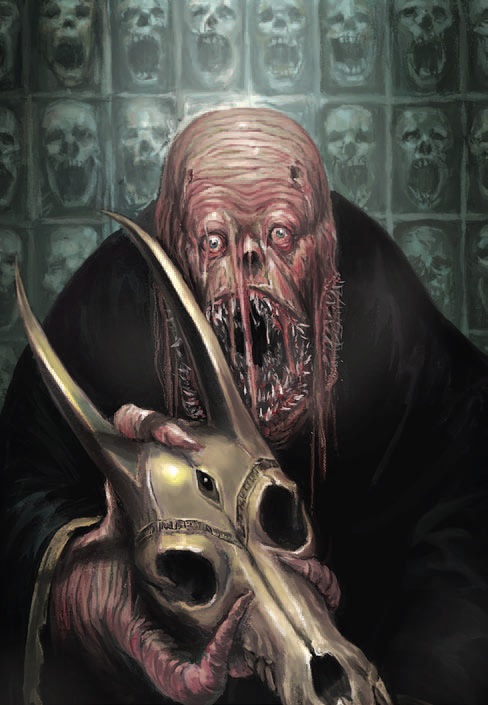
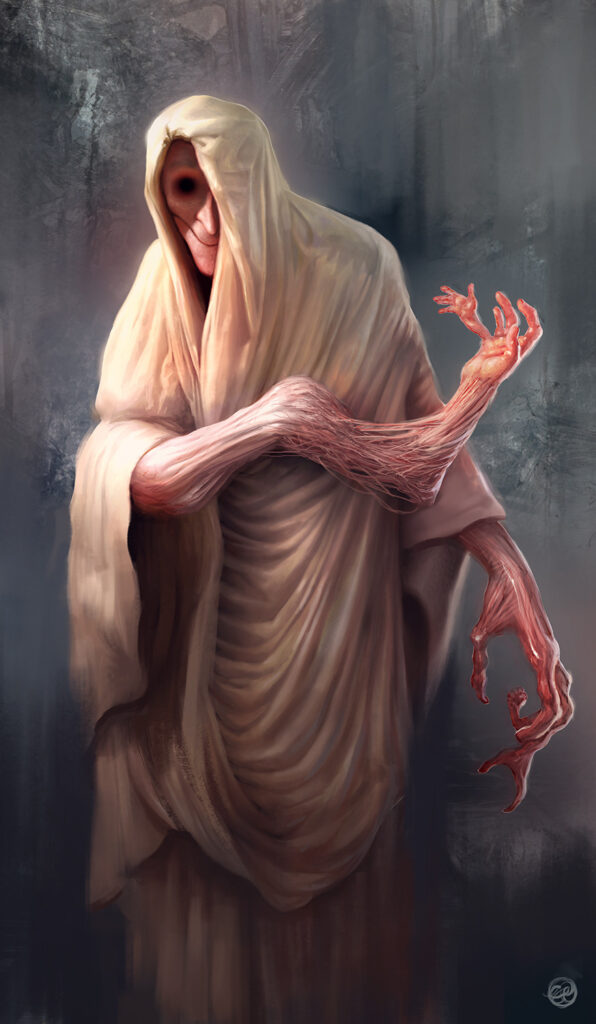
The Mad Magos, illustrated by Annabelle Musketanna

Week 6: No Place Like Home | Necromunda: Moon of the Mad Magos

This is the sixth week of the Moon of the Mad Magos Necromunda campaign being run at Asgard Wargames.

Weekly Event: No Place Like Home

Storm clouds gather overhead. Settlements are plagued by swarms of cyber-flies and sentient oozes, while crushing winds and unpredictable night cycles disguise the moon rebuilding itself into new and terrifying configurations.

All settlements are affected by a permanent Badzone Event. The particular event is determined by checking the scenario’s defender and their settlement starting location. The event affects both defender and attacker.

Settlement LocationBadzone Event
Factorum RunoffSludge jellies
BoneyardsCritter swarm
Ghost TownI’ve got a bad feeling about this
The DepthsLabyrinth
Edge of the HiveHowling Winds

Factorum Runoff: Sludge Jellies

Vile predatory sludges hide within vents, drains and ducts, waiting to envelop and consume the unwary.

Nominate at least six pieces of liquid terrain such as barrels, vents, puddles, or pipes (players can pick two each). If a fighter ends their movement within 1” of these terrain pieces, roll a D6. On a 1, they are attacked by a sludge jelly!

Check Toughness. If failed, the jelly paralyses them and they become Seriously Injured – mark the fighter to show they have been jellied.

  • If a jellied fighter receives assistance during the Recovery phase, they remain Seriously Injured but remove their jelly marker. They may attempt to recover as normal next turn.
  • If a jellied fighter receives no assistance, they automatically go Out of Action. Roll for lasting injuries as normal.

Boneyards: Critter swarm

Swarms of cyber-flies burst from vents and grates, creating a crawling and biting carpet beneath the fighters’ feet.

At the beginning of each End Phase, roll a D6 for every fighter. On a 1 they have been attacked by the critter swarm.

Check Strength. If failed, what happens next depends on their current status:

  • If Standing, they become Pinned.
  • If Pinned, they make an armour save. If failed, they suffer a Flesh Wound.
  • If Seriously Injured, they make an armour save. If failed, they go Out of Action. Roll for lasting injuries as normal.

Ghost town: I’ve got a bad feeling about this

The grind of machinery falls silent and the local wildlife scuttle back to their holes. Even the sound of footsteps on the settlement thoroughfare are silent, as though the moon is holding its breath, waiting for something terrible to happen…

All Nerve checks are at an additional -2 modifier. 

If a Hive Scum, Bounty Hunter, Hanger-On (including Brutes) or Delegation fighter becomes Broken, they flee the battlefield and count as having gone Out of Action. No lasting injury is rolled for them, they are simply removed from play.

The Depths: Labyrinth

The under-moon is a maze at the best of times, but here it seems to have taken on a life of its own. Fighters find themselves easily separated as the walls shift around them.

When a fighter activates, if they cannot draw line of sight to another fighter (friend or foe) they must check Intelligence. If failed, they are lost in the labyrinthine depths.

The opposing player repositions the lost fighter anywhere within 12” of their original location (but not within impassable terrain or within 1” of another fighter).

Edge of the hive: Howling winds

The settlement is blasted with a storm gale. Fighters battle the winds to keep their footing and find their targets.

  • Ranged attacks made at Long Range suffer and additional -1 modifier to hit.
  • Blast markers always scatter an additional D6” (so they scatter 2D6” if they miss).
  • When a Gas weapon is used, roll a D6 before resolving its effects. On a 4+ the gas dissipates in their air and the attack has no effect.
  • When a Smoke weapon is used, roll a D6. On a 4+ the smoke is swept away by the winds and the marker is immediately removed.
  • Fighters who become Prone within 0.5” of an edge must re-roll successful Initiative checks to prevent falling.
Orlock boss, illustrated by Annabelle Musketanna

Week 5: What are they? | Necromunda: Moon of the Mad Magos

This is the fifth week of the Moon of the Mad Magos Necromunda campaign being run at Asgard Wargames.

In addition to the weekly event it also signals the beginning of the Expansion Phase of the campaign, where gangs can actively attack each other’s settlements.

Expansion phase

This phase sees settlements going to war with each other, while also charting the benefits of having now fully-functioning outposts on Helicon. Gangs receive their weekly XP and settlement benefits as usual.

Gangs may now raid each other’s settlements. The Settlement Raid, Market Mayhem, and Stealth Attack scenarios can now be played.

Weekly Event: What are they?

The dead are dug up and settlers go missing in the night. Reports of grotesque things moving in the dark and dragging away bodies of the recently fallen.

After board setup and before deployment, alternate placing 6 tech-scavengers (these use the Necromunda Giant Rat stats, Book of Peril or p750). 

At the beginning of the End Phase they charge any fighter within 8”, otherwise they move 2d6” in a random direction, ignoring impassible terrain (they scamper, burrow, and use hidden tunnels to move about unhindered). 

If a fighter goes Out of Action, the owning player places a tech-scavenger anywhere within 6” of where the fighter when Out of Action. 

You get no XP for taking out tech-scavengers, but gang that kills the most tech-scavengers during the scenario gets +D6 Salvage. In the event of a tie, nobody gets anything.

Tech-Scavenger

MWSBSSTWIALdClWpInt
2d6″4+3313+110+8+10+9+

Chittering Jaws: Strength 3, Damage 1, Backstab (+1 Strength and -1AP if attacking from rear arc)

Small target: Ranged attacks suffer an additional -1 to hit, and Tech Scavengers can never be hit by Stray Shots.

Nimble: 4+ armour save that can never be modified

Week 4: Downtime | Necromunda: Moon of the Mad Magos

This is the fourth week of the Moon of the Mad Magos Necromunda campaign being run at Asgard Wargames.

Downtime

A brief respite. Machines grind to a halt, and the ground ticks like cooling metal.

No normal games can be played this week. At the beginning of Downtime, every gang completes the following sequence:

  1. Weekly rewards: All fighters get their +1 weekly XP as normal, and your Settlements generate their usual weekly benefits.
  2. Recover fighters. All fighters currently in Recovery are automatically cleared for return.
  3. Captives are returned. All captive fighters are automatically returned to their gangs, while their former captors receive half their value in credits (rounding up to the nearest 5).
  4. Promotion. Any Juve or Prospect with five or more Advancements is automatically promoted to Champion. Change their fighter type accordingly
  5. Recruitment. All gangs get 250 credits to spend on new fighters and/or Hangers On. Any credits not spent immediately are lost. Gangs may supplement with credits from their stash.
  6. Maintenance. Gangs may remove up to three Structures in their settlement, gaining half their value in Materials back. The gang may then build three new Structures. Note that any Structure that is a prerequisite to another they already own cannot be scrapped.
Training Day – 7pm Wednesday 1st March

The gangs uncover a strange Skitarii training facility, primed and ready to accept new recruits. Their best understanding of the lingua-technica instructions is that the facility will elevate worthy recruits with Alpha-level knowledge of all recruits gone before – but how does it work? And at what cost?

A multiplayer battle taking place across two boards simultaneously, and only the lowliest of recruits are accepted into the facility.

Up to three of your cheapest fighters can take part, and they will be stripped of their equipment to battle it out across the training facility, last Juve standing.

The winner receives the wisdom of the ancients – a knowledge inload of all Skitarii recruits gone before – an immediate and free promotion to Champion.

Week 3: No Guts, No Glory | Necromunda: Moon of the Mad Magos

This is the third weekly event for the Moon of the Mad Magos Necromunda campaign being run at Asgard Wargames.

No Guts, No Glory

Glittering domes blister the surface of Helicon, bursting with impossible things. Frozen jungles, abandoned cities, sleeping manufactorum, all ripe for plunder… if you can survive them.

If both players agree, you may play your scenario in a Badzone Environment. If you do, the winner also receives a strange piece of technology in addition to any other scenario rewards:

  • Ancient Manufactorum environment – Archeotech Device (Personal Equipment – Trading Post)
  • Dome jungle environment – Xenoculum (Personal Equipment – Black Market)
  • Unstable dome environment – Malefic artifact (Personal Equipment – Black Market)

Ancient Manufactorum

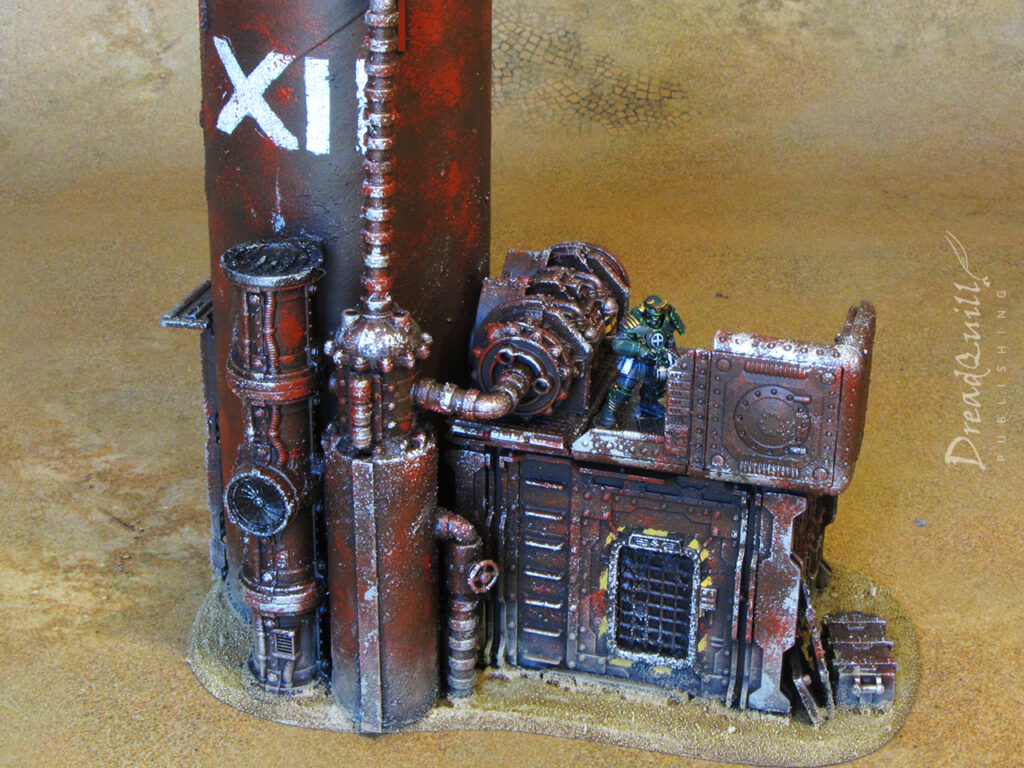
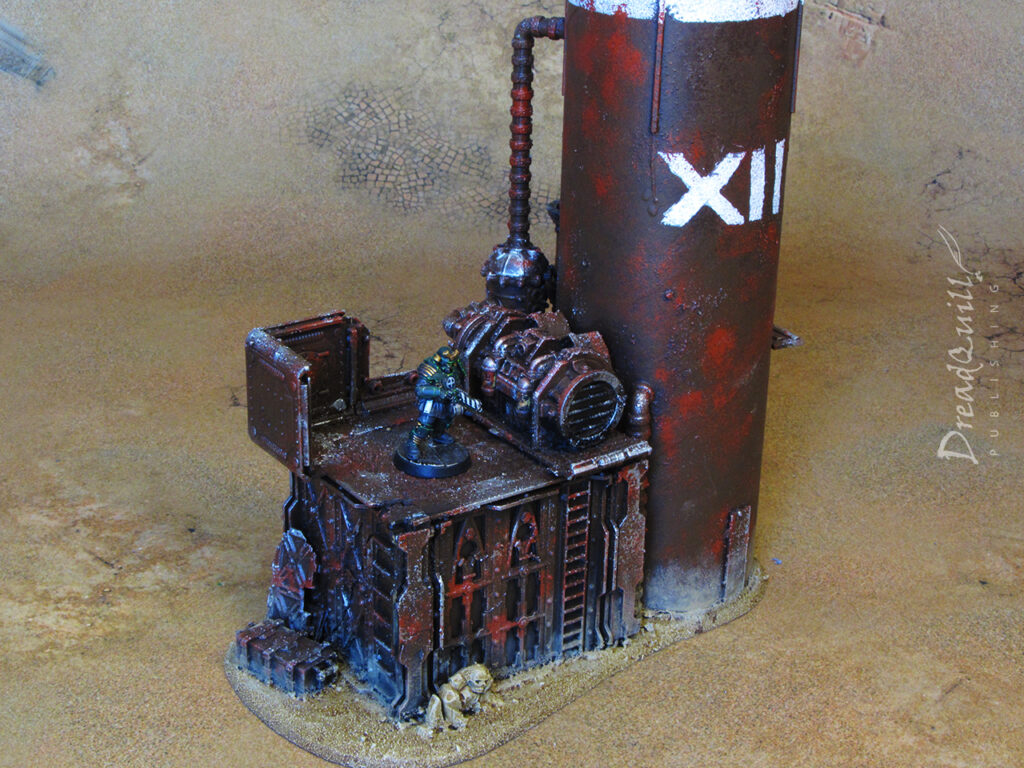
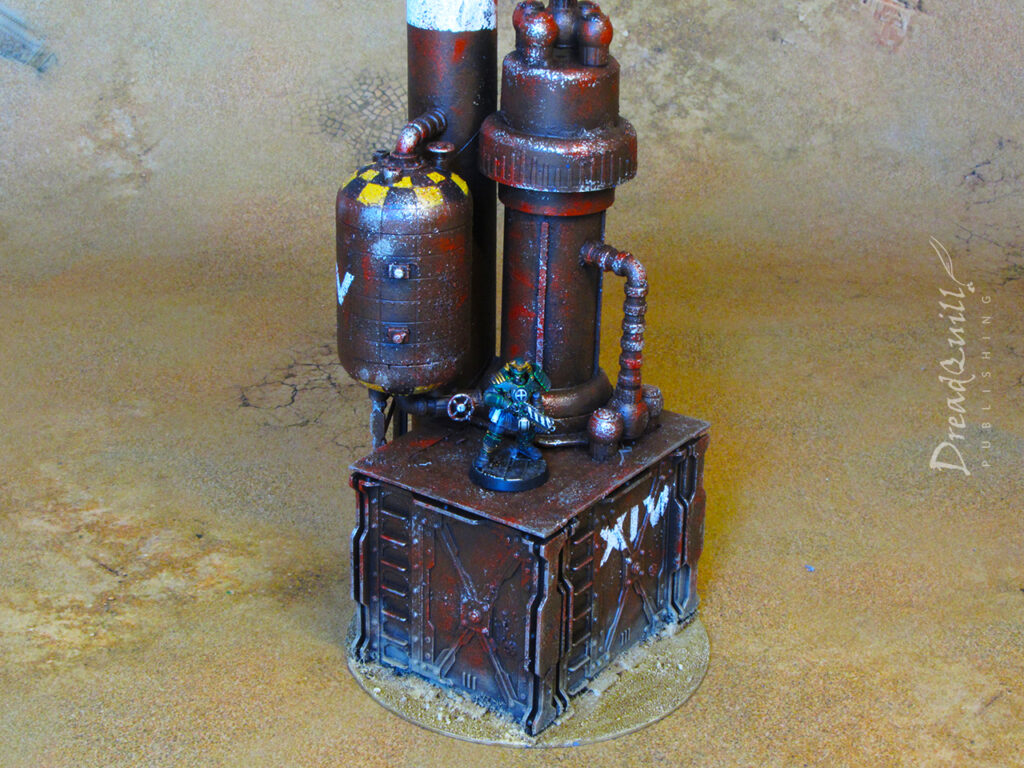
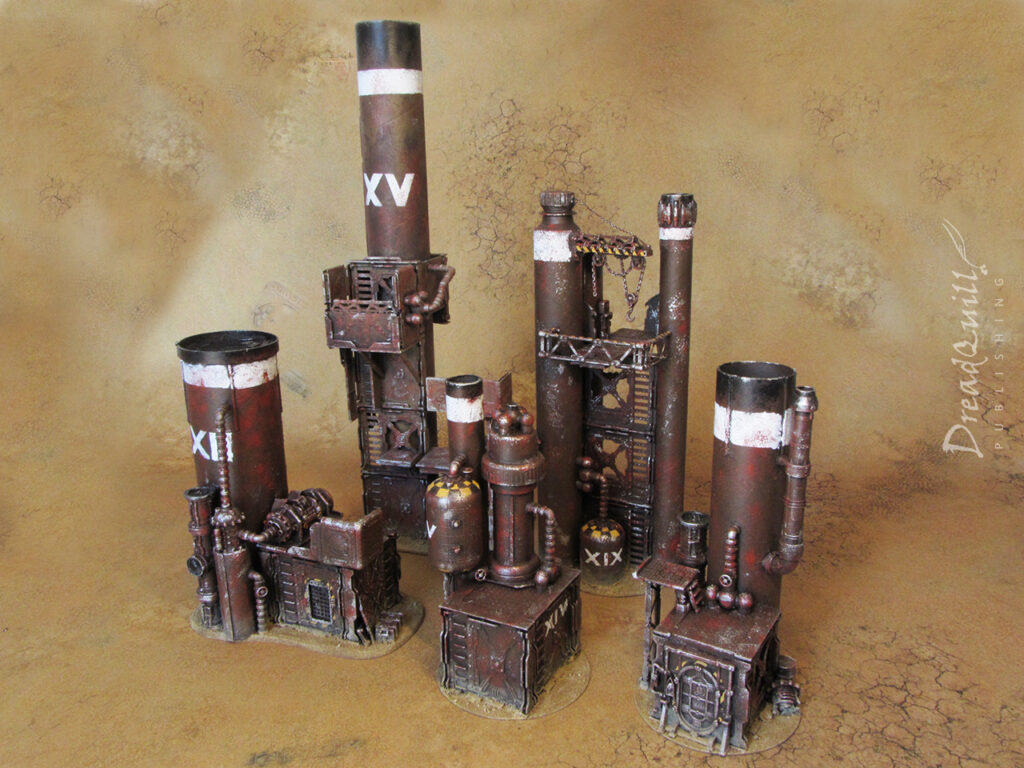
  • Try to include at least six pieces of Industrial Terrain (Book of Peril) on the battlefield, such as Smoke Stacks from the previous week.
  • Effects from Industrial Terrain activate on 4+ rather than 6+.
  • After the battle, gangs get an extra D6x10 credits.

Dome Jungle

  • Try to include at least six areas of carnivorous plants (Book of Peril) on the battlefield.
  • Carnivorous plants gain +1 Strength and increase their attack range by 3″.
  • Ranged attacks suffer an additional -1 at long range due to thick foliage and drifting spores.

Unstable Dome

  • During the battle, roll a D6 whenever a blast marker is placed. On a 5+, place a second same-sized blast marker in contact with the first, at a point determined by the scatter dice. Resolve the attack’s effects against fighters under both blast markers.
  • During the battle, fighters who become prone on a raised platform or terrain must check initiative to see whether they fall, even if not near a ledge.
  • Any terrain with Toughness or Wounds (like Doors or Gunk Tank) reduce those characteristics by 2, to a minimum of 1.

Week 2: Smoke and Glimmers | Necromunda: Moon of the Mad Magos

This is the second weekly event for the Moon of the Mad Magos Necromunda campaign being run at Asgard Wargames.

Smoke and glimmers

Ancient machines begin to wake deep beneath the surface. Slumbering mountains become exhausts, belching their fumes into the sky and revealing strange treasures in the rubble.

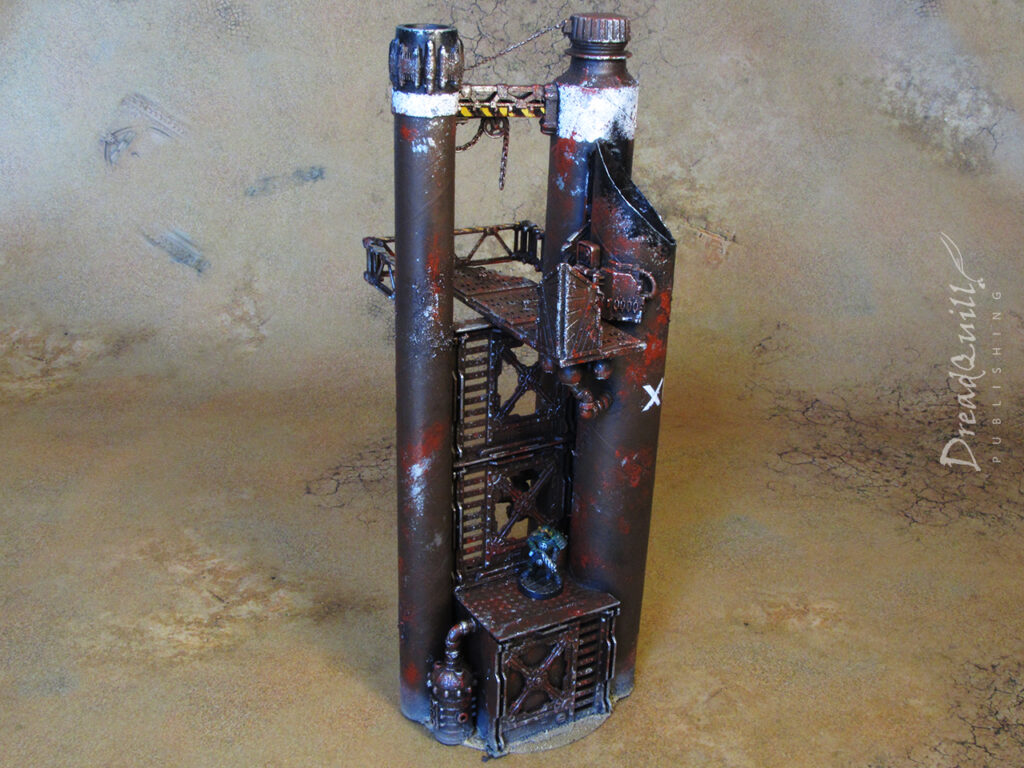
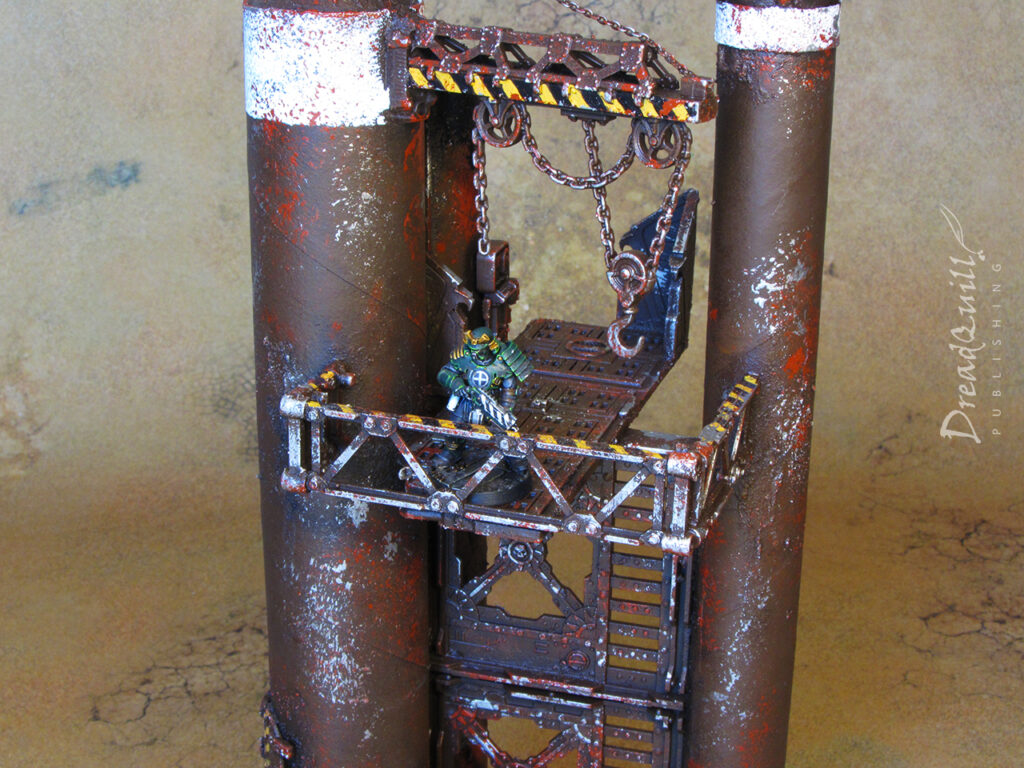
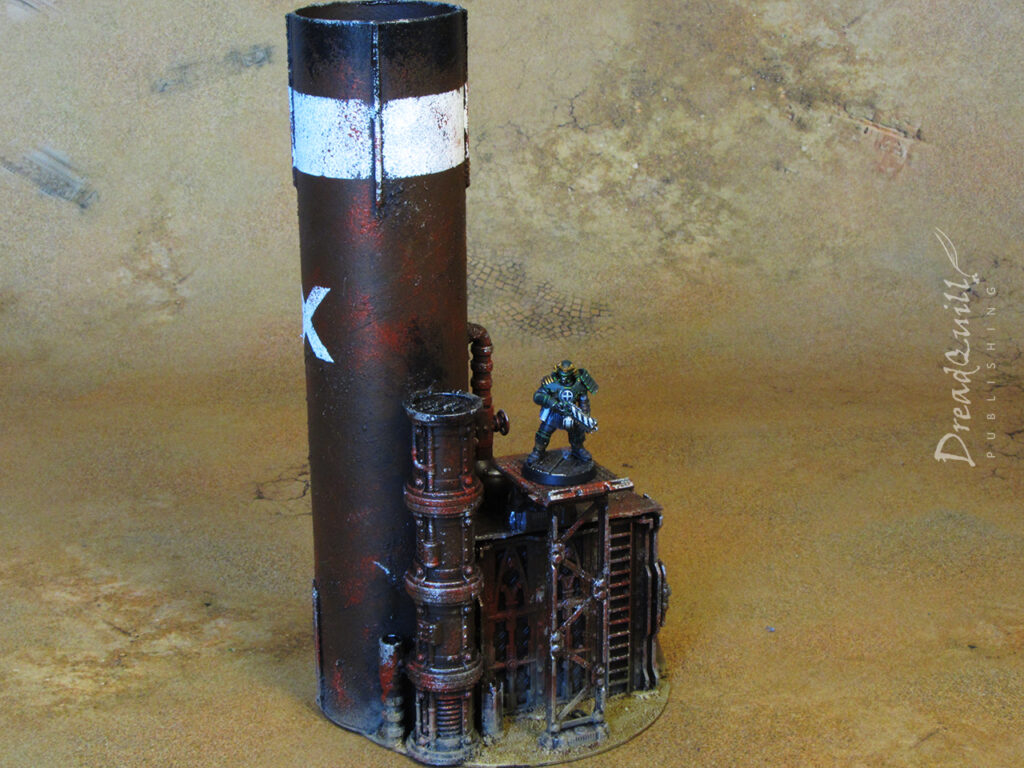
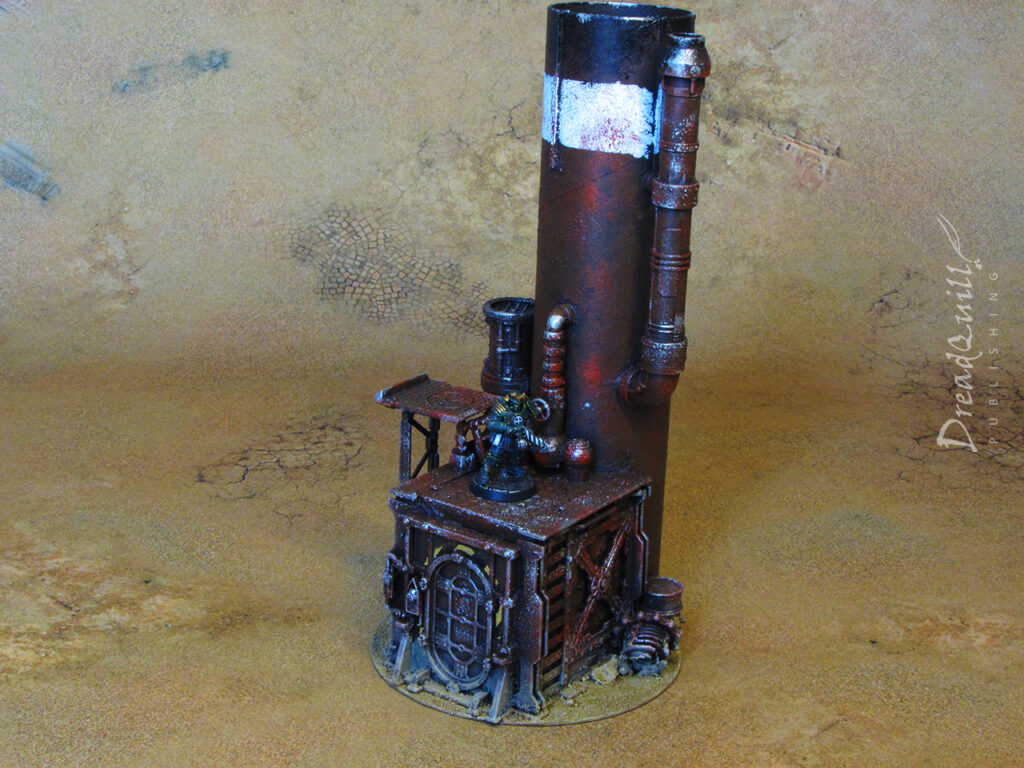
Each scenario must also include D3 Smokestacks and replace the normal 2 Loot Caskets with Treasure Caskets. (Industrial Terrain – Book of Peril, or compiled rulebook p58)

Smokestacks

In the End Phase, roll a D6 for each Smokestack on the table. On a 6 it becomes Active for the next round. It deactivates in the following End Phase unless another 6 is rolled for it. 

Active smokestacks have the following rules:

  • The thick smoke and fumes block line of sight like a smoke grenade in a 6” area around the smokestack.
  • Any fighter in this 6” area treats the Move (Simple) action as Move (Basic), meaning they can’t double move through the foul air. They can ignore this rule if equipped with a respirator.
  • The fumes are highly flammable. Any weapons with the Blaze trait targeting fighters within the 6” area get +1 Strength.
Treasure Caskets

Each scenario usually has two Loot Caskets set up as part of terrain deployment. Replace these with Treasure Caskets. If a scenario has additional Loot Caskets as part of the objective (ie Forgotten Riches), these are Loot Caskets are normal.

Treasure Caskets may either be opened with a Bypass Lock (Basic) or a Smash Open Lock (Basic) action.

  • Bypass Lock (Basic): Make an Intelligence check to open the casket
  • Smash Open Lock (Basic): Roll a D6 and add Strength. On a 6+ you open the casket, but reduce the D6 result roll by 1 to a minimum of 1.

Any fighter who opens the lock rolls a D6 on the table below:

1-2: Click! The casket is fitted with a fiendishly clever needle-trap instead of treasure. Immediately roll an Injury Dice and apply it to the fighter.

3-4: Fancy Threads: The fighter gains the Uphive Raiments status item from the Trading Post.

5-6: A Noble’s Ransom: The fighter gains one item from the Personal Equipment section of the Trading Post, chosen by the controlling player.

Don’t forget

All fighters get +1 weekly XP (it was +2 XP last week for the double xp weekly event. It’s returned to normal now).

Your Settlement generates more resources, which means even if you haven’t built anything yet, your Isotropic Fuel Rod and Water Still will give you an extra +10 Power and +10 Sustenance.

DEVELOPMENT PHASE

The first half of an Outlanders campaign is the Development phase, focused on gathering Power, Sustenance and Salvage to build structures for your Settlement.

All scenarios that have Materials (Power, Sustenance and Salvage) provide twice the normal amount.

Gangs can’t raid each others’ Settlements during this phase. The Settlement Raid, Market Mayhem and Stealth Attack Outlanders scenarios may not be played.

Week 1: One Small Step | Necromunda: Moon of the Mad Magos

This is the first weekly event for the Moon of the Mad Magos Necromunda campaign being run at Asgard Wargames.

One small step

The void is no place for hivers – the terrifying expanse that stretches in every direction, the howling nothingness, no roof over your heads but the one you make. Our gangers will have to learn quickly if they want to survive.

All experience gains are doubled. This includes scenario rewards and weekly XP gain, as well as usual XP gains.

  • Directly taking an enemy Leader or Champion out of action by any means: +4 XP (usually +2)
  • Directly taking any other kind of enemy fighter out of action by any means: +2 XP (usually +1)
  • Successfully rallying after being Broken: +2 XP (usually +1)
  • Campaign House Rule: +2 XP per fighter per week (usually +1)
Development phase

The first half of an Outlanders campaign is the Development phase, focused on gathering Power, Sustenance and Salvage to build structures for your Settlement.

All scenarios that have Materials (Power, Sustenance and Salvage) provide twice the normal amount.

Gangs can’t raid each others’ Settlements during this phase. The Settlement Raid, Market Mayhem and Stealth Attack Outlanders scenarios may not be played.

MOTB: Necromunda Ghast deposits

Finished product first!

As part of a misguided attempt to build every kind of scenario objective or narrative prop mentioned in every Necromunda scenario (which at time of writing is about a hundred), this time I turned my hand to one of my favourite scenarios, Ghast Harvest.

Previously known as Spook, Ghast is a combat drug that has existed in 40k lore since the olden times. It varies mechanically in each system, but it always performs the same function. Anyone who huffs it gets a temporary psychic power – anything from shooting lightning from your eyes, to warp strength or time travel – but doesn’t make them any good at it. Good clean chaotic fun.

Ghast Harvest is a scenario where rival gangs race to hoover up loopy juice from deposits scattered across the map. Ghast is incredibly rare and expensive, so the objective is to gather as much as you can without snorting it. Unfortunately some gangers miss the memo and rail huge lines of the stuff straight from the source, the match swiftly devolving into a coked-up fireball slinging contest. This is, without fail, always funny.

The brief

The scenario requires four tokens representing ghast deposits, and suggests using an obstactle-sized piece of terrain to be more thematic. There is basically no guidance on what ghast looks like in its natural habitat and I’ve seen some fantastic conversions using weird mushrooms or gangly radioactive trees made of hot melt glue.

I didn’t want to recreate things I already found on google so I had a dig around my bits box for something that looked really alien and cobbled something together.

Street urchin

I’d been dragging around some old tropical beach detritus since the 90s, some of which had gone into making some weird asteroid fields, and others had been sat in a box gathering dust.

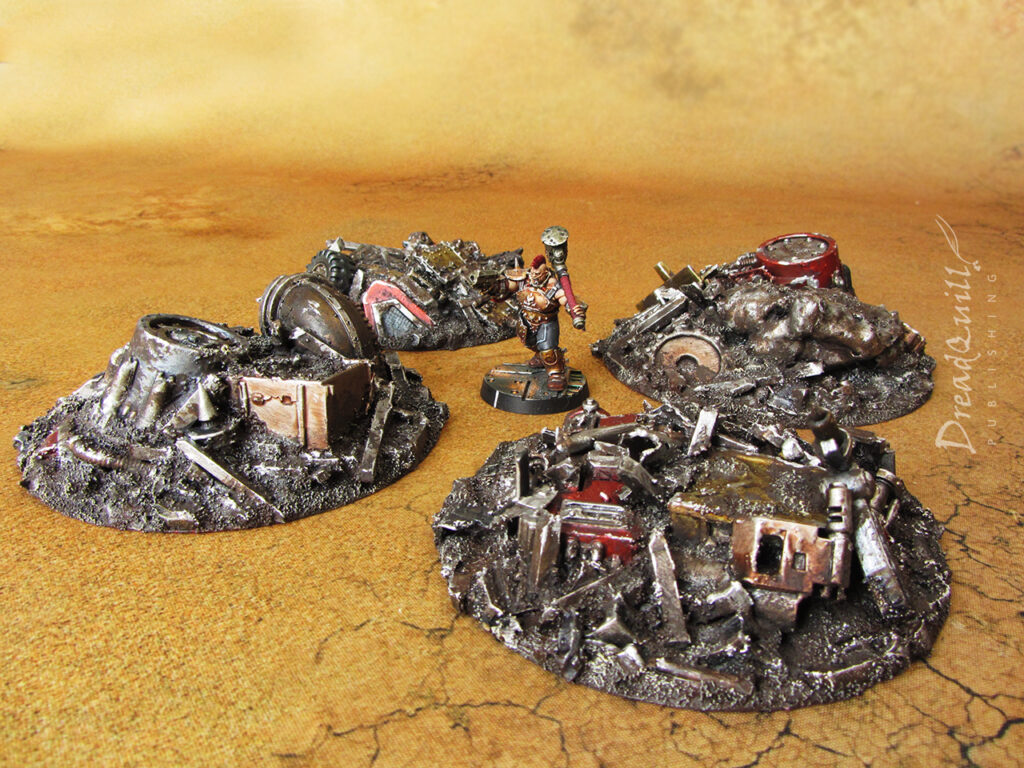
These were sea urchin shells, washed and dried out, then packed with tin foil for structural integrity. I arranged them around some spare pipes and industrial bits to look like they’d been feasting and growing on whatever horrid waste had accumulated there. A bit of crumbled cork placemat for rubble helped blend the larger shapes together.

I also wanted some smaller structures, like they’d been spawning or growing more, but had no idea how to recreate the unique exterior texture.

The end plan was to make lots of little balls of green stuff and texture them with the urchin shells themselves. I had a few broken bits I didn’t have a purpose for, so after letting the balls cure for about half an hour, gently rolled them along the inside in different ways until I got a desired pattern.

I pushed the top of each ball into the exterior of the shell to finish the look, and ending up with something like the facehugger eggs from alien. A perfect look!

Eggshell blue

Once dried, everything got an undercoat of black, then brown. I masked off all the non-pipe areas with masking tape, then gave it a quick blast of grey. I had a colour scheme in mind for the industrial parts, but deciding on how to do the ghast orbs was a real head-scratcher.

I wanted an interior glow to clearly signpost it as something dangerous, and they could also then double up as other hazardous or explosive terrain as future games might require. My initial experiments with bone, green and yellow colours weren’t particularly gripping, but the minty-blue scheme really stuck with me.

It was using Nihilakh Oxide, a technical paint for representing oxidisation on copper and the like. It’s very watery (so not usually suitable for painting block colours with) but over the porous, rugged exteriors of the urchin shells it worked wonders. On with the painting!

Ghastly glow-up

The industrial sections were painted using a technique I’ve used on other projects, the deposits drybrushed various shades of blue, and anything in between was just a block colour with a wash over the top.

For industrial parts, the whole thing is primed grey and attacked with Agrax Earthshade, concentrating on pin washing panels and giving depth to textured areas. Watered down orange paint is applied in select areas to look like water damage from above. Finally, dark brown paint is sponged onto some extreme edges to look like chipped paint.

The deposits and glow effects were painted with layers of drybrushing. The deposits were painted in light colours first (Nihilakh Oxide), then drybrushed with darker shades of blue. The very tips of the ‘spines’ near the top of the deposits were very lightly drybrushed black to create that last bit of depth.

The glow effects were painted the opposite way round – the darkest blue was drybrushed on first, followed by successively lighter drybrushes leading back to the source of the light.

The bases were made from offcuts of MDF cut roughly into shape and bevelled with a sharp craft knife. They got two coats of black around the rim to seal them and tidy up the whole piece. And with that, they were finished!

Overall I’m extremely happy with how they came out. They were assembled from scraps from the bits box and uses some very unique pieces I’ve had for longer than I can remember.

With their eerie blue glow, they absolutely stand out on the battlefield and can’t be mistaken for anything except danger. They’ll be perfect as ghast deposits, dangerous flora, or any other scenario that needs some horrible glowy orbs. Roll on the next project!

MOTB: Forklift and flatbed truck

Finished product first!

Eagle-eyed viewers noticed a narratively-important piece of getaway scenery in last week’s Inquisitor battle report, and here it is in its full glory!

These are MDF kits from the australian company MiniatureScenery.com, which aside from having an awful name to try and remember, has the best MDF vehicle kits on the market.

The two I picked up are the Heavy Industrial Forklift and Humpt1 Mk2 flatbed truck, although I’ve just noticed they now do a Humpt1 Hauler

I picked these because a) they looked really cool and b) they looked completely scale-agnostic. I play lots of Necromunda and Inquisitor, both separate scales, and it’s difficult to maintain separate terrain collections for them. Vehicles are particularly tricky, so when I can find something that looks convincing enough at either size, it’s a must-have.

Assembly

It unsurprisingly took a while to arrive, what with the company being the other side of the world and my silly little island deciding to make all imports harder so we can have a different coloured passport.

I was impressed at how compact the sprues were – the forklift was just over a sheet of A4. I consider myself an experienced builder, and combined with the impressive design and layout of most model kits these days, makes it straightforward to figure out what goes where. This was the first kit in a long, long time I had to knuckle down and follow the instructions step by step.

These were complex. Not difficult to follow mind, just lots of parts that I couldn’t spatially process how they’d go together.

For example, the truck wheels were each assembled from four different pieces, each slightly offset from each other to produce the wheel tread. Of course muggins here didn’t read the instructions and didn’t realise some of the wheels are oriented differently because of the front suspension arm doohickey and had to prise them back apart.

Ultimately though, these were lovely kits to build, and really showing off how versatile MDF can be as a hobby material.

The instructions did say where to pause construction and paint the interior, but sub-assemblies are for cowards and I pressed on.

There was no need to add extra details, so after a healthy dollop of textured paint it was time to hit the rattlecans.

Flat colours

As is now tradition for MDF pieces, I gave them both two coats of black undercoat to start with. MDF is a thirsty, thirsty boy, and saturating it with a (cheaper) undercoat helps the other paints go on easier, and makes washes go further rather than just soaking straight into the wood.

After black, I tend to give a zenithal highlight before painting. The forklift had a simple grey highlight, while the truck took a blast of Venetian Tan by TTcombat, which comes out much more yellow than it appears in pictures. I always intended the truck to be yellow and figured that would be a better starting point.

Both vehicles were painted with a similar technique, just different colours used. First, the entire chassis gets overbrushed with a lighter colour – Averland Sunset for the truck, Horus Green for the forklift

Tyes, tracks and flatbed get picked out with Eshin Grey, metallic parts get Warplock Bronze. Other base colours are layered on to pick out details, like lights or fuel pods.

Everything except the chassis gets a heavy wash of Agrax Earthshade, while the chassis of the truck got a little watered down orange applied to recesses.

The chassis gets an edge highlight of a slightly lighter colour, and then it’s on with the weathering!

Typhus Corrosion gets liberally applied to just about everywhere, concentrated on moving parts or areas likely to get bumped a lot during use.

Once that had dried, the final touch was to apply a very rough stipple/edge highlight of silver to areas most heavily affected by wear and tear. Rough splodges or scratch marks help sell the idea of badly-treated machinery.

Simple and effective, and helps to visually isolate the shape of the wheels compared to the rest of the vehicle.

And they were done! I’m always intimidated painting vehicles – I still haven’t developed a satisfying technique for weathering things larger than single figures, so I fall back on my usual technique and just scale it up. It produces nice results, but it is time-consuming (and uses a lot of expensive technical paints!).

Overall though, I’m extremely happy with how they came out. I used them almost immediately after finishing them in my latest Inquisitor battle report, and they’re likely to get re-used many times over. They’re such versatile pieces of scatter terrain that I can see them popping up in all kinds of scenarios.

Now, about that larger truck they sell…

MOTB: Tarpaulin-covered cargo

Finished product first!

As part of my “build a honking great 54mm warehouse” project I envisioned some large scatter pieces to fill the aisles and cargo holds of the far future, but weren’t scale-dependent like cargo containers.

I shamelessly stole this idea from a regular at my FLGS Asgard Wargames many moons ago and I’ve kept it in the memory bank ever since (Thank you Ben Cane!). Now I had the time and justification to give it a go.

Ghost boxes

What appealed to me most about this idea was how gosh darn cheap and simple it was to put together. Step one: assemble any old tat. I had some spare mdf cubes that were just taking up space, as well as some smaller cardboard boxes and leftover spray paint caps.

Everything was kept in place by judicious use of hot glue. It didn’t matter that it wasn’t neat – everything was going to get covered up by the ‘tarp’ later on anyway.

After exhausting all the tiny boxes I had in my recycling bin, I assembled a few extra cubes from scraps of foamboard from my STC hab project. I figure if I’m building scenery, it’s worth building a set.

Once dry, I got some heavy duty tissues (thick but unpatterned) and cut them roughly to size. Using some watered-down PVA, I placed the ‘tarp’ on top of each pile and carefully (but liberally) dabbed on the glue mix.

I let the natural absorbancy of the tissue and gravity do most of the work. I avoided doing any brushing motions, instead using the large brush to gently tease the wet tissue into the desired shape. I found the only encouraging I needed to get the best results was trying to minimise the number of smaller creases on flat surfaces, to help with the sense of scale.

Once it was fully dry, I gave it another gentle coat of watered-down PVA to help strengthen it, then it was on to the painting!

It’s a tarp!

Painting was super simple as well. Everything got a heavy undercoat of matt black (making sure the tissue was well saturated), followed by a zenithal blast of whatever other spray colour I had at the time. In this case, a blue and a light brown/yellow.

Once sprayed, everything was drybrushed a lighter colour, then a wash of Agrax, then another final light drybrush. Finished!

Given how little time and money was needed for these pieces, I’m over the moon with how well they’ve come out. I wanted some large, line-of-sight blocking pieces that were setting-agnostic to be used just about anywhere, and I’m blown away with how well the finished product looks.

And they’re huge! Even at 54mm scale they take up a sizeable chunk of the board, and at Necromunda scale they’re perfect for having a whole shootout inside a hangar bay or cargo hold.

This is a great recipe for easy scatter, and it’s completely adjustable to your particular taste. Perhaps you want to get some cheap dolls house furniture and paint the tarps white to look like dust sheets instead? Or get some old minis you aren’t using and have an army of spooky mannequins?

Over the moon with this project, and I can’t wait to get some photos of them in action.