The last part of my Wargame Model Mods order is a big one. Previously I made a gang hideout from their Chem Silo kit and assembled some necron-adjacent obelisks, and it was time for the final part of the project – the monument.
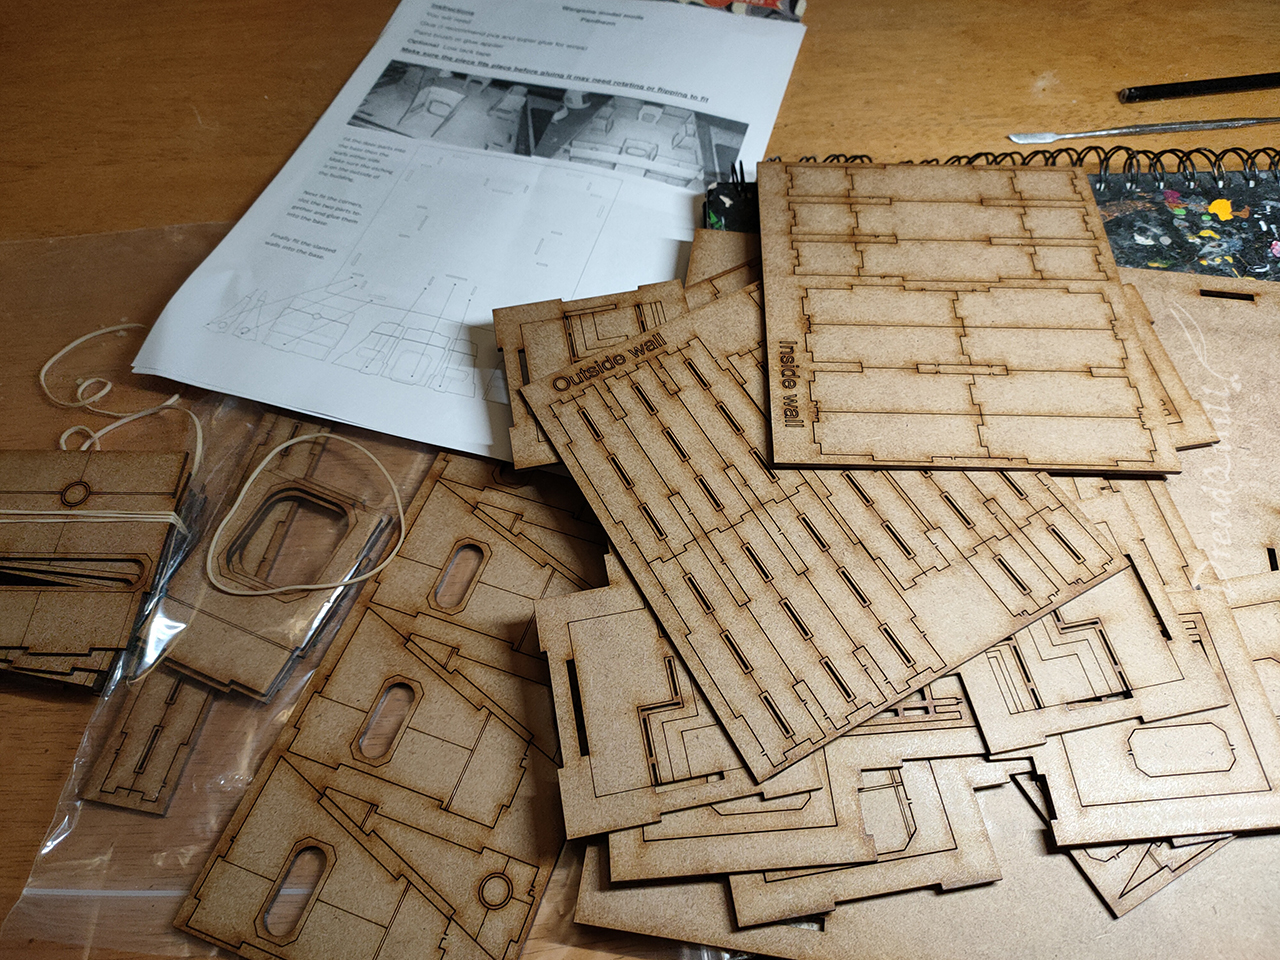
The bits were a collection of pre-punched bits in baggies and large plates, with everything labelled clearly. The bulk of the building was assembled while waiting for the Chem Silo to dry, so it was very fast to put together.
Constructing additional pylons
The original kit is designed to act as a defensible building, with firing ports on the ground floor and chest-high walls on the roof. I don’t play any tabletop games that would necessitate that kind of playability from this structure – I don’t play 40k, so I don’t need to occupy it with a squad of goons shooting at another squad of goons.
I would need to adapt it, but how?
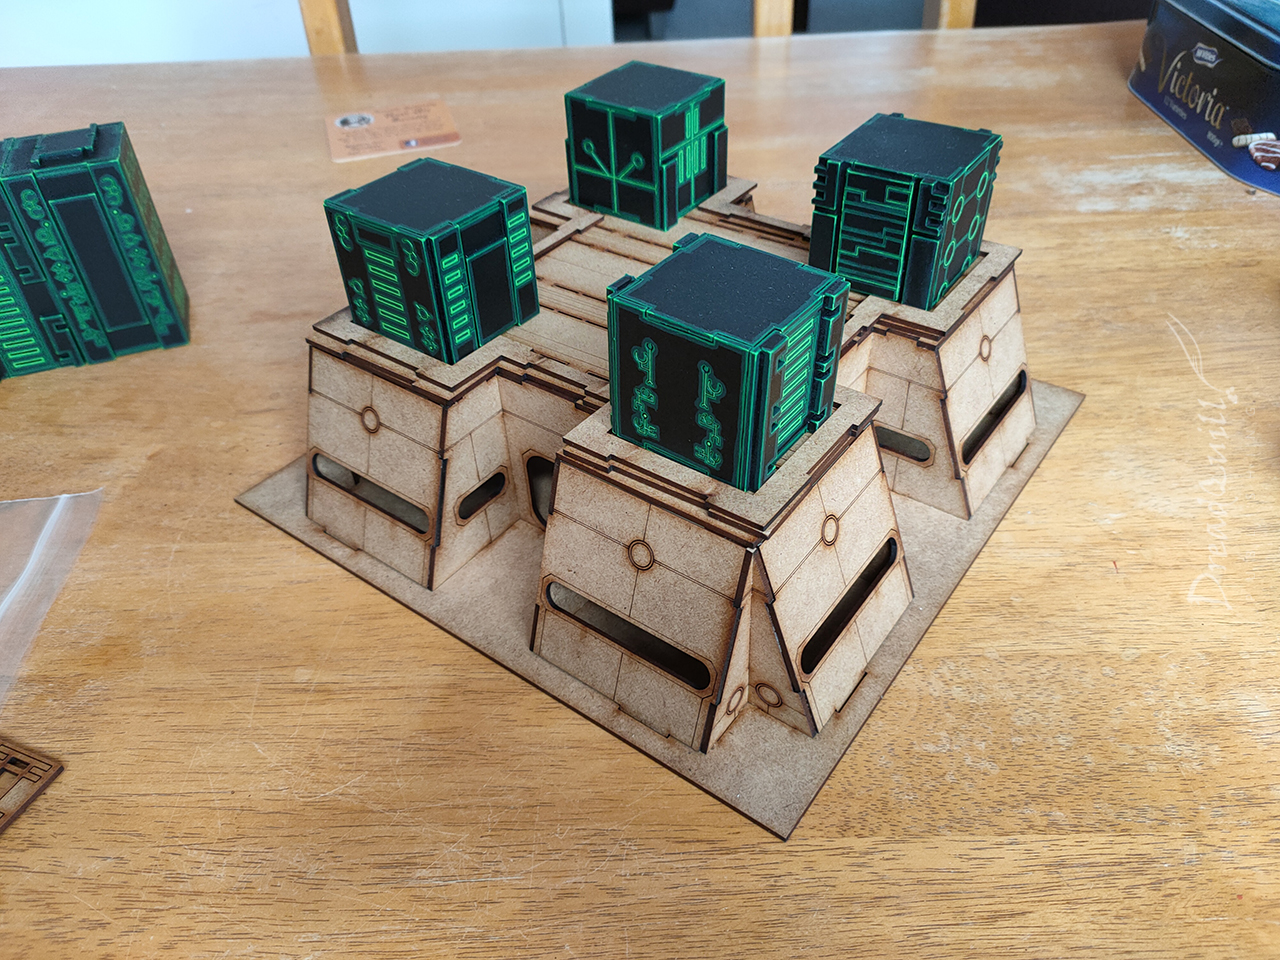
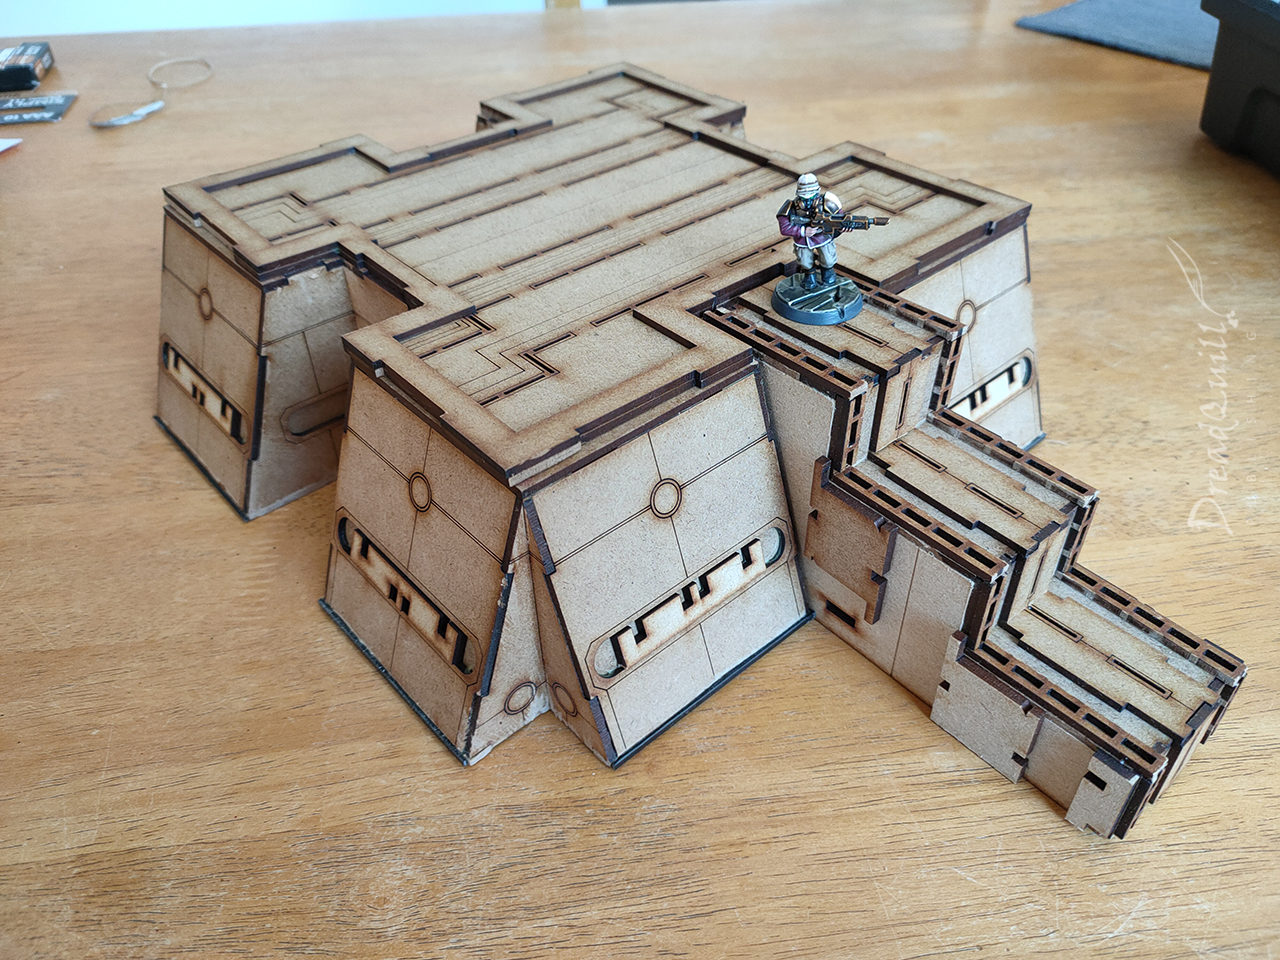
By stroke of genius and/or luck, the obelisks I’d already made fit perfectly into the corner recesses on the roof. I don’t see Necrons needing chest high walls so they were abandoned quickly in favour of using the building as a raised dais or monument.
The kit came with little widgets to fill the holes in if you didn’t want firing ports, which was a pleasing bonus. I also wasn’t a fan of the base board – if I have to base it, I have to commit to it belonging to a particular environment. Removing the base means it can stand convincingly against pretty much any backdrop.
It also needed some way of getting to the roof. The kit came with ladders, but I don’t think Necrons use ladders, and I wanted something grander anyway. I had a dig through some old MDF cutoffs and found some suitable pieces.
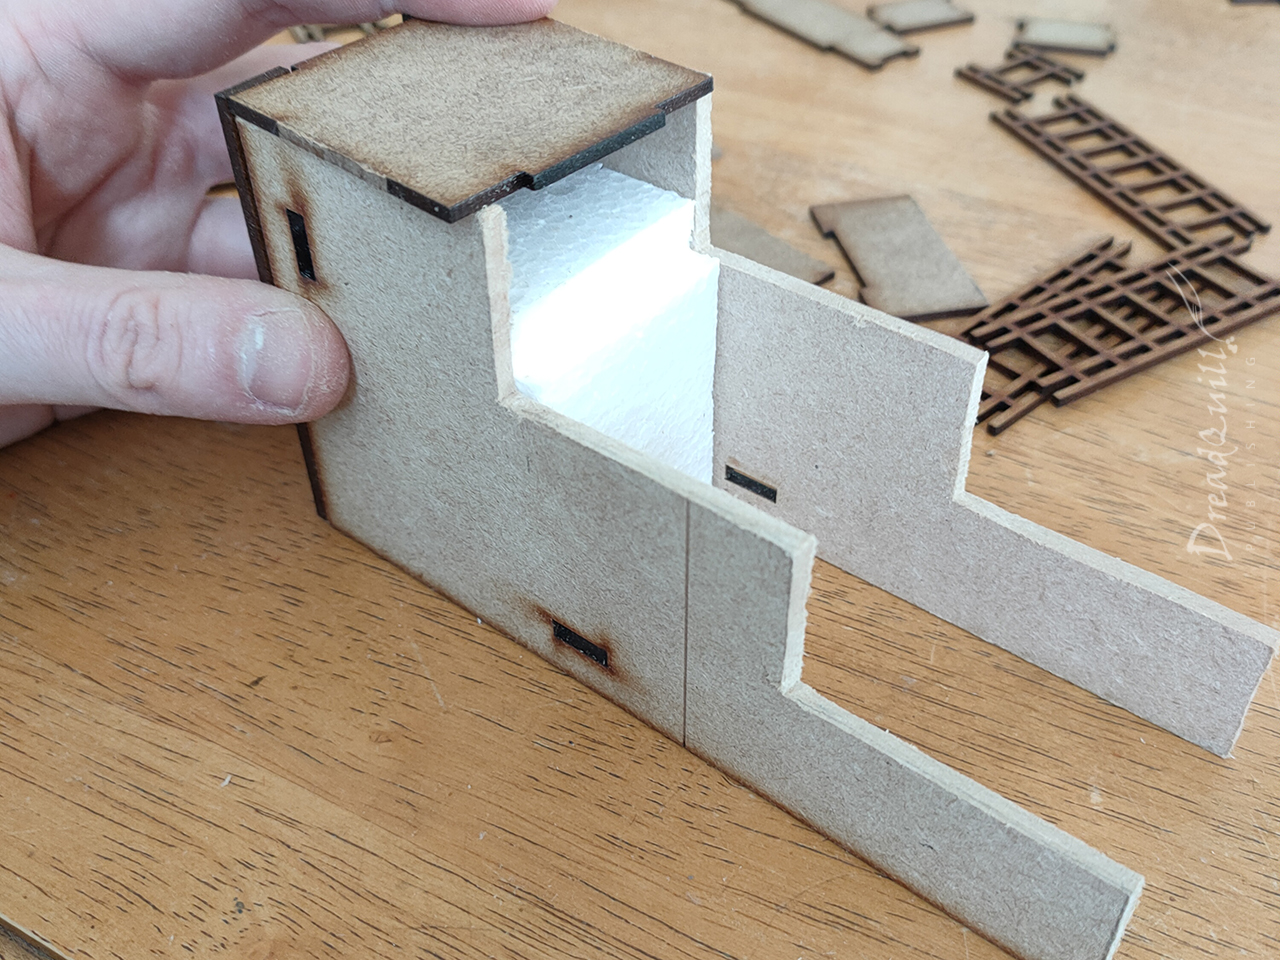
I had enough leftover plates from building the obelisks to act as the stairs, and conveniently were exactly the right width to fit in the nooks of the pyramid. I had toyed with the idea of having a very long ramp, but I couldn’t make the angle shallow enough to stop heavier 54mm minis from sliding off it, so it had to be thiccboi steps.
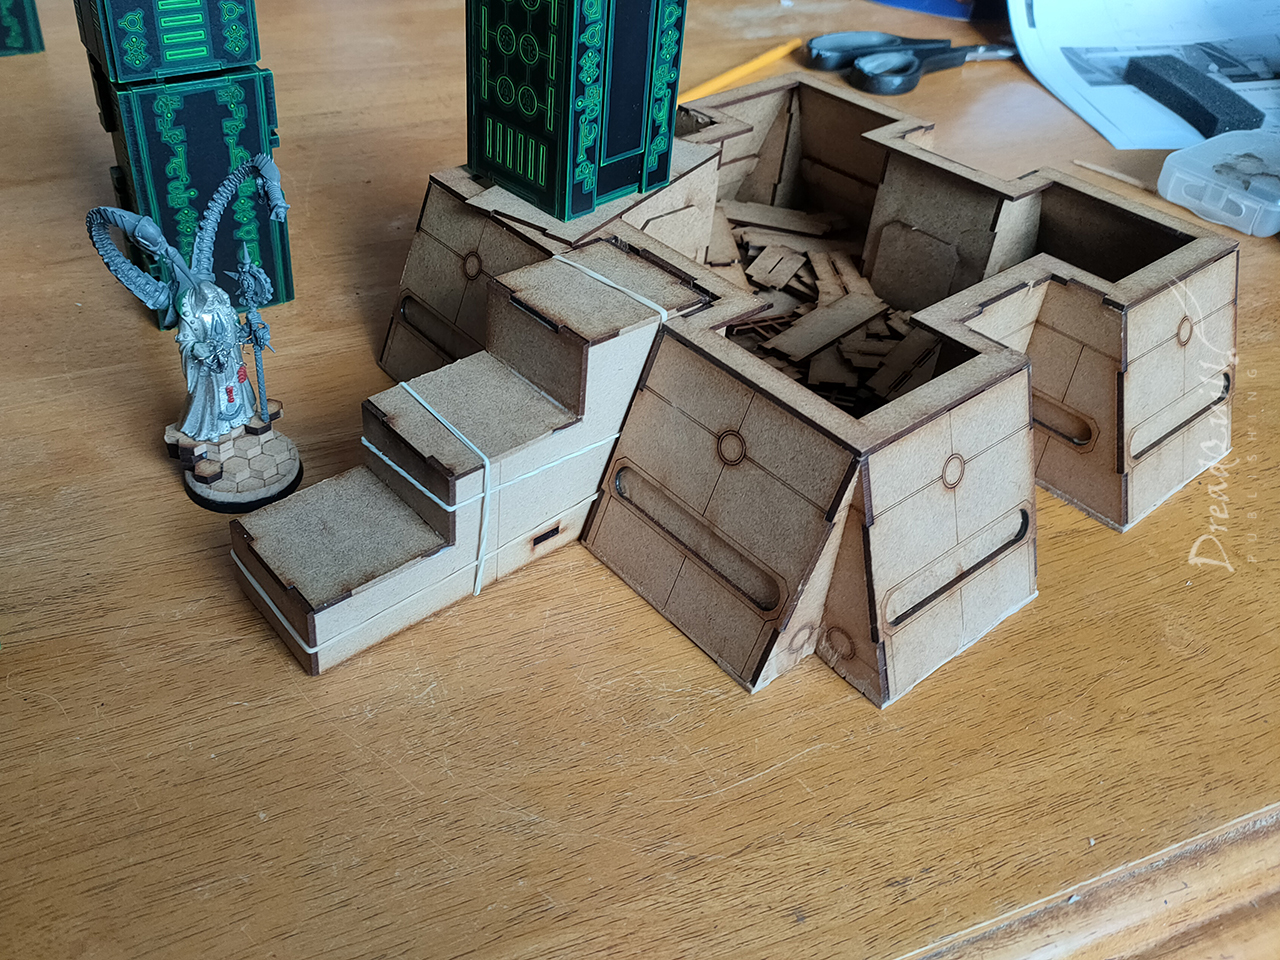
I hacked up the chest high walls I wasn’t using and repurposed them as flooring for the stairs to help visually blend them together. A few more random sprue chunks were glued to the sides to give it some interesting shapes to paint.
I also capped the bottom edges of the main building with strips of plasticard, as I’d made a bit of a mess cutting it free from the base.
On to the painting!
2 Edgy 5 me
If I thought the obelisks were a pain to edge highlight, this one really did me in. In my haste to get it finished, I strained my wrist painting for too long and at angles that were very painful. I completed one or two panels of the main building before having to take a 2-3 week rest for the wrist to recover.
When I came back to the project, I used lots of foam blocks at various heights to rest my arms, wrist and building while I was painting, and made sure to only paint for a few hours at a time with lots of wrist stretches in between. I’ve never painted so many edges in my life!
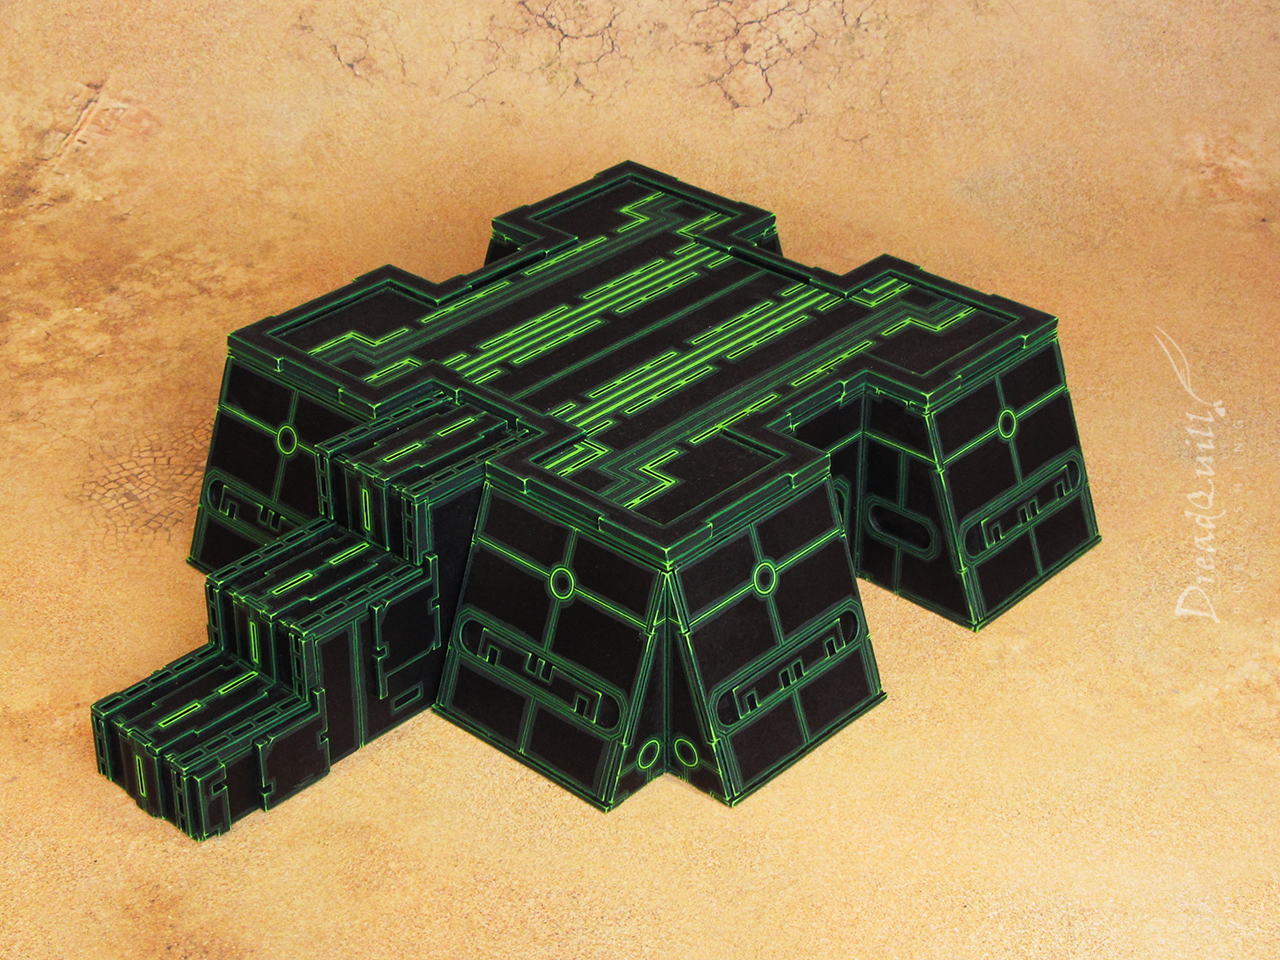
When it was done though, it was all worth it.
Colourful language
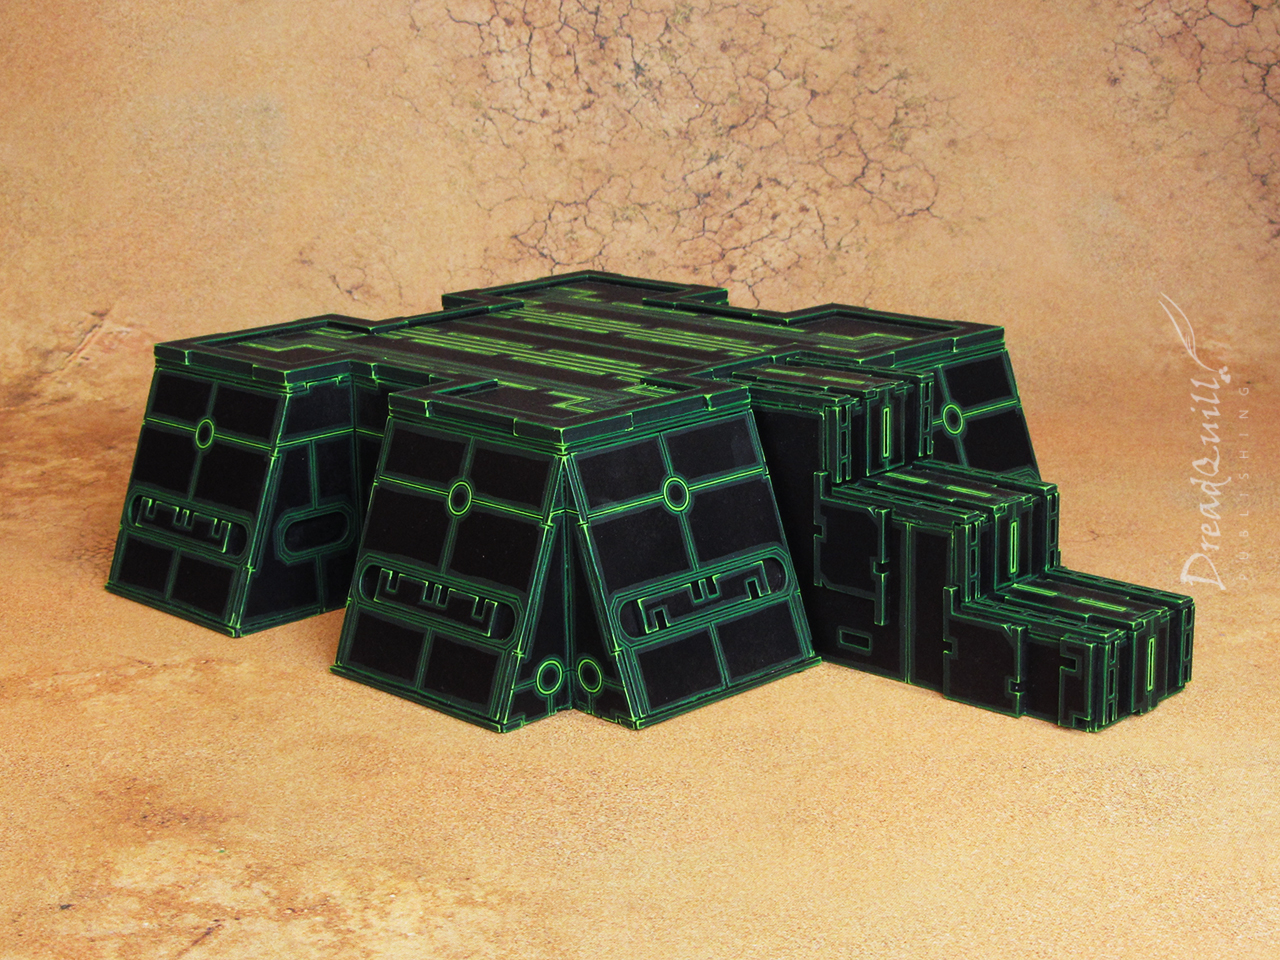
I used the same colour scheme as the obelisks – several layers of black spray to saturate the mdf and make a consistent black undercoat, then a thick edge highlight of dark green, a thin edge highlight of mid green, and a very dainty corner and shape highlight with almost flourescent green.
It even comes apart for handy storage, or hiding Big Bad minis inside of it.

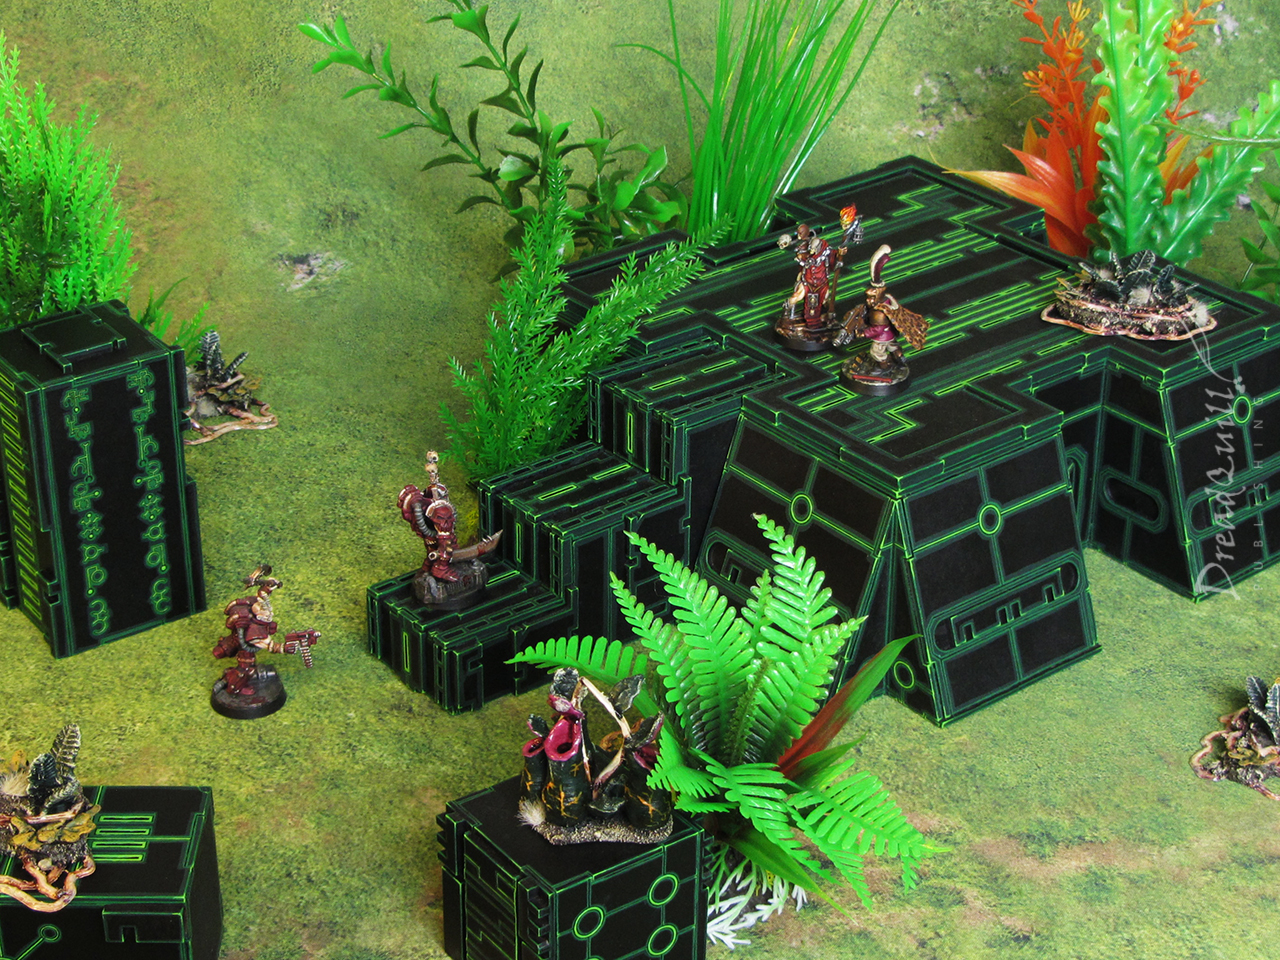
You can stack the obelisks on top of it to make a more imposing structure.

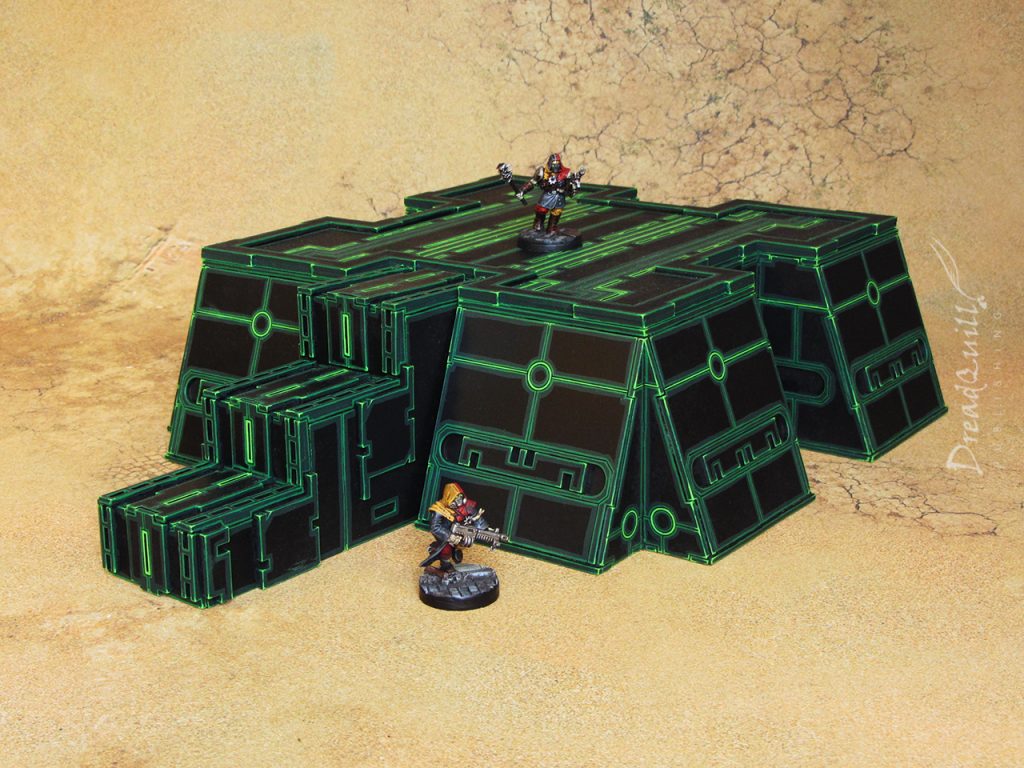
All of them together make a neat little complex, taking up as much or as little of the game board as necessary to tell the story. Is it a full-blown Necron crypt, or is it the tip of an iceberg?

Showcase
I’ve photographed my Necron bits almost exclusively against a desert background, so I had to try some different game mats and props to see the contrast!
First, some more desert scenes.
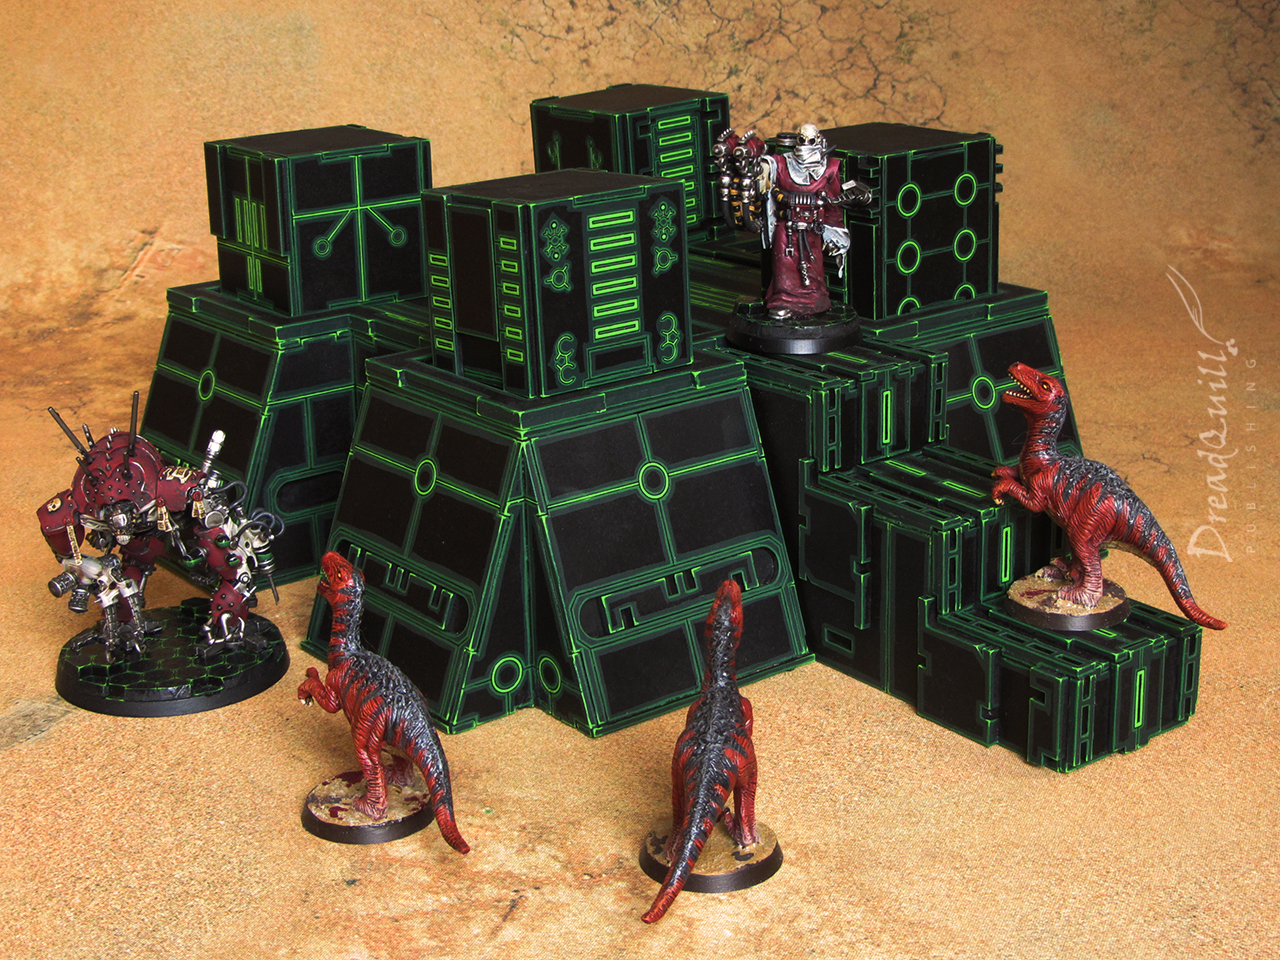
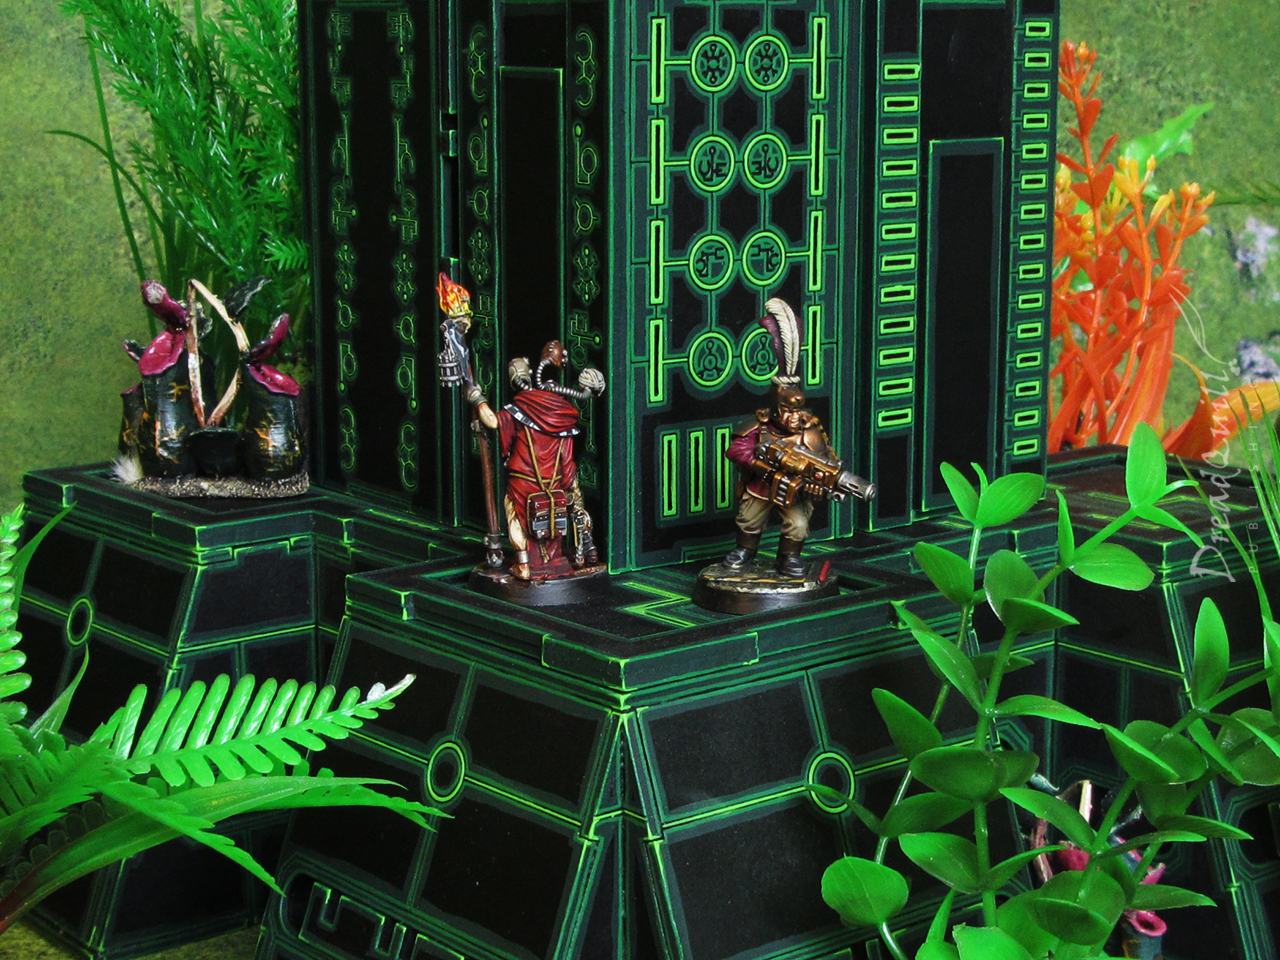
On some far-flung death world, a group of explorers come across some mysterious ruins.
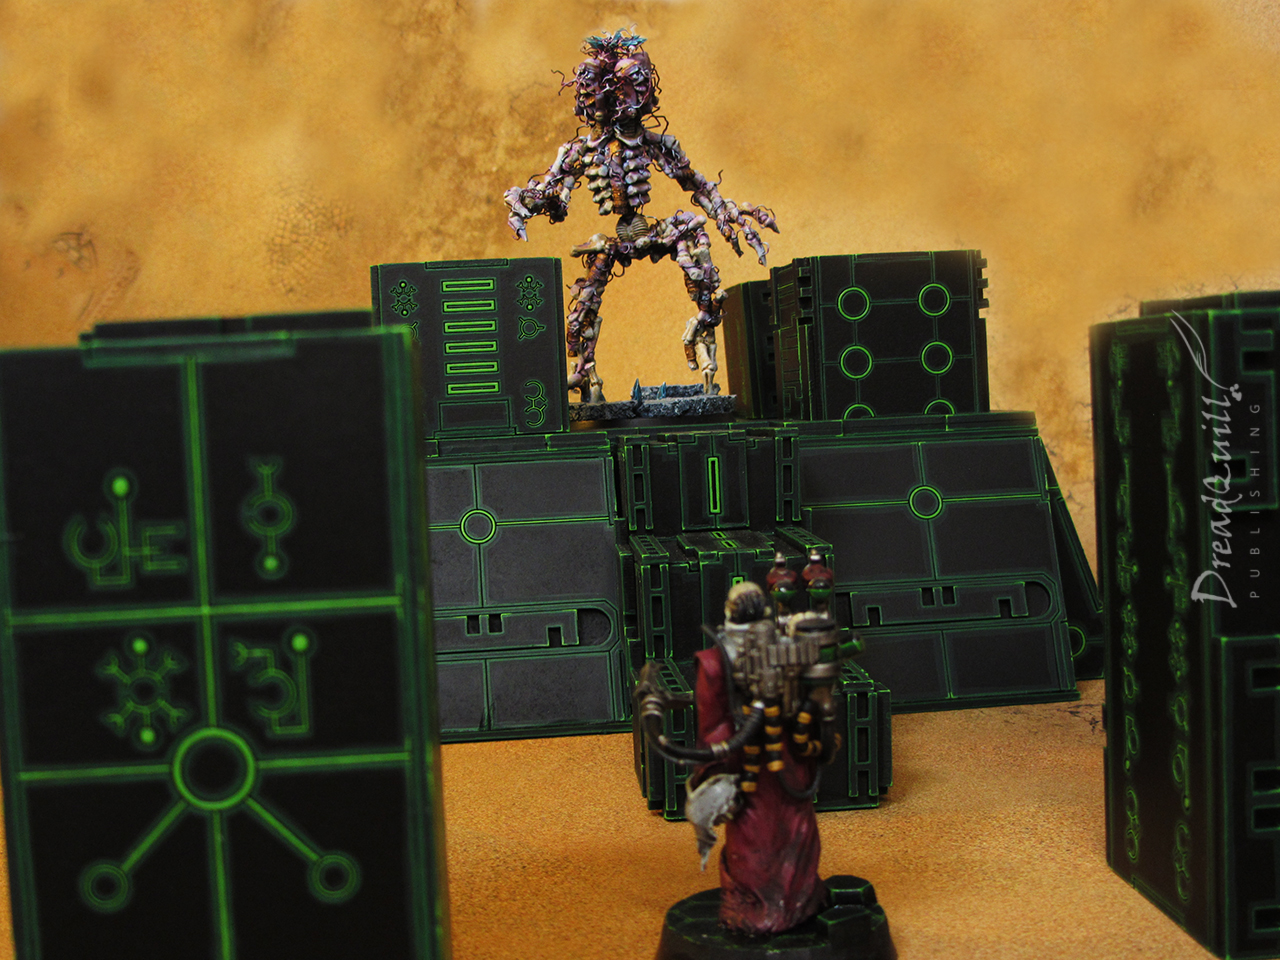
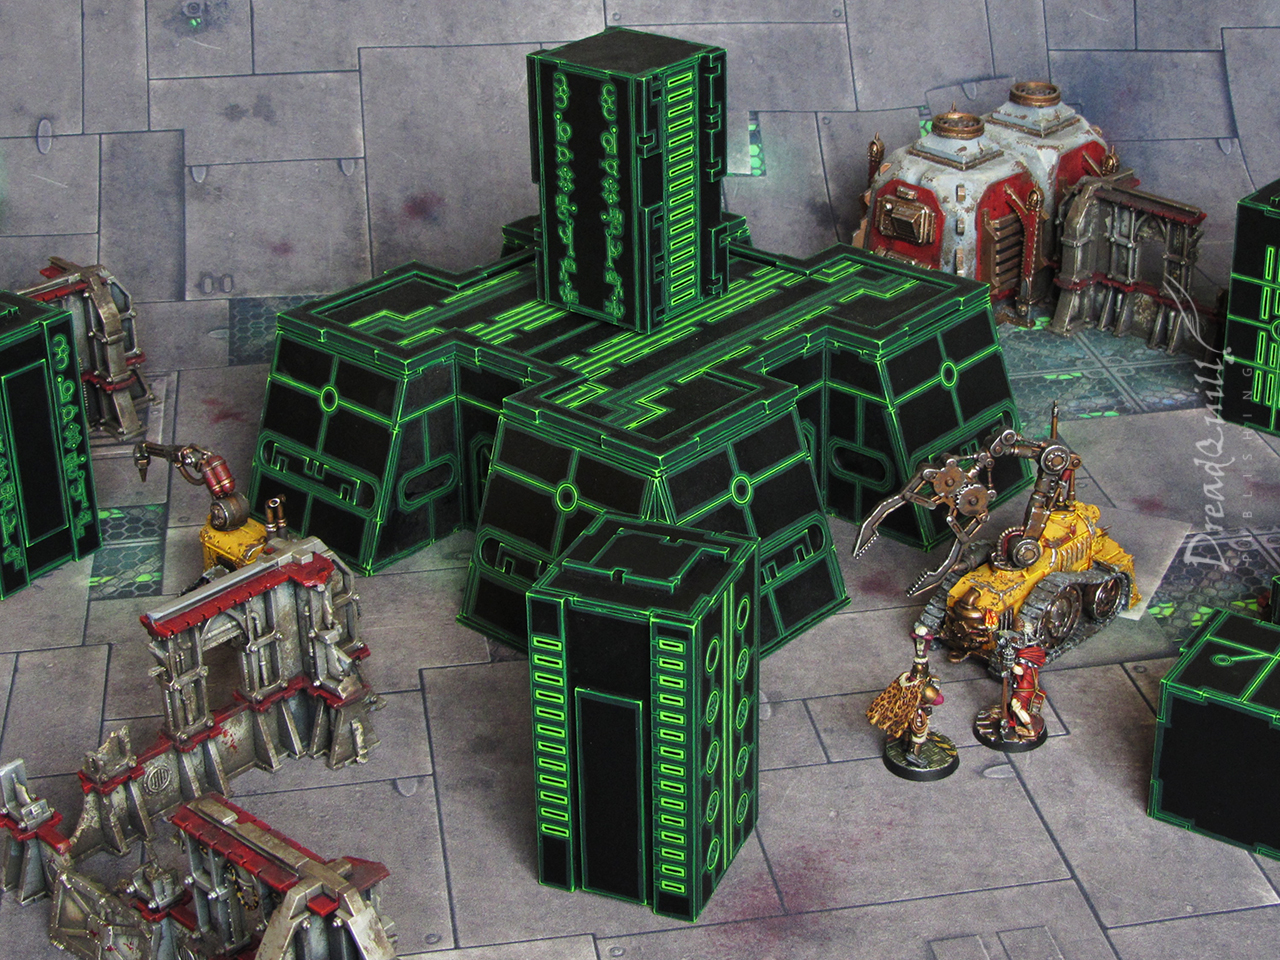
Deep beneath the hive city, a band of scavengers come across a strange glowing structure unearthed by a hive-quake.

The wrap-up
Overall I couldn’t be happier with how it came out. It took a lot more time (and physical pain) than I had anticipated, mostly due to my lack of care and/or airbrush, but the end result is great.
I’d love to pick up some more pieces from the Wargame Model Mod’s Necrotech range, I’ve been eyeing up that tower for a future purchase but I think I’ve painted myself into a corner with the colour scheme. I need to give myself a rest before painting any more green edge highlights!
Now I’ve got all my Necron scenery painted, I should really get round to finishing my Necrons…