
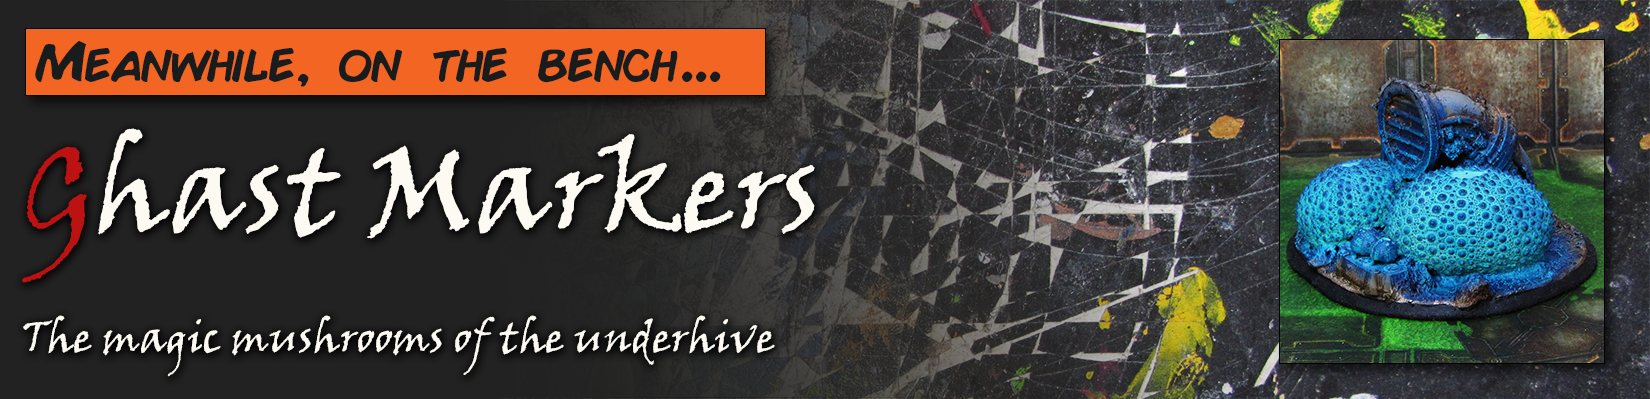
As part of a misguided attempt to build every kind of scenario objective or narrative prop mentioned in every Necromunda scenario (which at time of writing is about a hundred), this time I turned my hand to one of my favourite scenarios, Ghast Harvest.
Previously known as Spook, Ghast is a combat drug that has existed in 40k lore since the olden times. It varies mechanically in each system, but it always performs the same function. Anyone who huffs it gets a temporary psychic power – anything from shooting lightning from your eyes, to warp strength or time travel – but doesn’t make them any good at it. Good clean chaotic fun.
Ghast Harvest is a scenario where rival gangs race to hoover up loopy juice from deposits scattered across the map. Ghast is incredibly rare and expensive, so the objective is to gather as much as you can without snorting it. Unfortunately some gangers miss the memo and rail huge lines of the stuff straight from the source, the match swiftly devolving into a coked-up fireball slinging contest. This is, without fail, always funny.
The brief
The scenario requires four tokens representing ghast deposits, and suggests using an obstactle-sized piece of terrain to be more thematic. There is basically no guidance on what ghast looks like in its natural habitat and I’ve seen some fantastic conversions using weird mushrooms or gangly radioactive trees made of hot melt glue.
I didn’t want to recreate things I already found on google so I had a dig around my bits box for something that looked really alien and cobbled something together.
Street urchin
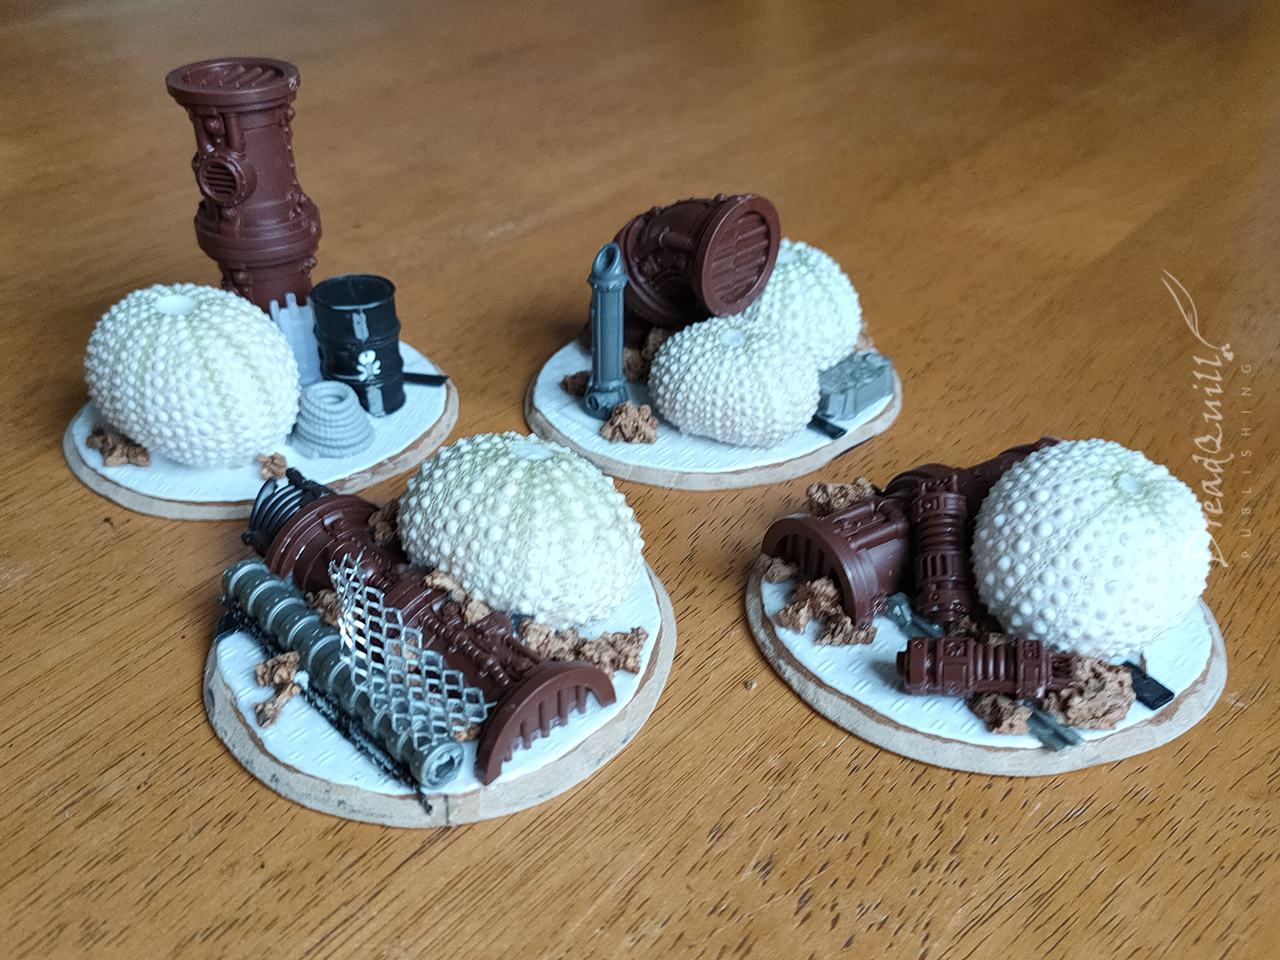
I’d been dragging around some old tropical beach detritus since the 90s, some of which had gone into making some weird asteroid fields, and others had been sat in a box gathering dust.
These were sea urchin shells, washed and dried out, then packed with tin foil for structural integrity. I arranged them around some spare pipes and industrial bits to look like they’d been feasting and growing on whatever horrid waste had accumulated there. A bit of crumbled cork placemat for rubble helped blend the larger shapes together.
I also wanted some smaller structures, like they’d been spawning or growing more, but had no idea how to recreate the unique exterior texture.
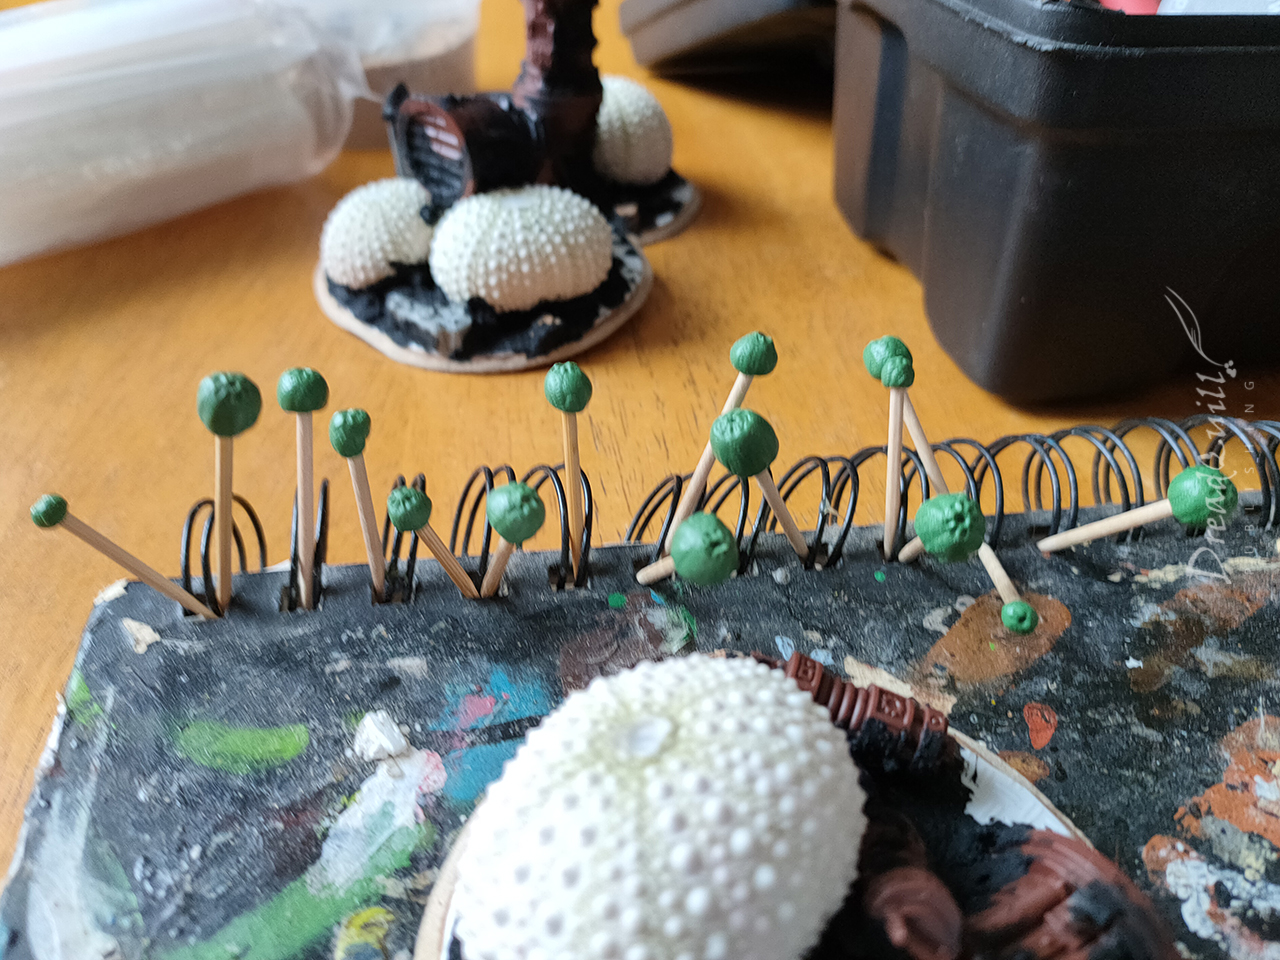
The end plan was to make lots of little balls of green stuff and texture them with the urchin shells themselves. I had a few broken bits I didn’t have a purpose for, so after letting the balls cure for about half an hour, gently rolled them along the inside in different ways until I got a desired pattern.
I pushed the top of each ball into the exterior of the shell to finish the look, and ending up with something like the facehugger eggs from alien. A perfect look!
Eggshell blue
Once dried, everything got an undercoat of black, then brown. I masked off all the non-pipe areas with masking tape, then gave it a quick blast of grey. I had a colour scheme in mind for the industrial parts, but deciding on how to do the ghast orbs was a real head-scratcher.
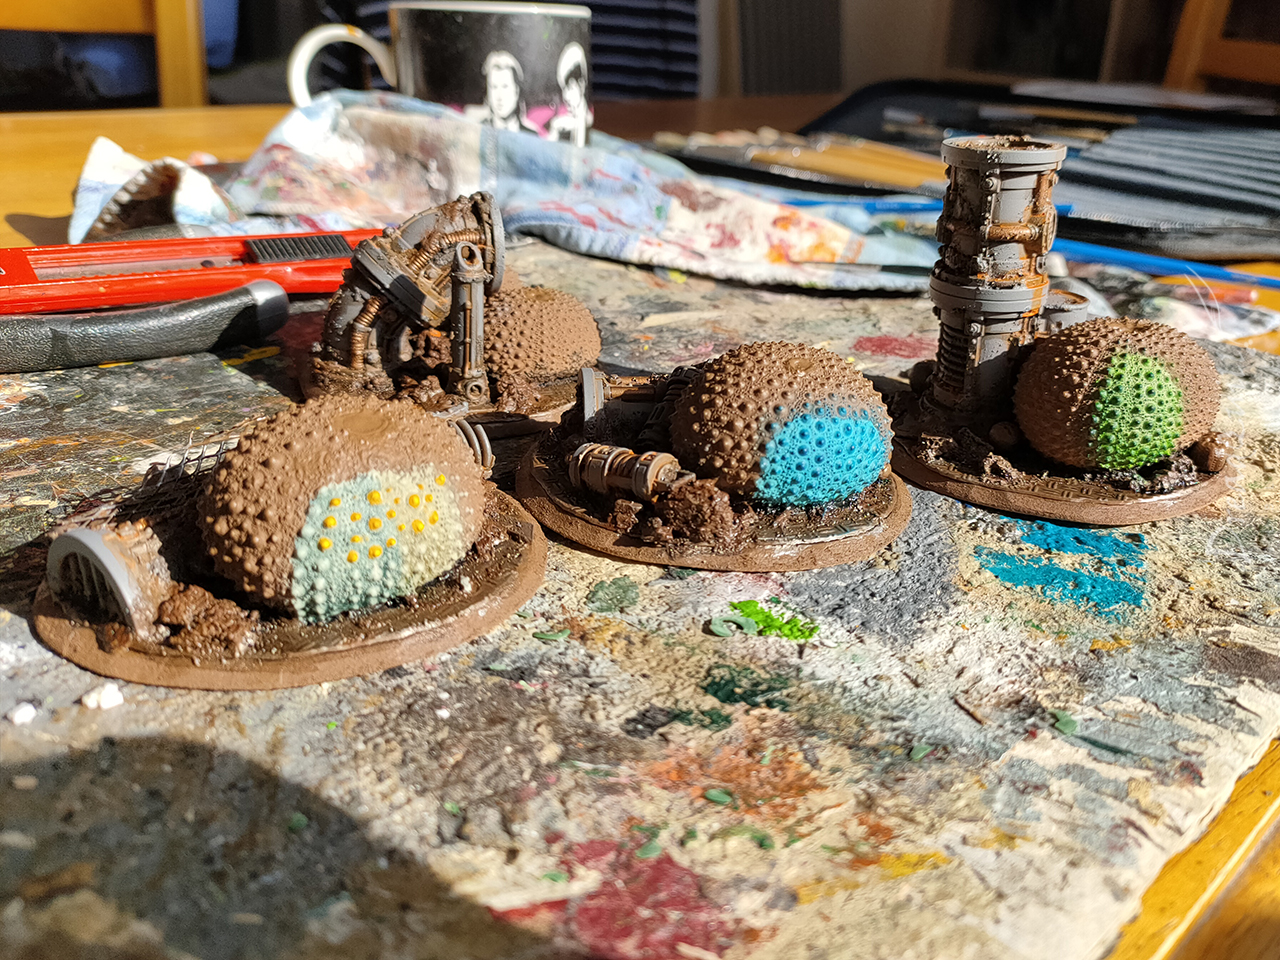
I wanted an interior glow to clearly signpost it as something dangerous, and they could also then double up as other hazardous or explosive terrain as future games might require. My initial experiments with bone, green and yellow colours weren’t particularly gripping, but the minty-blue scheme really stuck with me.
It was using Nihilakh Oxide, a technical paint for representing oxidisation on copper and the like. It’s very watery (so not usually suitable for painting block colours with) but over the porous, rugged exteriors of the urchin shells it worked wonders. On with the painting!
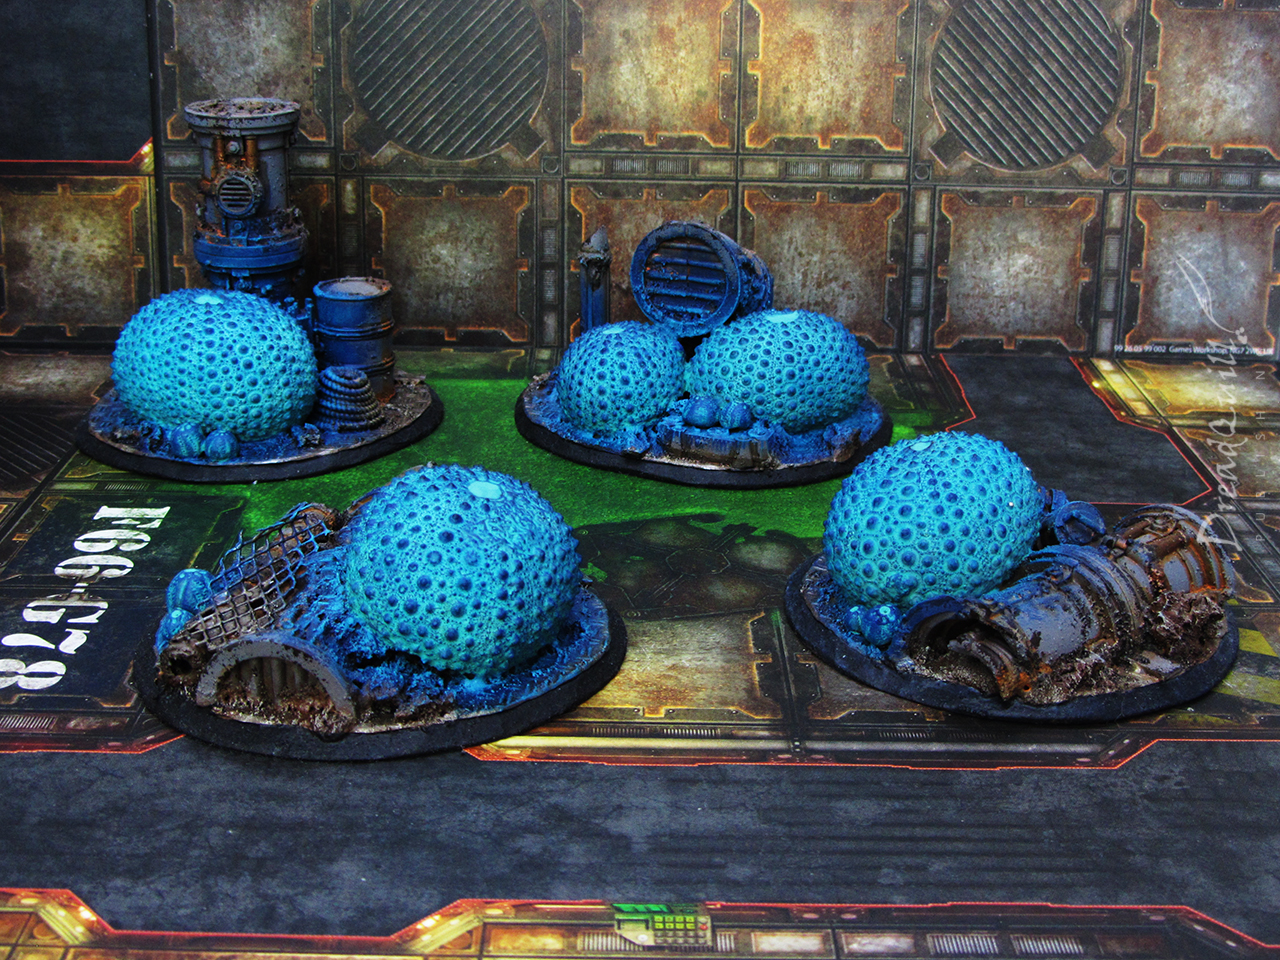
Ghastly glow-up
The industrial sections were painted using a technique I’ve used on other projects, the deposits drybrushed various shades of blue, and anything in between was just a block colour with a wash over the top.
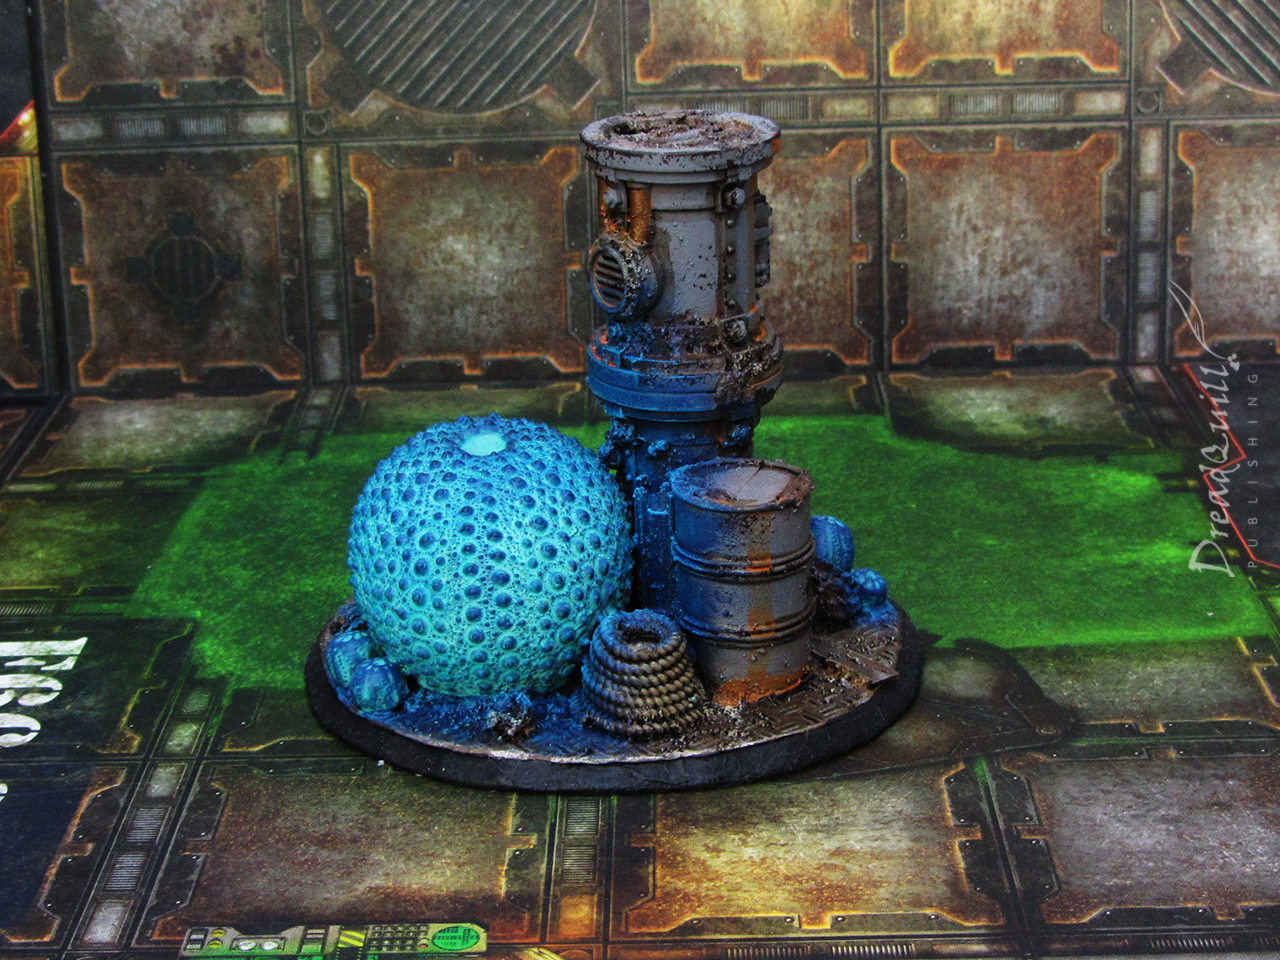
For industrial parts, the whole thing is primed grey and attacked with Agrax Earthshade, concentrating on pin washing panels and giving depth to textured areas. Watered down orange paint is applied in select areas to look like water damage from above. Finally, dark brown paint is sponged onto some extreme edges to look like chipped paint.
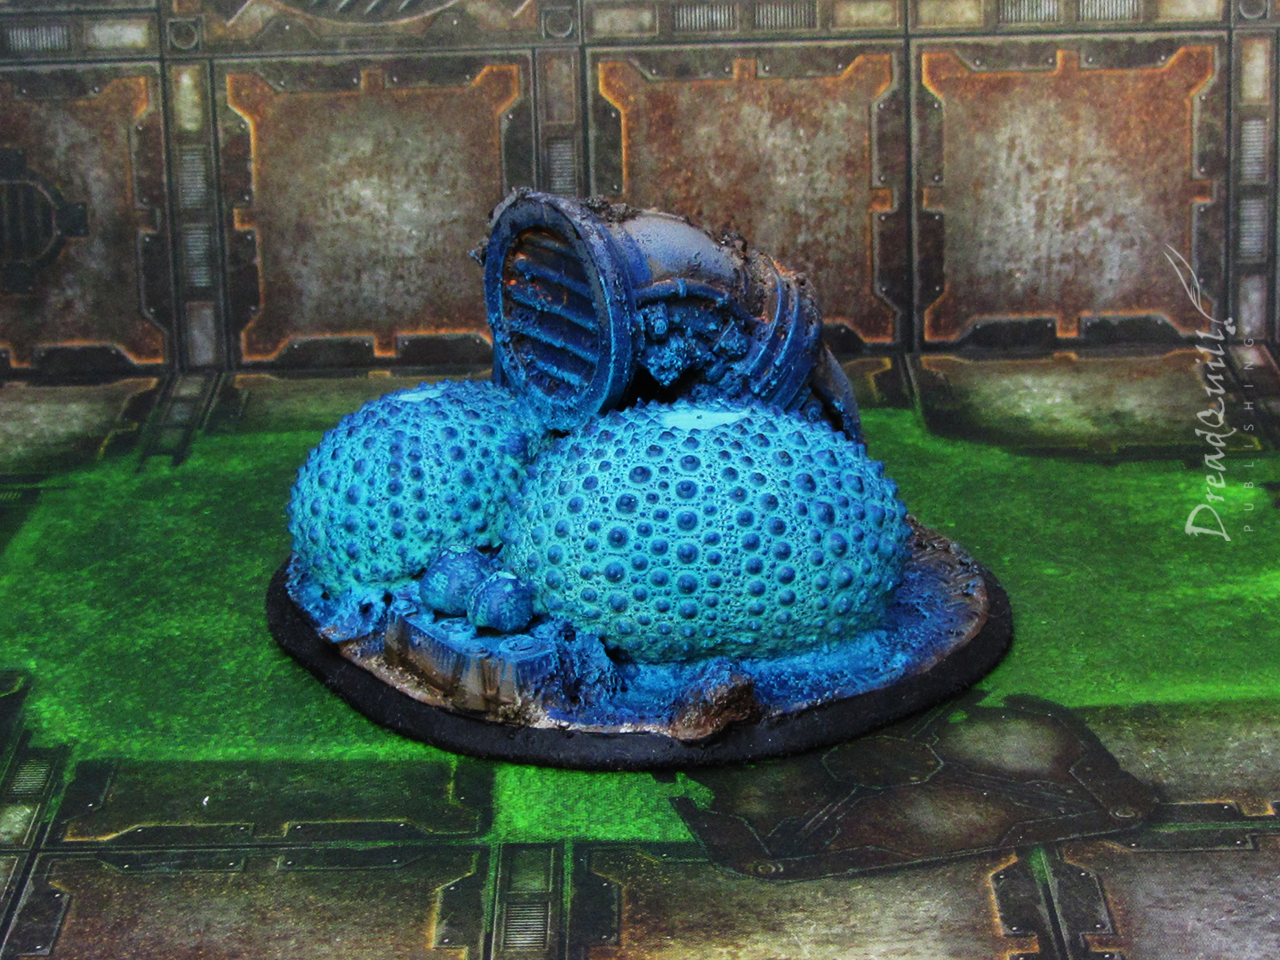
The deposits and glow effects were painted with layers of drybrushing. The deposits were painted in light colours first (Nihilakh Oxide), then drybrushed with darker shades of blue. The very tips of the ‘spines’ near the top of the deposits were very lightly drybrushed black to create that last bit of depth.
The glow effects were painted the opposite way round – the darkest blue was drybrushed on first, followed by successively lighter drybrushes leading back to the source of the light.
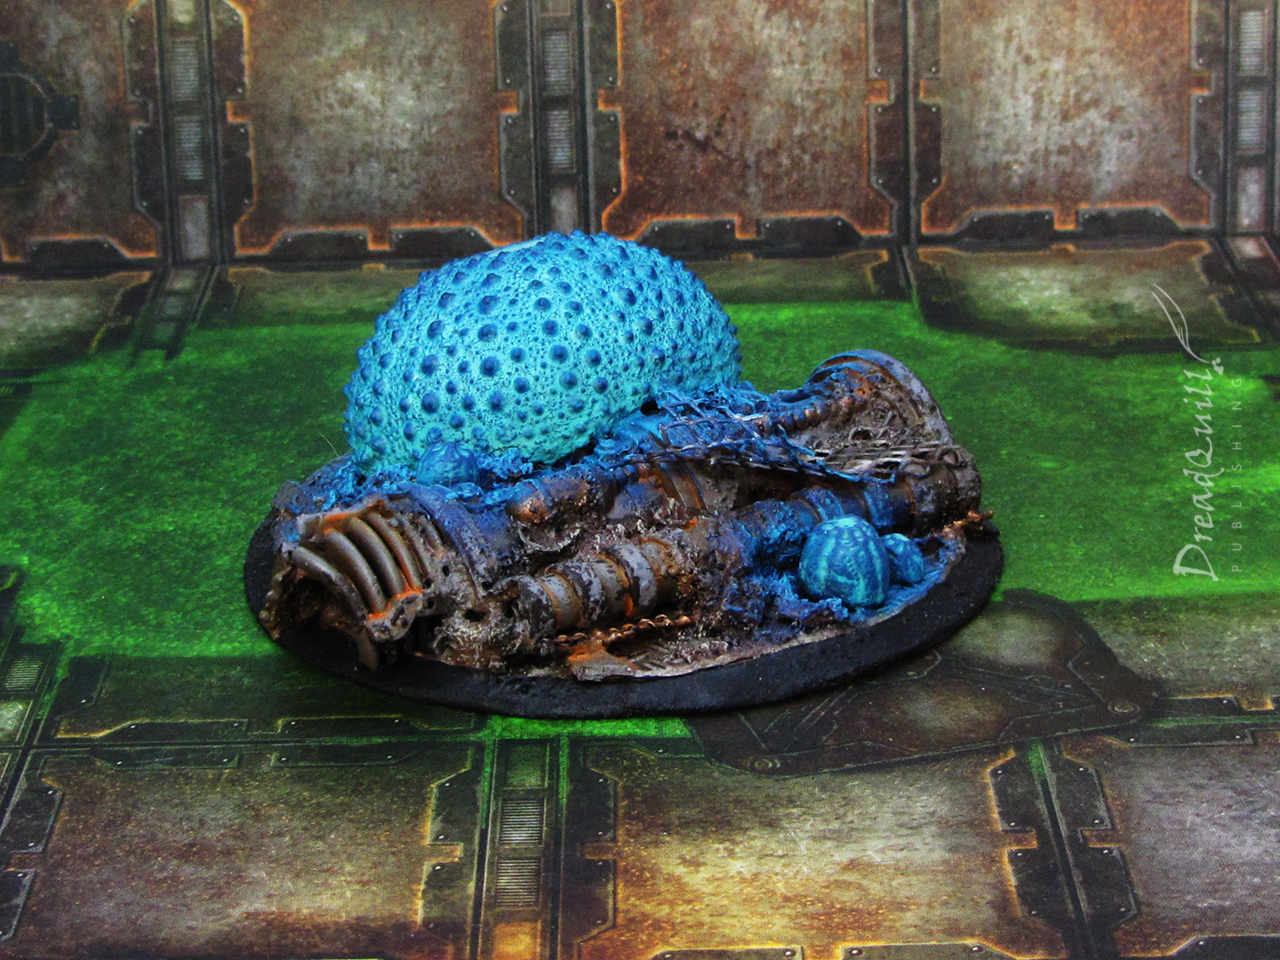
The bases were made from offcuts of MDF cut roughly into shape and bevelled with a sharp craft knife. They got two coats of black around the rim to seal them and tidy up the whole piece. And with that, they were finished!
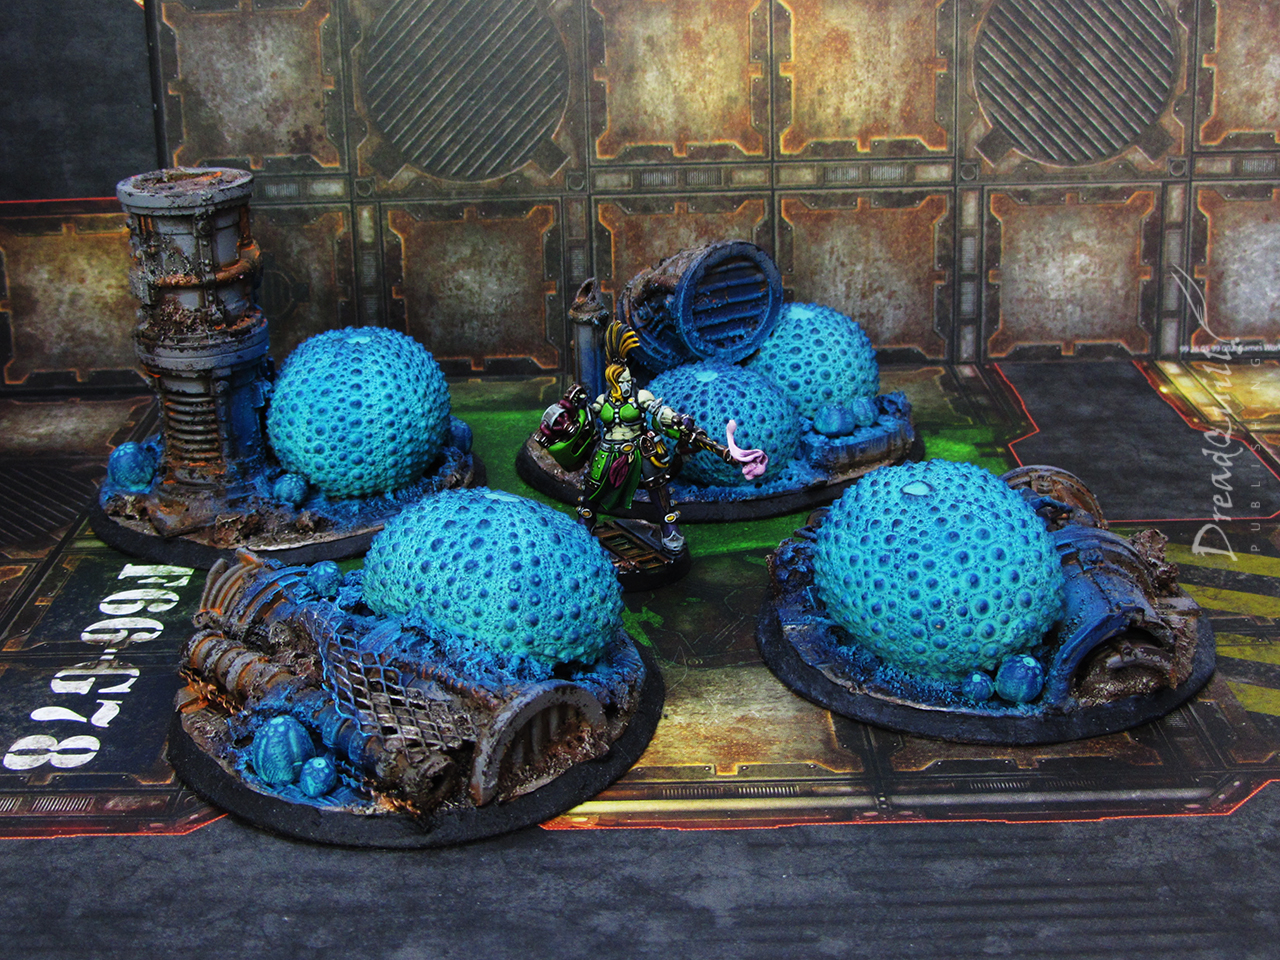
Overall I’m extremely happy with how they came out. They were assembled from scraps from the bits box and uses some very unique pieces I’ve had for longer than I can remember.
With their eerie blue glow, they absolutely stand out on the battlefield and can’t be mistaken for anything except danger. They’ll be perfect as ghast deposits, dangerous flora, or any other scenario that needs some horrible glowy orbs. Roll on the next project!
I give them 5 out of 5 awesomes! It’s great when stuff you have kept for ‘forever’ finally gets used. Vindication!
Many thanks for going into detail on your painting approach/recipe.
Thank you! Yeah I totally agree. I’ve been trying to get my hobby in order by going through boxes of old stuff I’ve kept for “a rainy day” and actually doing something with them. It’s very hard to shake the feeling that they could get used for a hypothetical better project in the future, but the end result is worth it. I can’t play games with hypothetical scenery 😉