

This is the second Inquisitor battle report of the The Gorgon Crystals campaign run at Asgard Wargames this week: Dog-watch Nights.
+++++ Message Incoming +++++
It is the late hours of the night shift on Port Impetus – the Dog-watch – and you are pursuing leads on smuggled xenos artefacts salvaged from the wreck of a merchant vessel, The Sojourner.
The port is rocked by an explosion. Reports filter in, scattered at first, but the picture builds quickly – a warehouse on the docks has been bombed. It is supposedly a Cold Trade hideout, a likely location of the smuggled xenos artefacts, and the reports of madness and violence that follow confirm your suspicions.
You scramble together a team, knowing you have only a few minutes on site before the Adeptus Arbites arrive to shut the entire investigation down.
+++++ Message ends +++++
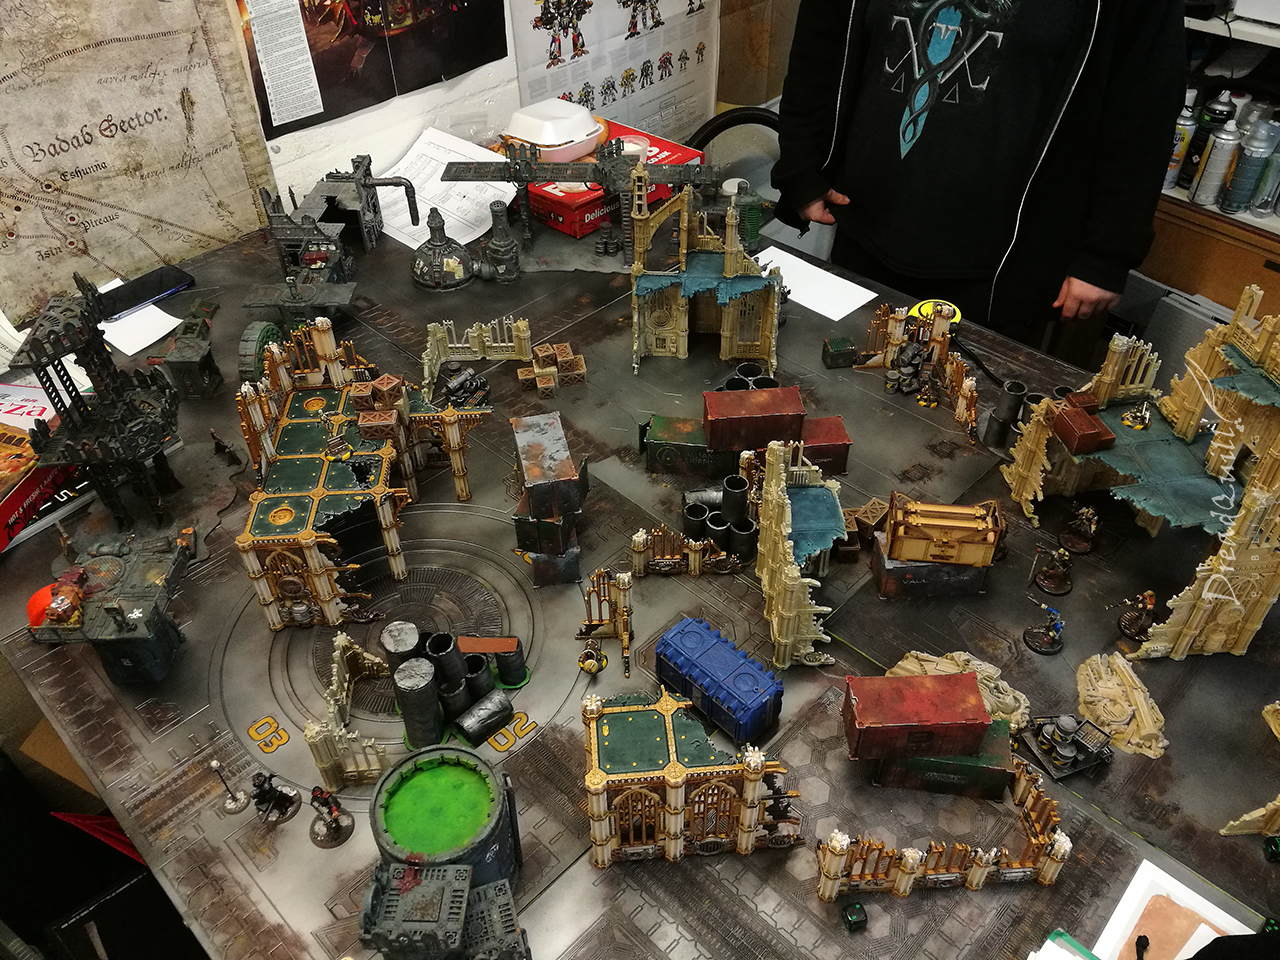
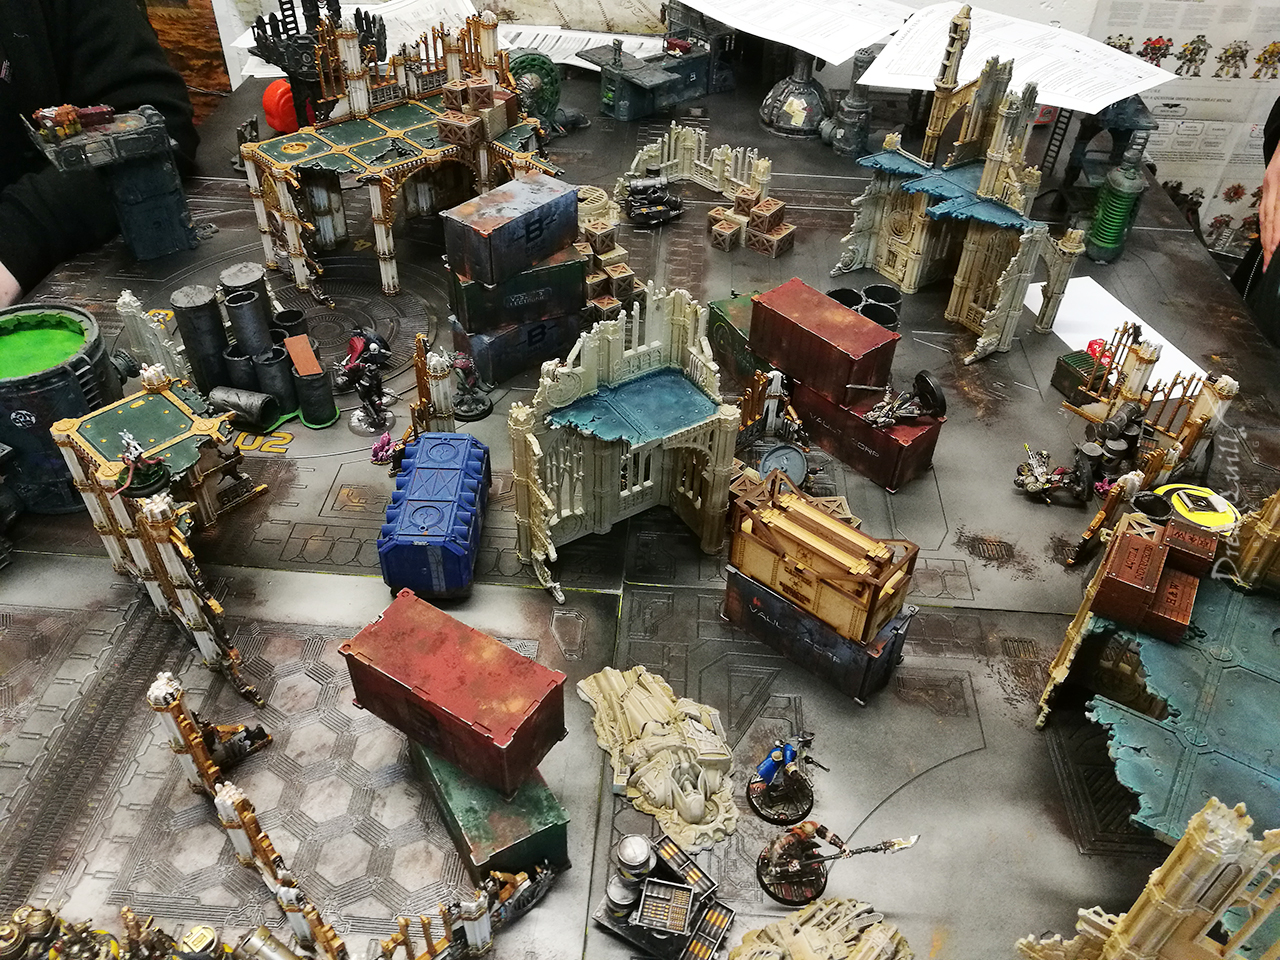
Setting the scene
Three warbands are close enough to the warehouse to investigate before the Arbites lock down the area. A small gang of Longshoremen deploy on the board too – a collection of criminals and bored voidsmen on shore leave – who set off the explosives hoping to get their hands on some valuable artefacts. They should provide a nice buffer between the players and reinforce the idea that the warehouse is in a densely populated area.
This Inquisitor battle report takes place during the Dog-watch – the night shift – which is quiet by dock standards but still noisy enough to reduce hearing distances by half. Dimmed global lighting and crimson emergency lumens from the warehouse floor mean standard Detection tests for spotting people.
Objectives
There are six loot tokens on the board, inside which are three xenos artefacts and three empty loot tokens. To find the artefacts, characters must pass a Sagacity -20 test on a loot token, then roll a D6. On a 4-6 the token is empty, and it is removed from the board. On a 1-3 there is an artefact inside! Remove the token from the board and replace it with a crystal.
Like the previous scenario, the crystals give off a horrifying warp-taint, capable of worming its way into the strongest of minds. Anyone picking up a crystal must pass a Willpower test or roll on the Hallucinogen table.
The Arbites are mere minutes away. The players have less than a dozen turns to complete their obejectives before they’re forced to evacuate the scene.
All the Gorgon Crystals scenarios use a rough ideology aligment to determine scenario objectives. They are designed to be conflicting, but not mutually so, and can change between scenarios. They can’t see the objective before choosing, however, so players are not necessarily aware of other players’ goals.
Puritan: Ensure no other parties escape with artefacts.
Radical: Recover more artefacts than are destroyed or captured by other parties.
Selfish: Recover an artefact.
The artefacts themselves are fab resin scenery from Bad Squiddo Games, and I did a Meanwhile On The Bench for them here.
Warbands
Three warbands arrived to loot the bombed warehouse, plus a small contingent of NPC longshoremen played by the GM.
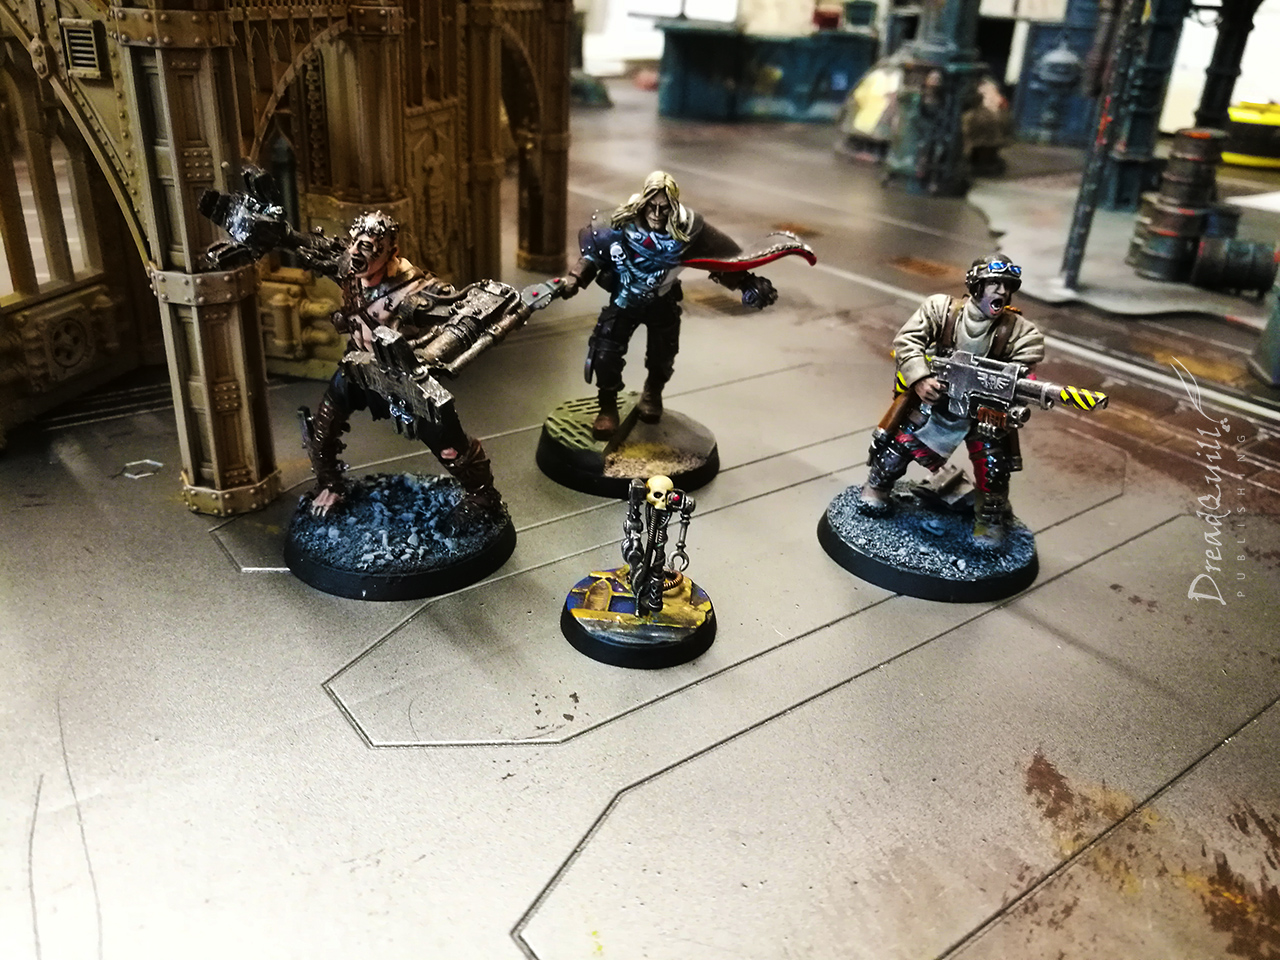
The Crimson Wake

The Crimson Wake are a house warband, you can see a detailed overview for them here. We are joined by the Traitor Guardsmen Tlaxcala, Dmitri and Kraw.
Tlaxcala has an implant plasma gun and his blood has been replaced by burning-hot plasma, making him a foe to not underestimate.
Dmitri has a hell-forged lasgun and a gift from his dark patron, the Balaghron Horn.
Kraw is a gunslinger with an uncontrollable dimensional shifting – something that grants him forcefield armour and makes him harder to detect, but he can’t regulate when it happens.
The Crimson Wake have had a run-in with the crystals previously on the Sojourner and wanted more, so were pursuing a Selfish objective – pinch an artefact for themselves.
Diamond’s Interests
The first outing of Diamond’s Interests – these guys are another house warband, and their overview is here.
Clamps is a cargo-lifter servitor – possessing immense strength and industrial skeleton reinforcement, plus a big ol’ pair of clamps to clamp things with. He’s not smart, fast or capable of thinking for himself, but he’s got a heck of a punch.
Diamond One is a wealthy noble scion with an esoteric collection of xenos and archeotech miscellany, including a shuriken pistol and a custom displacer device that he can manually activate.
Fetch is tech support – he brings all the tools necessary to open doors and repair things, plus his trusty lasgun with underslung grenade launcher and all manner of grenades – frag, flash and haywire to suit his needs.
Diamond One is eager to get his hands on some of the much-lauded xenos artefacts, so is pursuing a Selfish agenda.
Arbitrator Havelock and Corporal Salem – the Mysterious Strangers
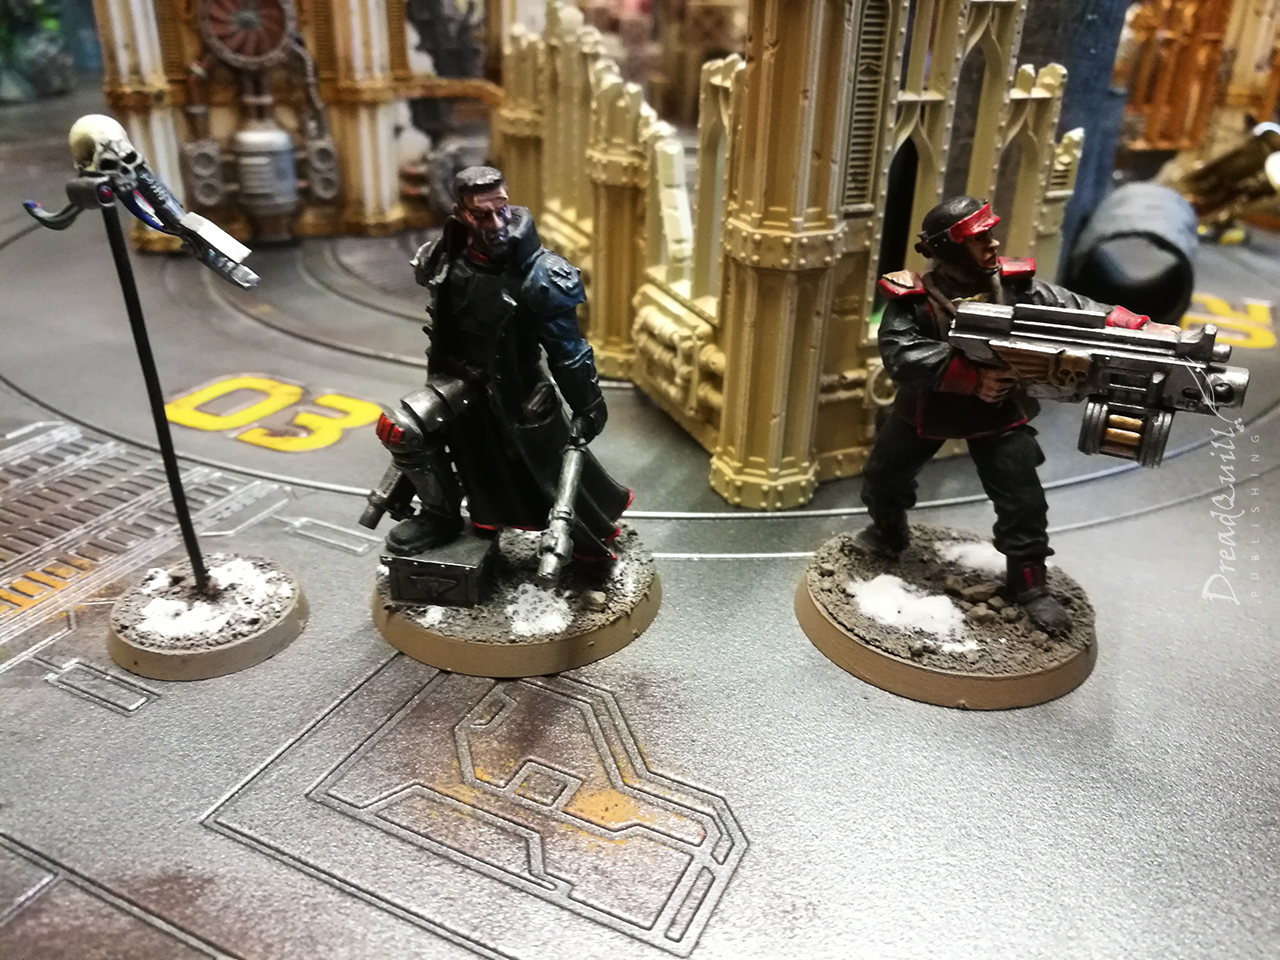
The mysterious strangers are back, this time with a different contingent than the expeditionary force on the surface of Asteroid 825-79C. The same strange medicae skull has followed them however, and unconfirmed reports suggest the warband have been conversing with it. Tech heresy perhaps? Rumours abound that the mysterious strangers are actually in service to a radical Inquisitor, but these rumours are so far unfounded.
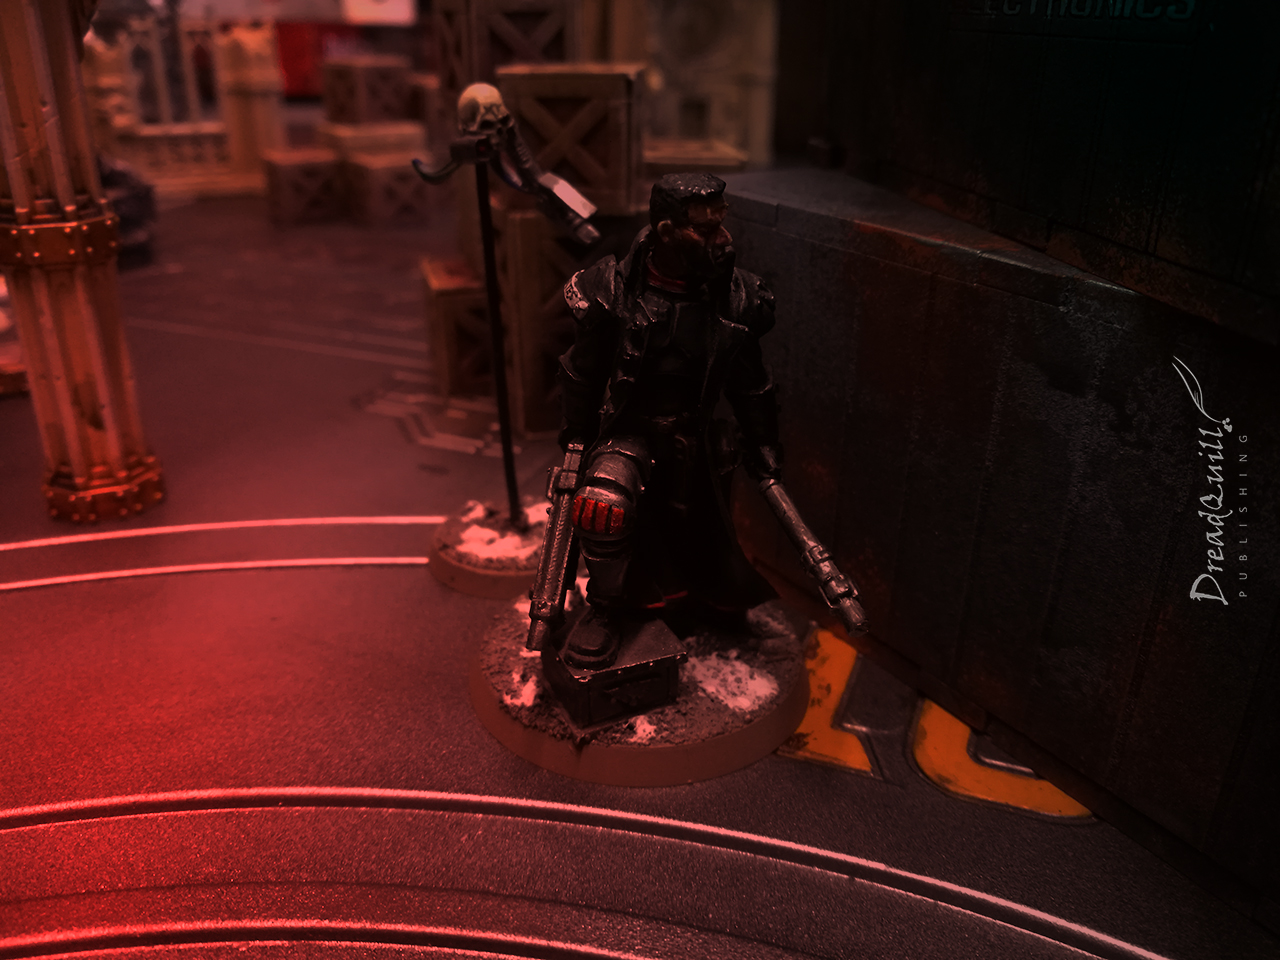
Raiding the warehouse for the mysterious strangers are Senior Arbitrator Lucius Havelock and Corporal Rynn Salem of the Bastille XIV Regiment. The first is an ex-Arbitrator (retired or volun-told?) with all the associated trimmings – shotgun, shock maul and stiff upper lip. Corporal Salem is the fire support, toting a drum-fed boltgun.
Although they didn’t experience it firsthand, their warband’s previous encounters with the xenos artefacts have left them concerned about letting them fall into the hands of fools. They are pursuing a Puritan objective – don’t let anyone escape with an artefact.
Deployment
I tried something new for deployment – the intent was to eliminate the first few turns of walking towards each other and Pausing For Breath round corners. We were on a time limit, both in game and out, and I wanted to jump straight into the action.
Players can deploy characters anywhere on the board, but they are placed slowest speed first. I figured this gives faster characters opportunity to counter-deploy and react to their surroundings better. It certainly worked for getting characters into the thick of it!
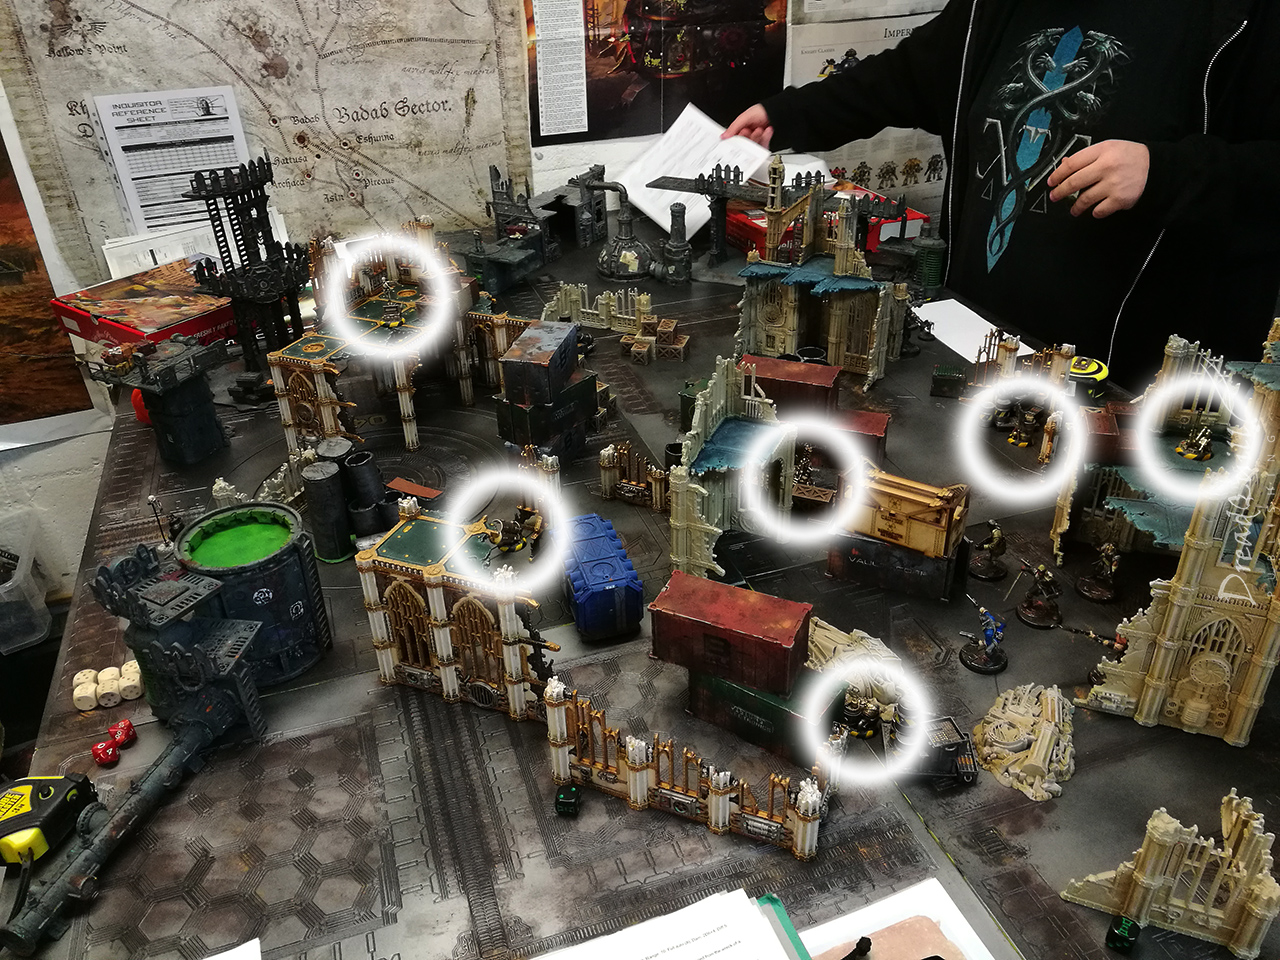
Warbands broadly deployed close to one another with the Longshoremen setting up on the east side entrance to the warehouse.

Clamps deploys in the centre of the board, round a container from one of the central loot tokens.

Fetch sets up on the outskirts of the warehouse to the north, overlooking Clamps.

Diamond One deploys above the ruined east entrance to the warehouse, directly above the Longshoremen.

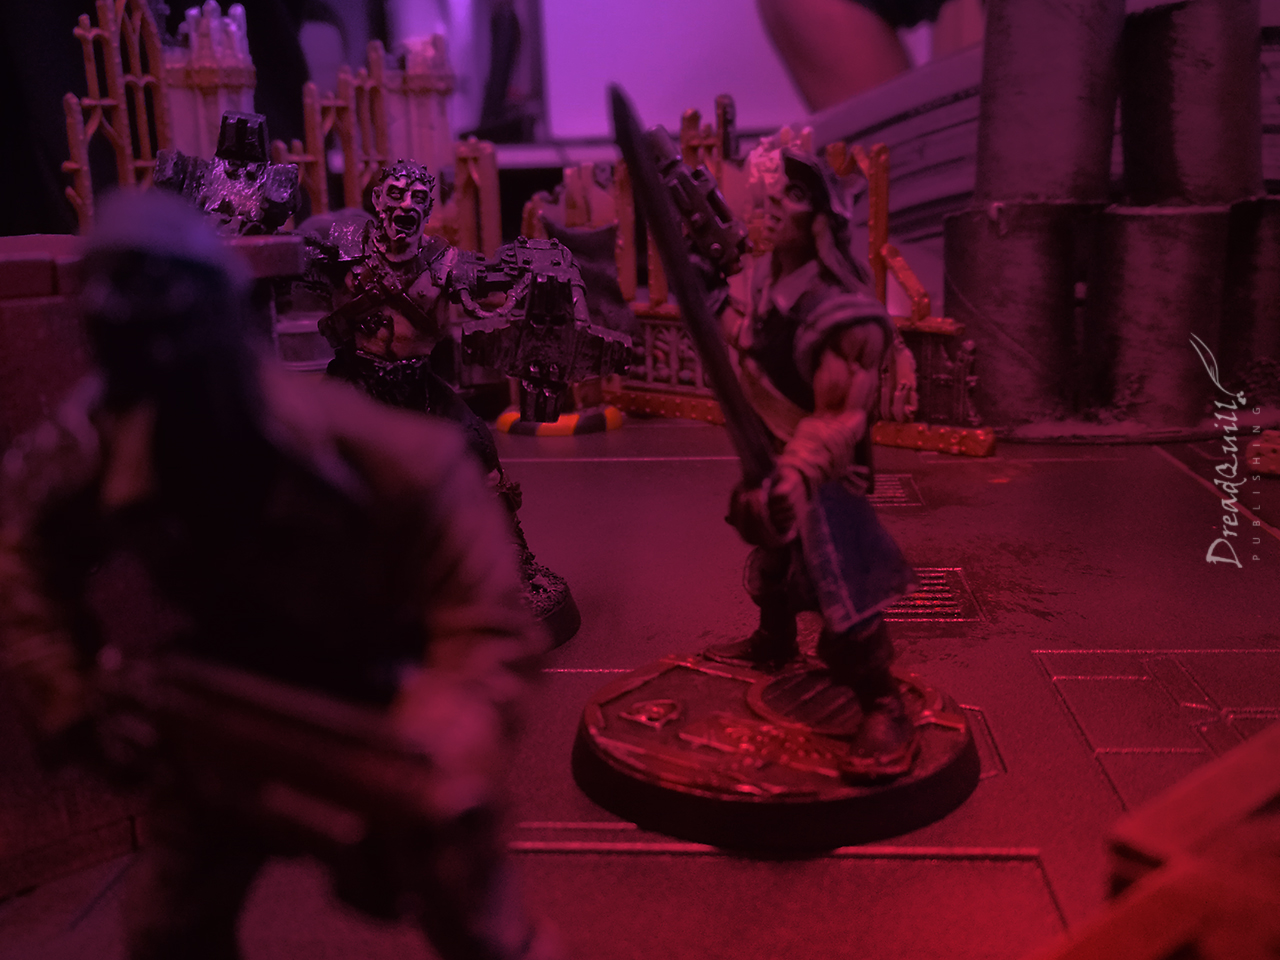
Kraw deploys directly next to the second central loot token.
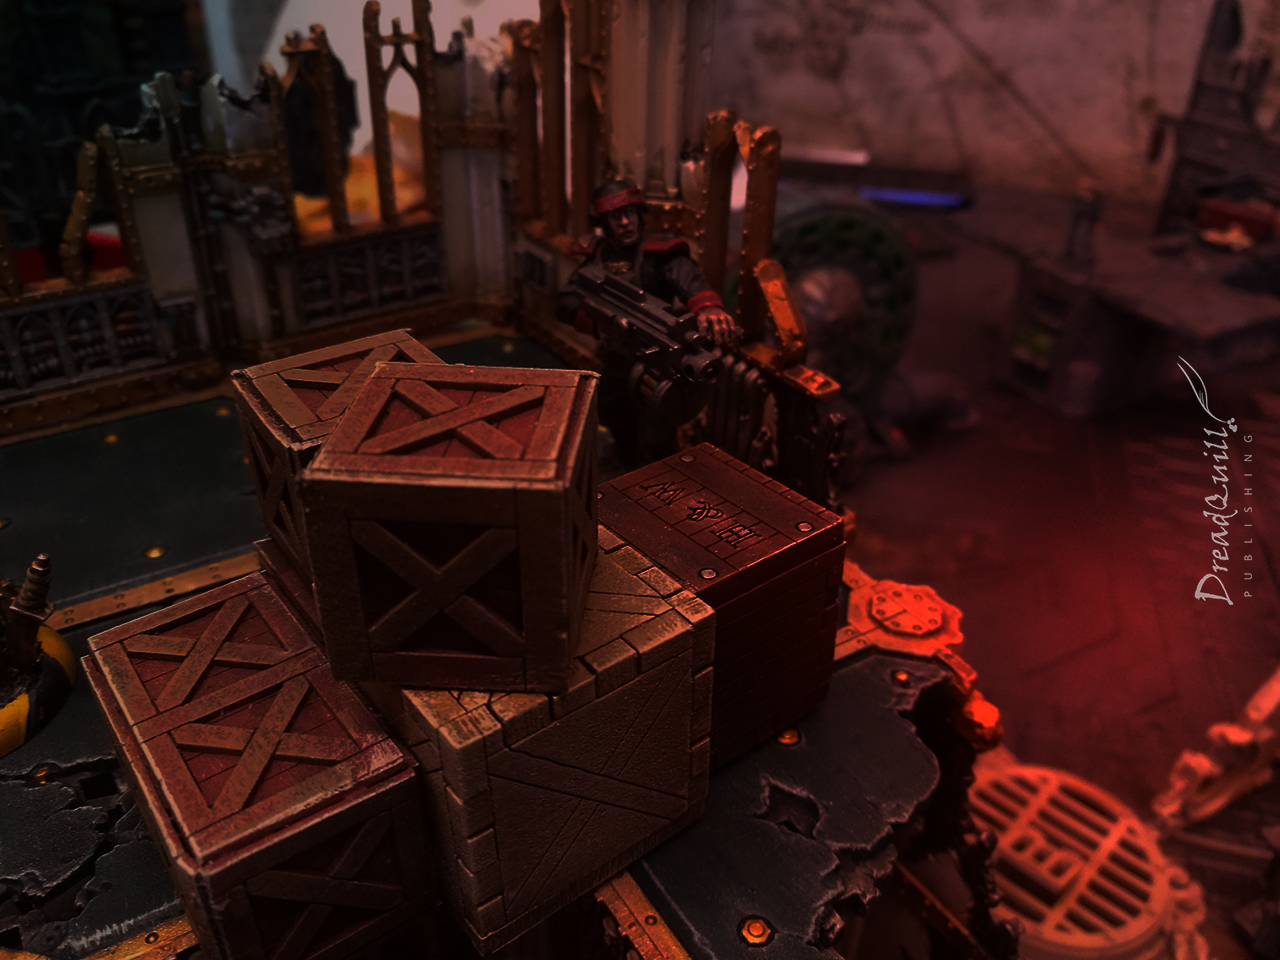
Tlaxcala and Dmitri set up centrally only a stone’s throw from Kraw. They appear intent on holding down the centre of the warehouse.
Arbitator Havelock sets up on the other side of Dmitri’s container – it was going to get real bloody real quick.
Finally, Corporal Salem deploys above the ruined west entrance overlooking the warehouse.
With everyone deployed in tinderbox proximity, it was time to let the sparks to fly.
Game On
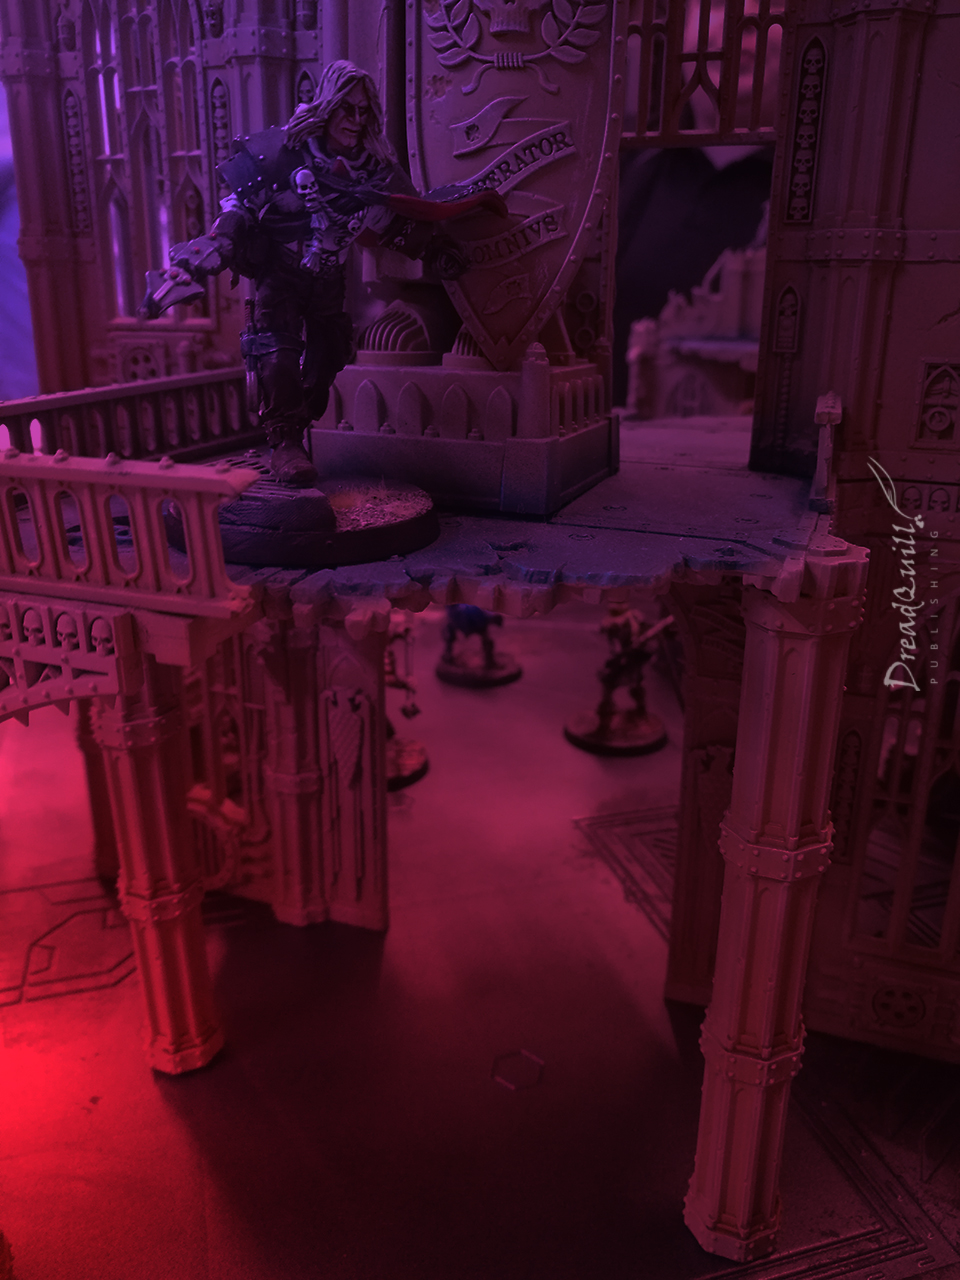
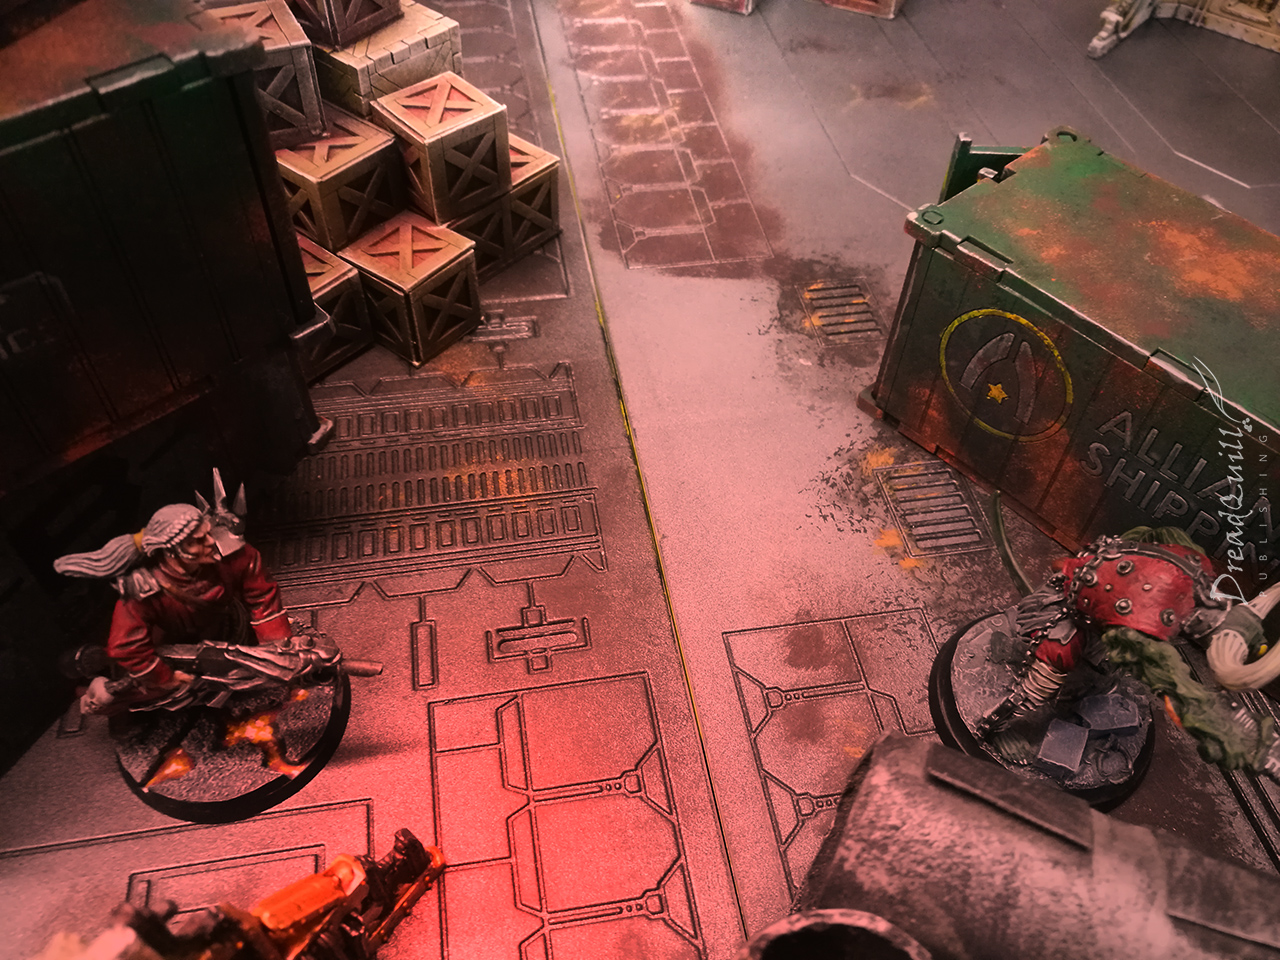
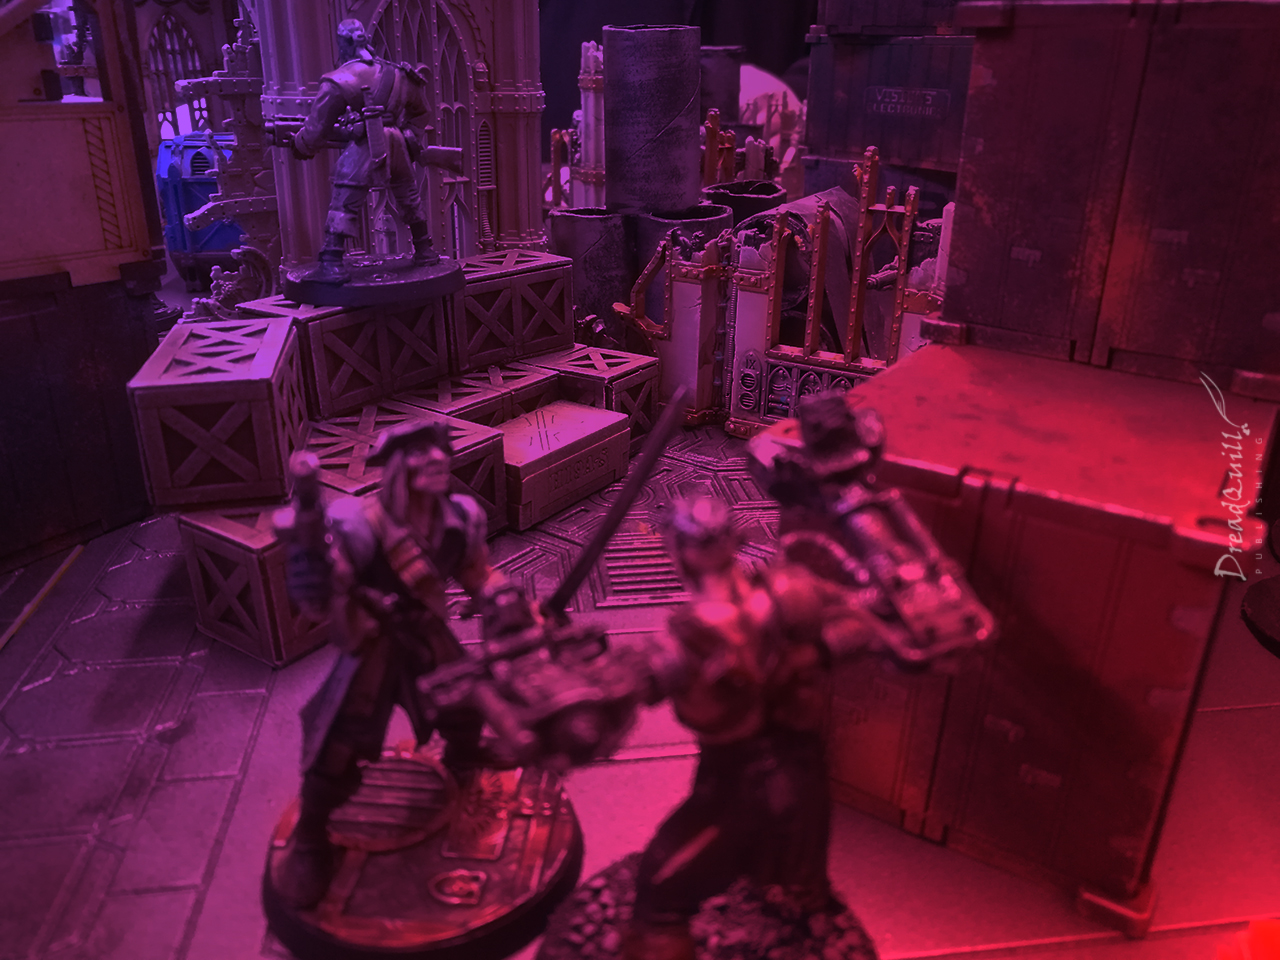
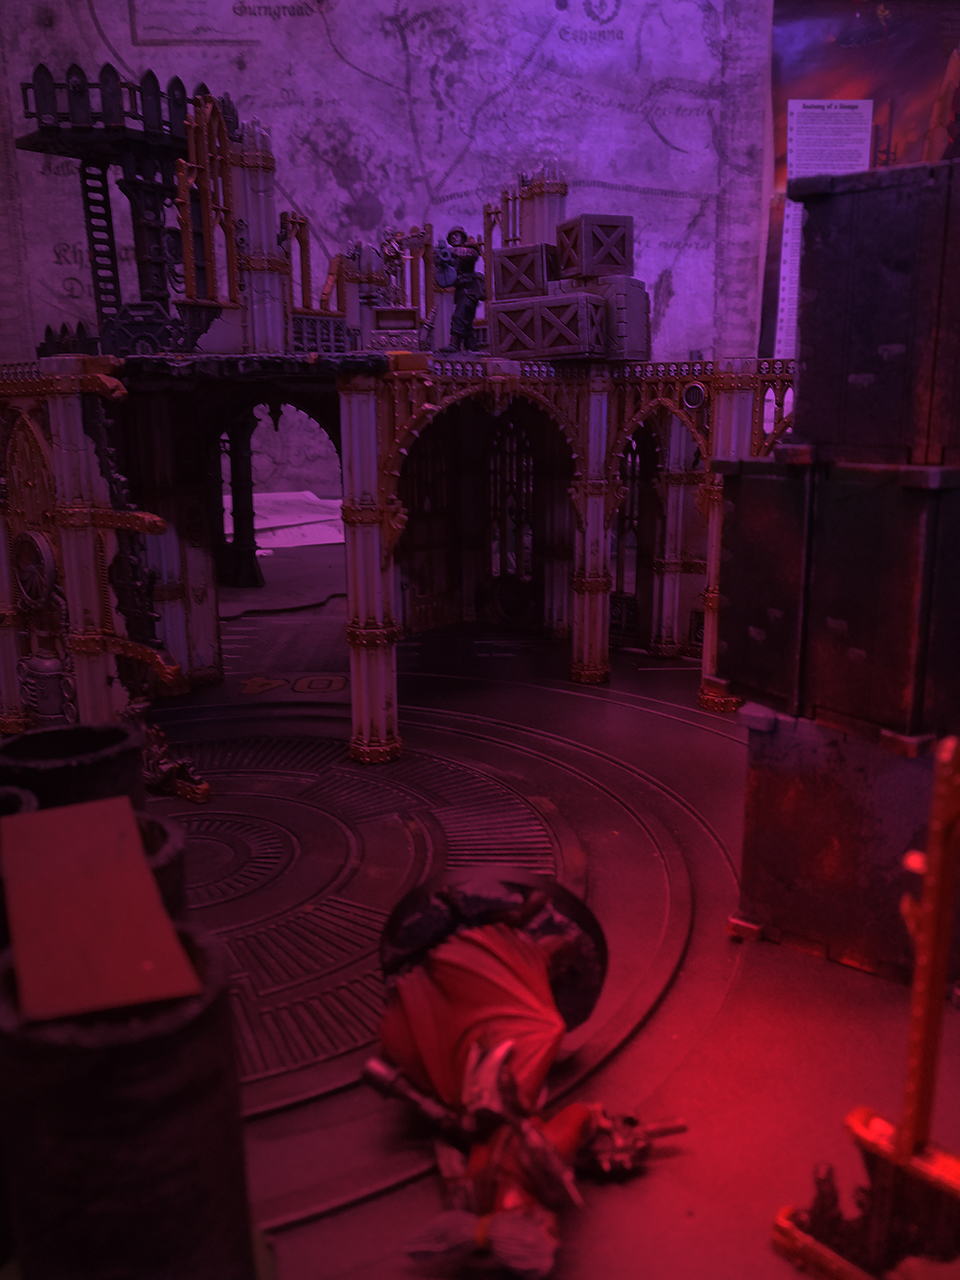
Arbitrator Havelock has pressed forward to the centre of the warehouse, confident that Corporal Salem has him covered. Dock alarms wail and the crimson glow of emergency lumens flood the warehouse.
In the distance he can hear the excited chatter of local dockers, and up close he can make out the heavy footsteps of Military-grade combat boots. He peers round the container to get a better look…

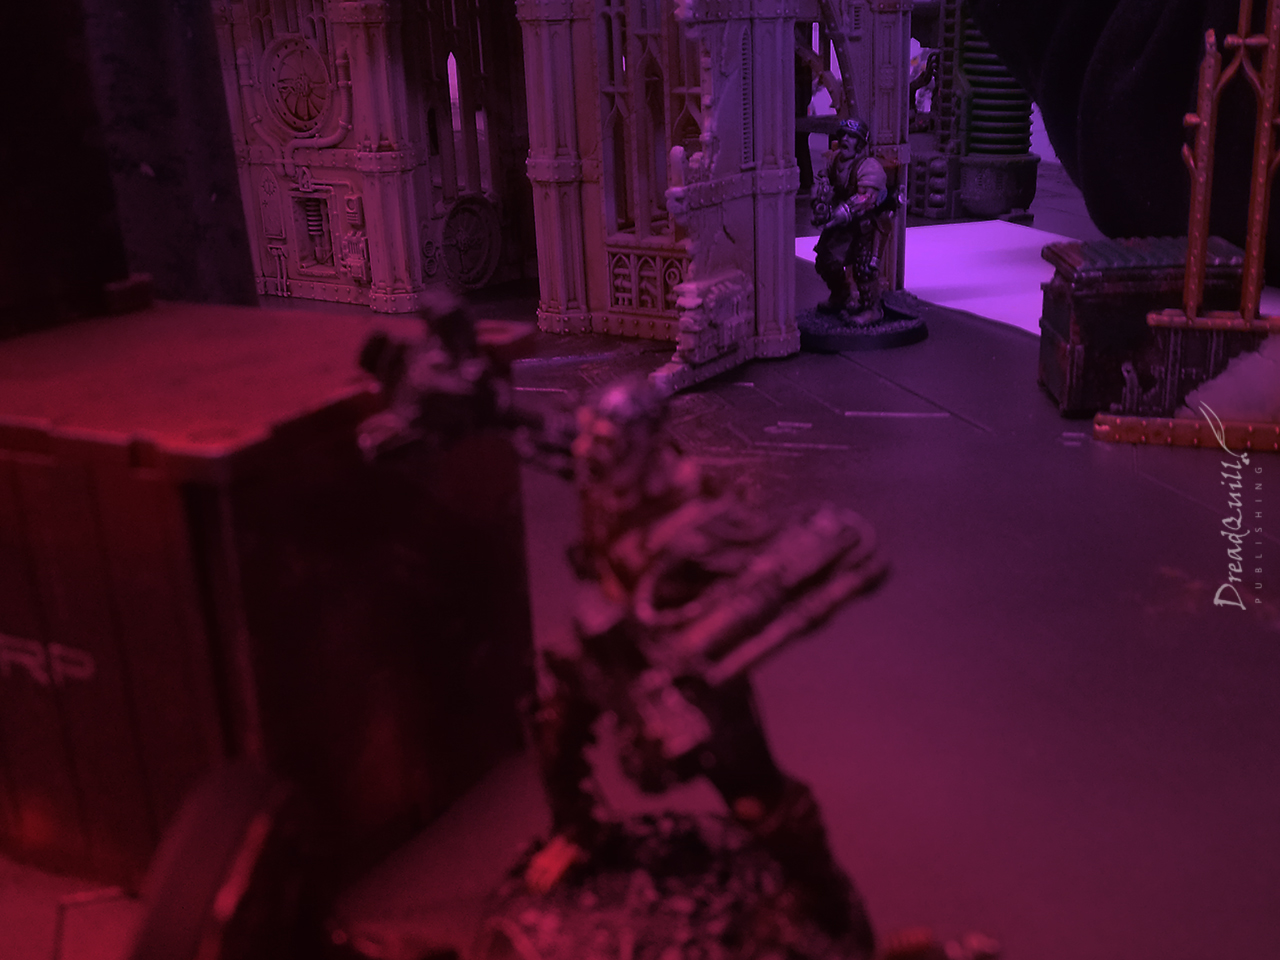
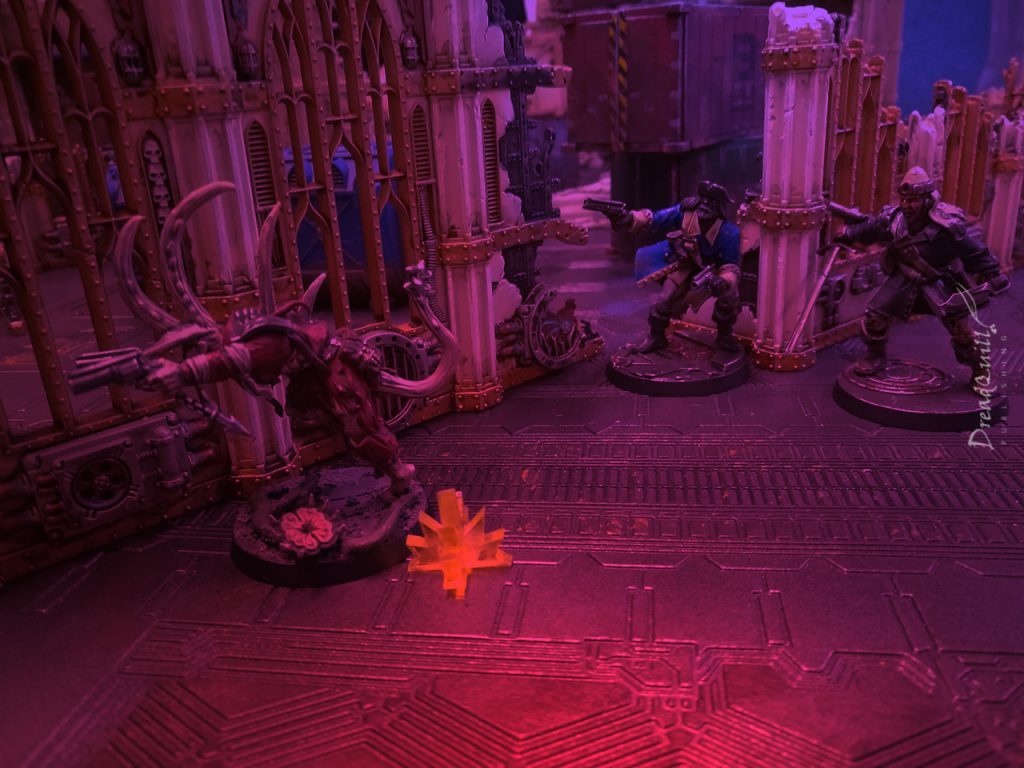
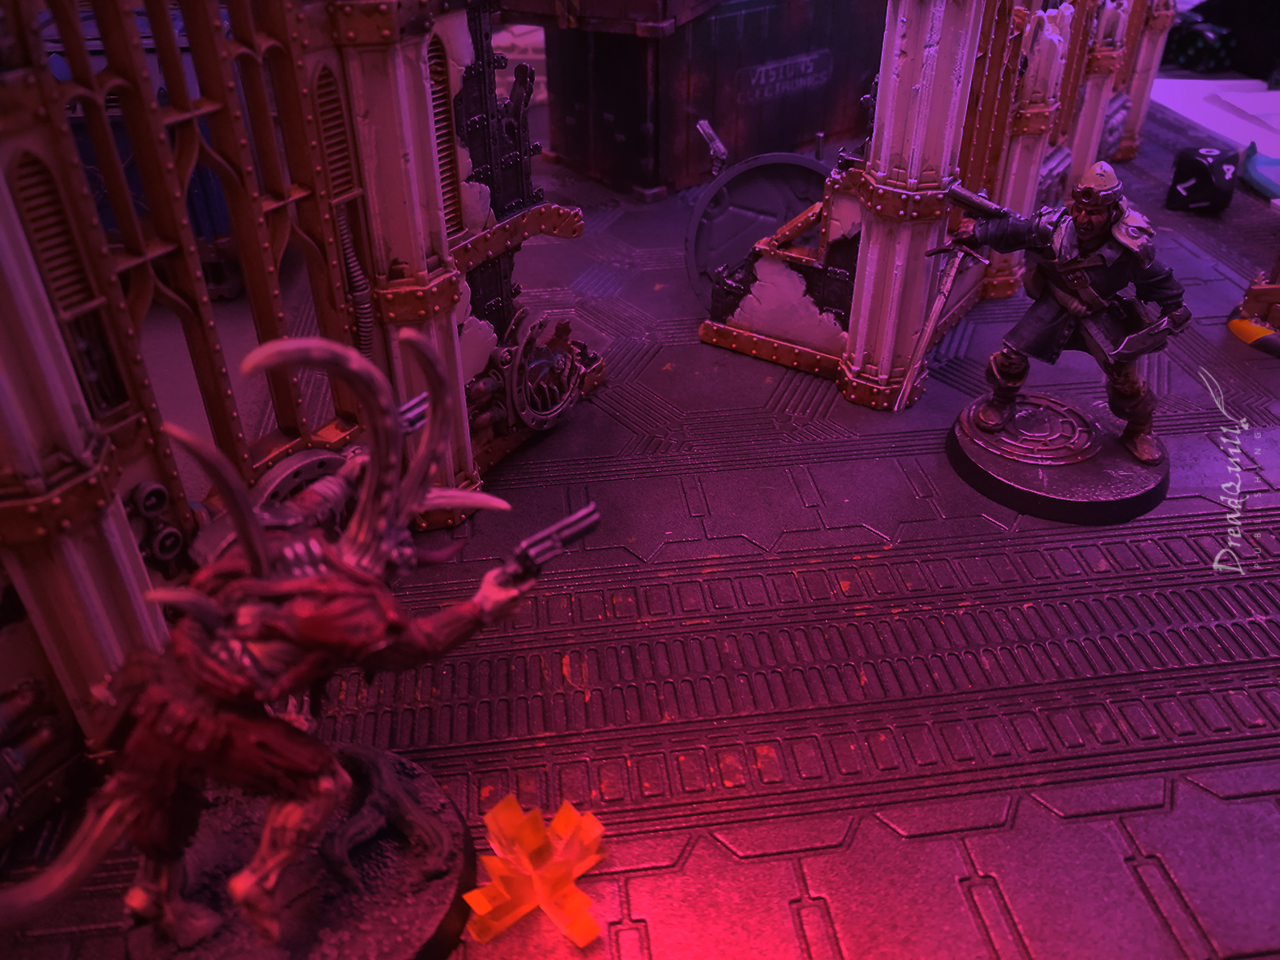
Kraw’s spider senses tingle and he checks his surroundings – he spots an all-too-familiar sight of a lawman’s silhouette cut against the crimson lights.
“They’re already here!” He hisses, squeezing off a pair of manstopper rounds against the Arbitrator. They explode off his shoulder, biting deep through his carapace armour. The gunshots ring out across the warehouse – if the warbands weren’t aware of other parties present, they were now.
Dmitri presses himself up against the container, peeking round but not spotting Kraw’s target. Havelock grimaces in pain as his master’s medicae skull goes about its duty, knitting his torn shoulder back together.
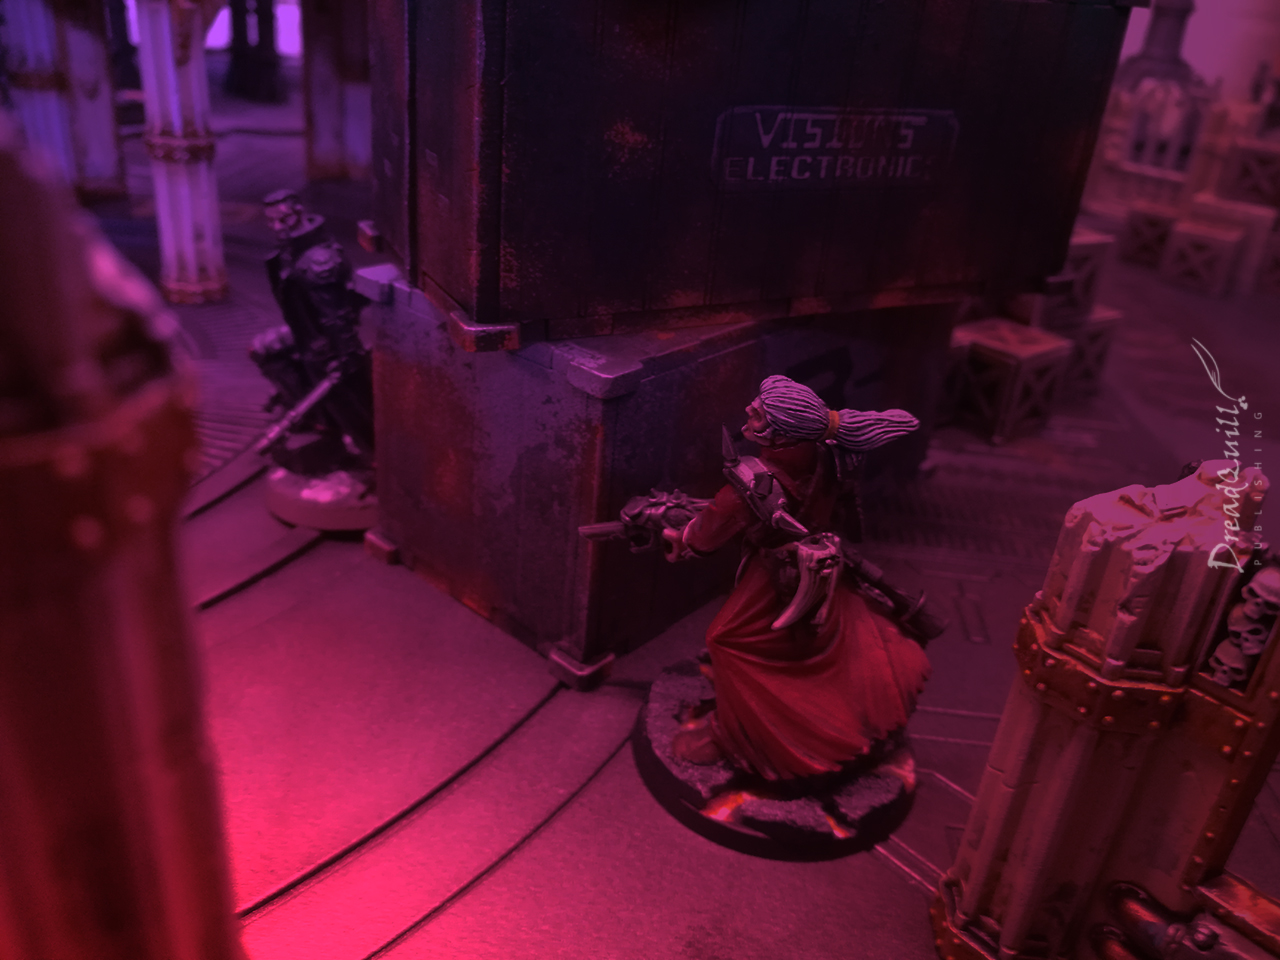
On the other side of the warehouse, Diamond One moves through the archway to get a better view of the gunshots he just heard. Below him are the chattering Longshoremen, somewhat more alert since the sound of gunfire.
He comes out to a ruined balcony overlooking the east side of the warehouse and crouches behind some crates, readying his shuriken pistol. There are far more people here than he’d expected, and even with the help of the Deathclocks Guild he’d hired, he didn’t fancy his chances. If only there was some way to-

Hello there! A loot token right next to me? Don’t mind if I do…
In a single action, Diamond One busts open the crate and finds a xenos artefact. In a subsequent turn, he bundles it up under his arm (passing his Willpower test to avoid a hallucinogenic effect, darn it!) and makes a break for where he came in.
The Arbitrator player lets out a quiet “Well, shit.” as he realises his Puritan objective has already been failed. Time for plan B…

The Longshoremen split up into two parties – Drummer and Staz heading north, while the other three head south. The southern party, lead by Captain Ashford, edge towards the sound of gunfire.
The northern party stumble across their first loot token and Staz sets to work rifling through it for goodies.
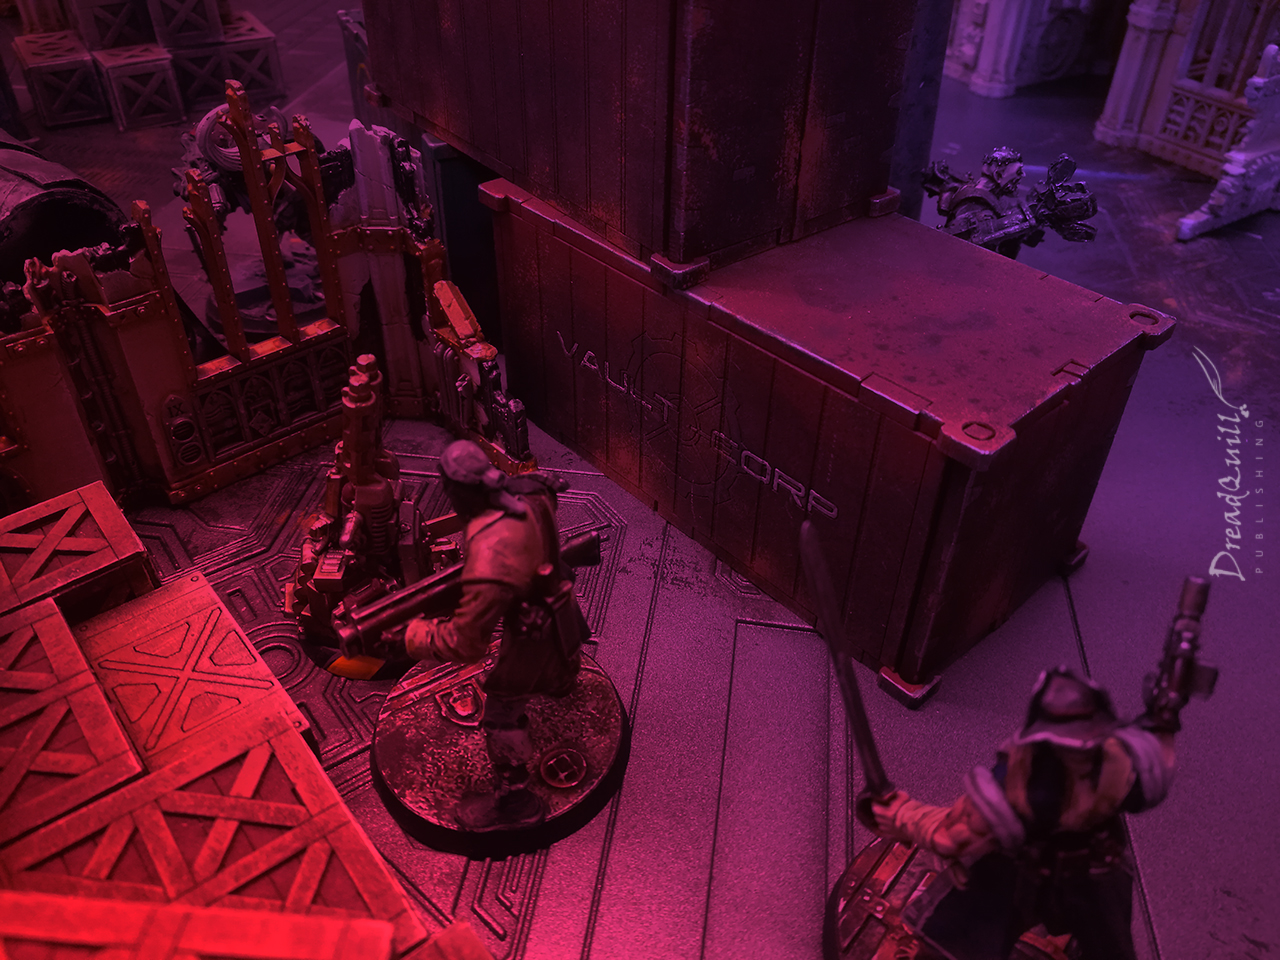
Clamps had been inloaded with a layout of the warehouse prior to arrival, so he knew his way around. He’d been given a simple directive – clamp anything that isn’t Deathclocks Guild property or their employer.
He hears excited cackling from the longshoremen around the container and lumbers into combat, clamping excitedly.
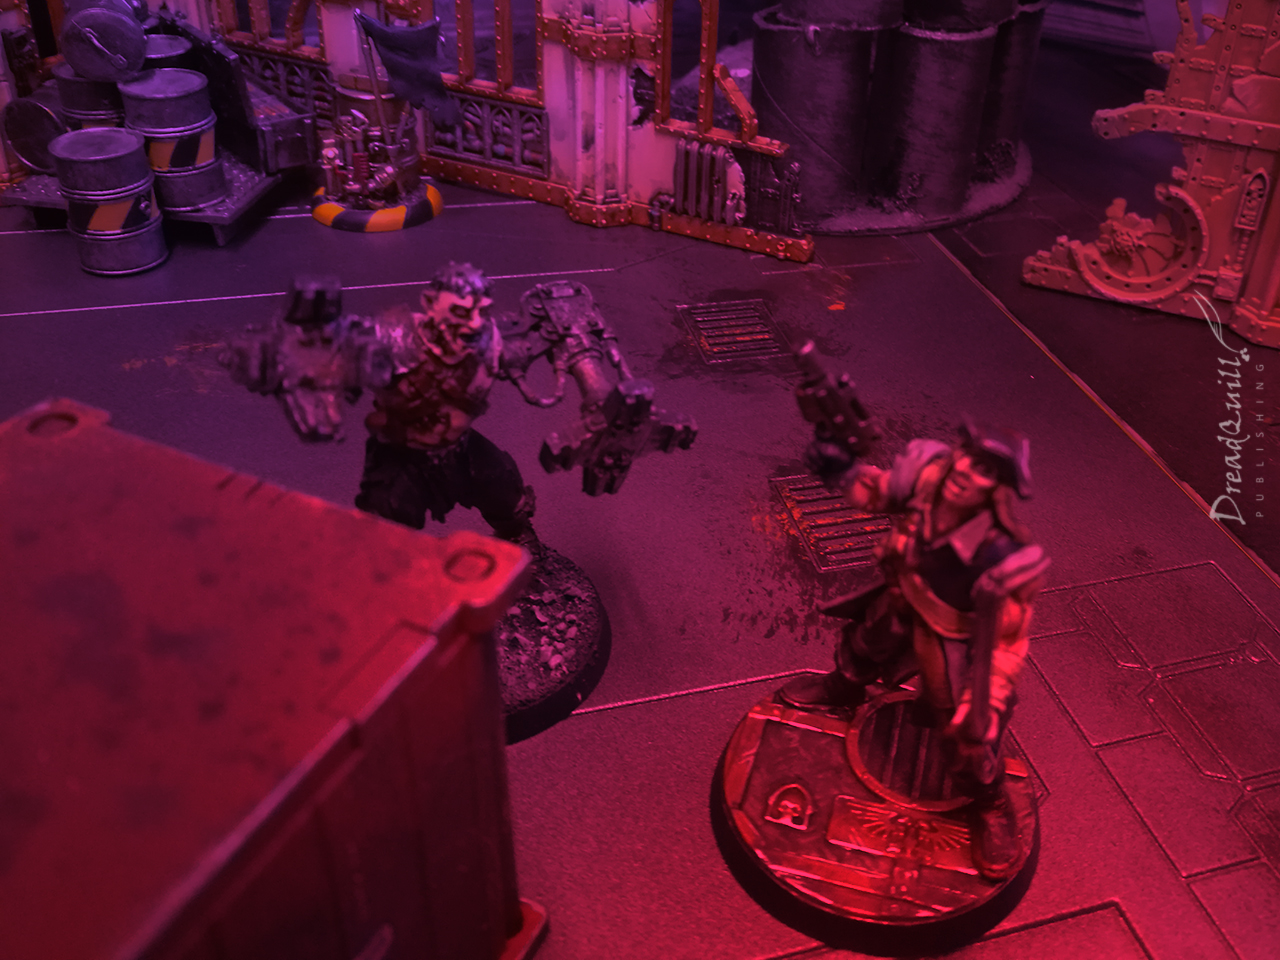
He takes First Mate Drummer by surprise, but that isn’t enough to land a blow against him. Drummer deftly dodges his clumsy swipes, returning the favour with his sabre and causing a few glancing blows.
With Clamps unable to hit and Drummer unable to hurt, this started to look like a stalemate.
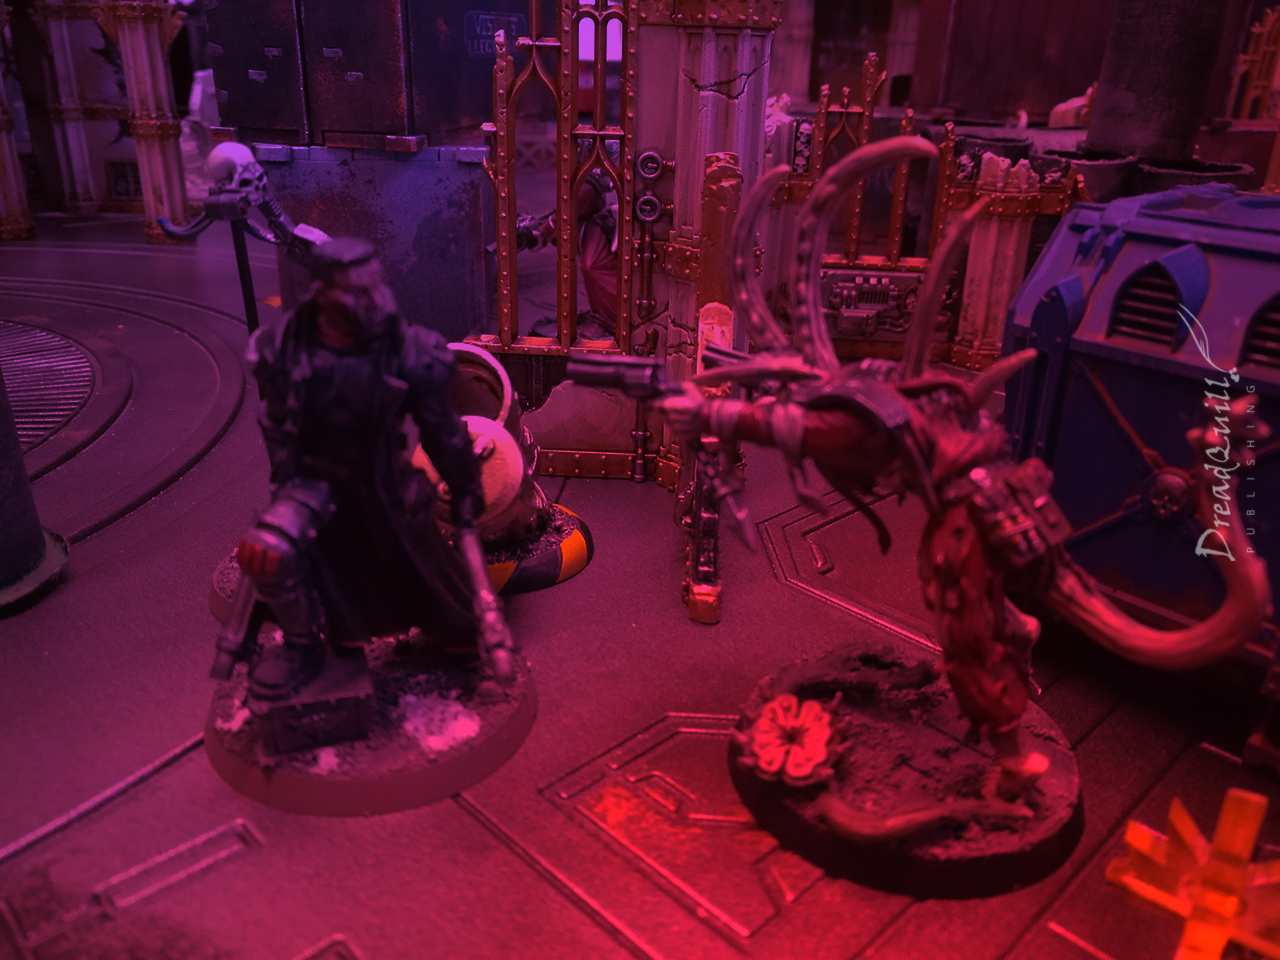
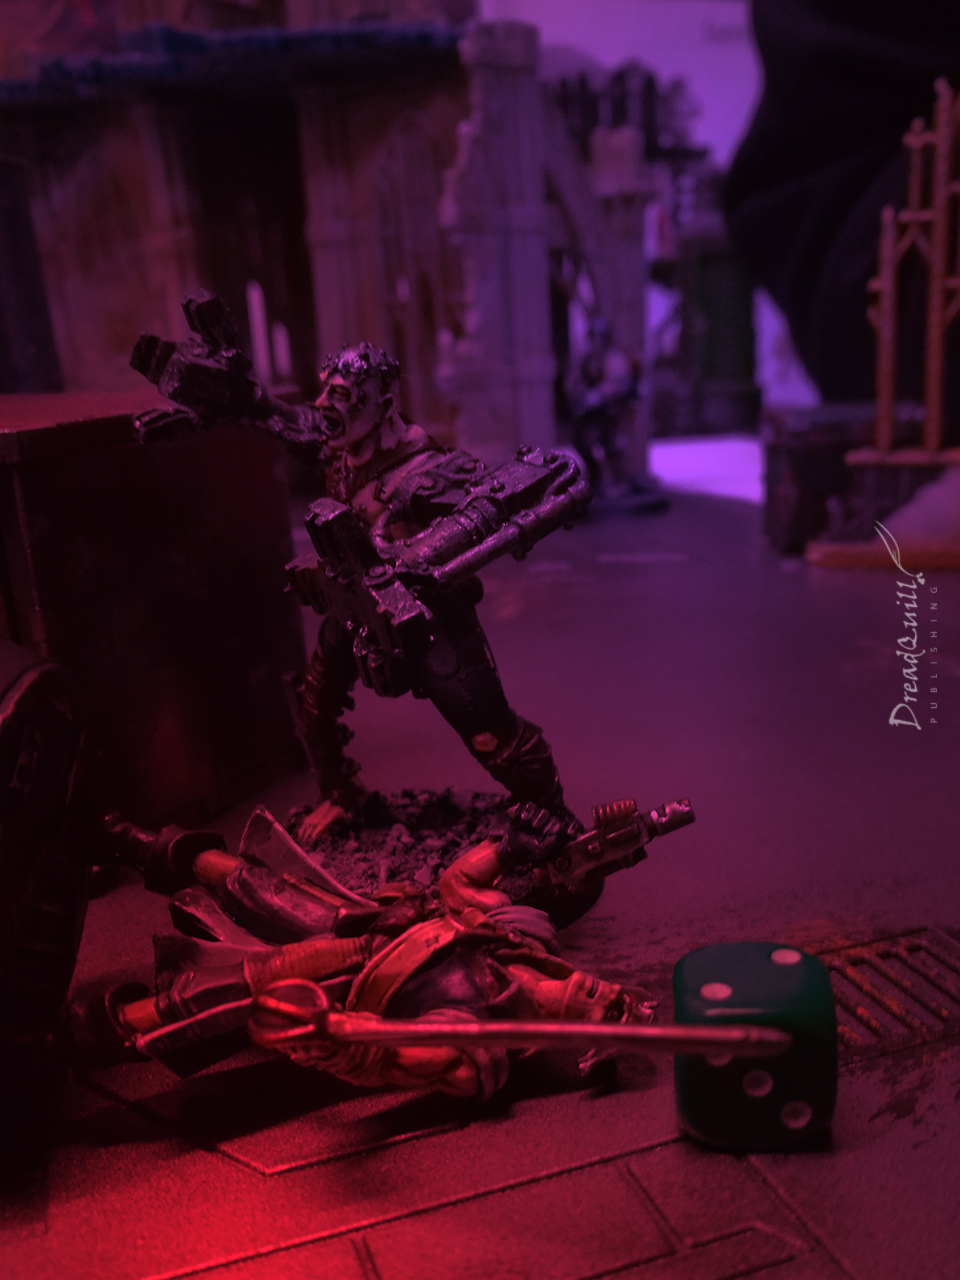
It takes Havelock no time to identify these mutants as Chaos-worshipping scum – the worst kind of mutant – and charges at Kraw across the bulkhead floor. His shock maul is held in his off-hand as his right arm is still too torn up to hold a weapon, and he can’t land a solid blow against the jinking, flickering Chaos cultist.
Dmitri takes advantage of the distraction and flanks the Arbitrator, peppering him with lasfire from his hell-forged lasgun. A series of duff damage rolls mean the attacks bounce harmlessly off Havelock’s carapace armour, giving Dmitri a slight sense of panic.
Kraw recognises quite quickly that even a disadvantaged Arbitrator is still an Arbitrator and doesn’t fancy his chances, so he backs out to try and bring his pistols to bear again.
Dmitri decides to play his trump card, and reaches for his Balaghron Horn.
It takes him the best part of two turns to finally equip and toot his horn, meanwhile Kraw and Havelock skip around one another in a deadly dance.
The horrifying toot washes over the warehouse, and characters from all over clap hands to ears to keep the ghastly noise from bursting their eardrums. People all over the board get stunned, including Salem (who hadn’t accomplished anything at this point anyway)and a few Longshoremen.
Our major players, particularly the Arbitrator, were entirely unaffected. Kraw uses the distraction to scamper off into the warehouse, while Havelock slowly turns round.
While Clamps and Drummer were distracted with one another, Staz finished searching his loot token and found nothing. He figured the First Mate was under no real threat from the jumped-up JCB so began clambering up some nearby crates to get a better view of his surroundings.
Then the toot happened.
Dmitri’s Balagron horn booms across the warehouse – Drummer and Clamps are unaffected, but Staz falls to his knees and clutches his head, blood streaming from his nose.
While he’s stunned the cunning Tlaxcala waits in the wings, steadying his aim with his implant plasma gun.
Guilder Fetch had been keeping an eye on proceedings from afar and decided it was time to strike. He’d kept a photon flash grenade loaded in the underslung launcher and dropped it right behind Clamps’, attempting to stun Drummer. The tricky sod passed his Initiative test, so Fetch shouldered his lasgun and fired into combat.
What’s a bit of friendly fire between friends?
In a burst of effectiveness, Fetch threads the needle beween Clamps’ legs and catching Drummer square in the groin. He hits the deck, stunned. Clamps wastes no time in taking advantage of the situation and plows both clamps down straight into Drummer’s torso.
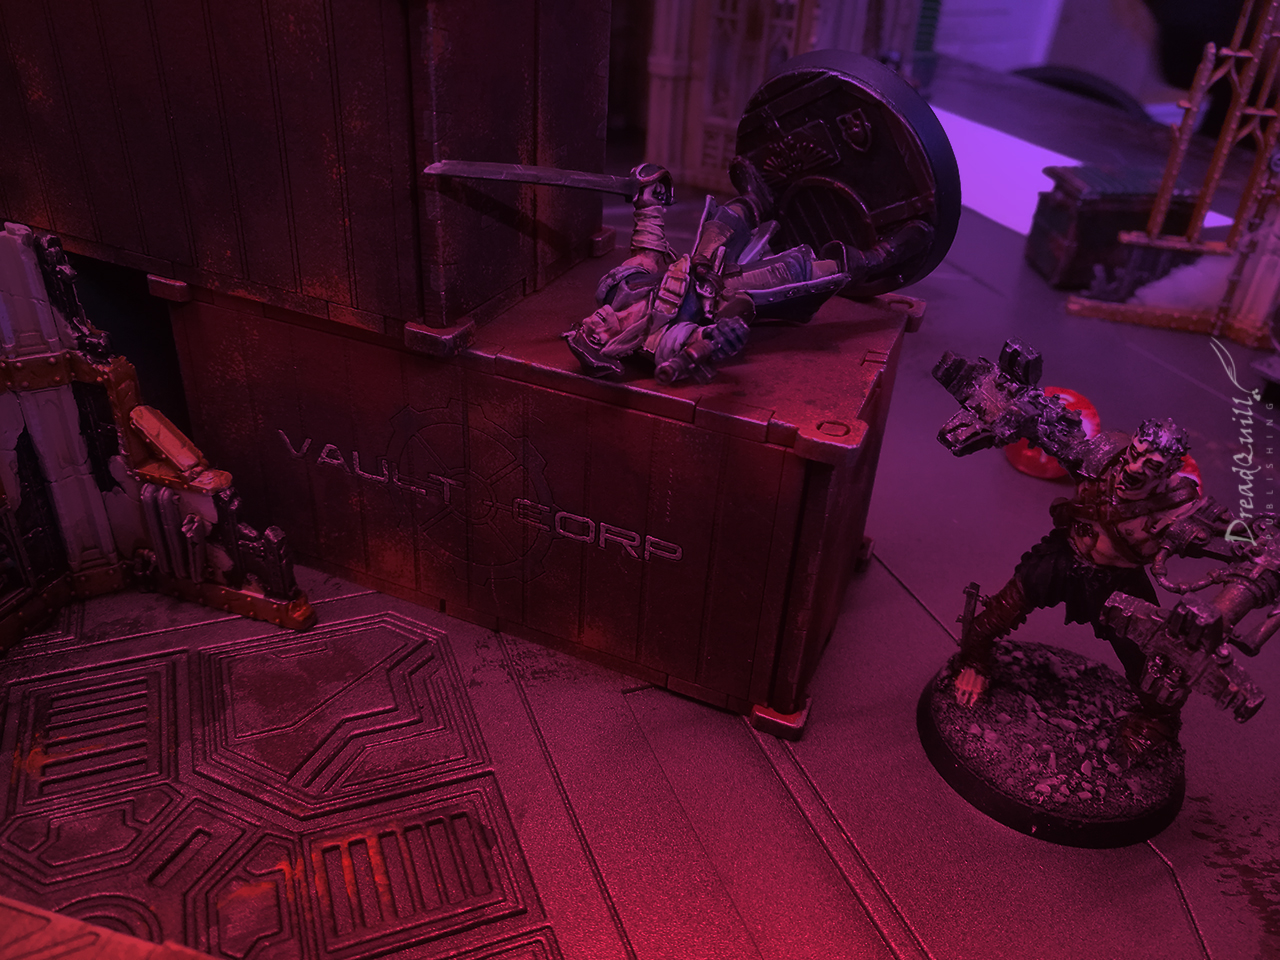
What follows is a Critical Injury to the groin as Drummer is raised into the air and juiced – all his fluids squeezed from his lifeless corpse, somewhat like that poor Ork from the intro of Dawn of War 1.

Not content with merely clamping Drummer instantly to death, he hurls the body like a ragdoll at the stunned Staz. Fortunately for Staz, Clamps’ aim isn’t all too good, so Drummer’s body bounces off the wall and lands on the nearby container with an awful wet thud.
Back on the western conflict, Kraw has used the Death Toot as a distraction to slip out from underneath the Arbitrator’s nose and past two unsuspecting Longshoremen.

Dmitri and the Arbitrator exchange shots at close range – both digging small chunks out of each other, but not substantial enough to tip the conflict one way or the other.
The characters can also hear the sounds of the real Arbitrators in the distance – they only have a few turns left before they’ll be overrun by the law.

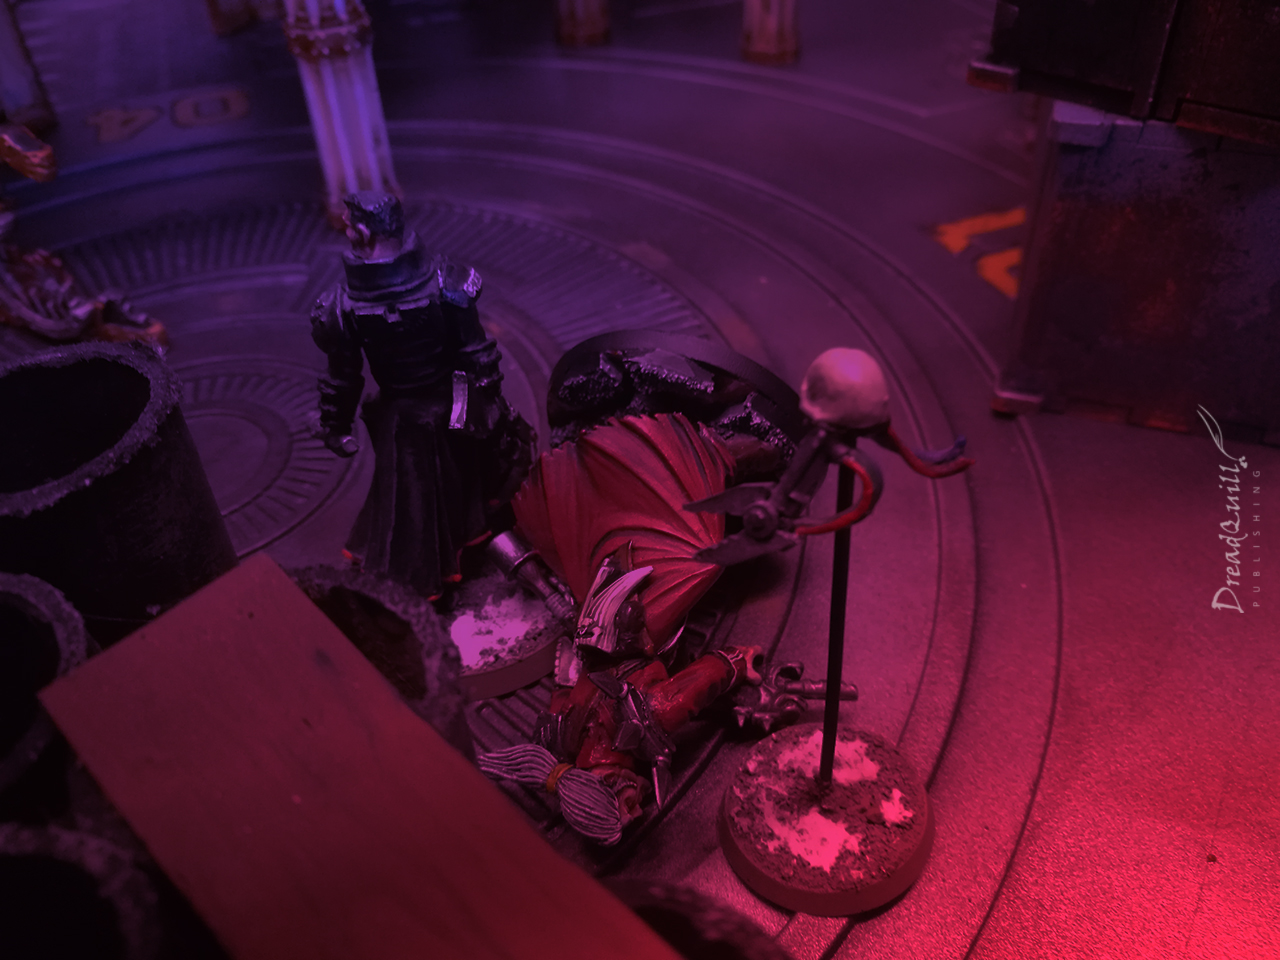
With the Arbitrator’s objective unattainable thanks to Diamond One’s stroke of early-game luck, Havelock decides Dmitri is his silver medal. He spots Corporal Salem is (finally) in position to contribute, and gives him a definitive hand signal.
Caleb opens up with his bolter, blowing gread wads of flesh from Dmitri’s stomach. He unceremoniously slumps over, rancid blood pooling around him. As loathe as Havelock is to administer assitance to an agent of the Archenemy, he instructs his medicae skull to perform life-saving duties on Dmitri. You can’t interrogate a corpse, after all.
The sound of a plasma weapon firing ripples out across the warehouse, followed by the sound of hacking, phlegmy laughter. Tlaxcala’s aim was true, and vaporised Staz’s head with a well-placed shot from his plasma gun.
Knowing the Arbites would arrive before he could get a second shot off, Tlaxcala slinks back into the shadows and off the board, cackling away to himself.
Kraw tries to make his getaway through the same route as the Longshoremen – Grigori barely notices the unsubstantial blur moving past, but Captain Ashford is wiser. He opens up with his own twin revolvers, plinking a few shots off Kraw’s boney extremities.
Kraw about-faces and blasts Captain Ashford off his feet, knocking him back through the ruined walls of the warehouse. Grigori decides discretion is the better part of valour and disappears back through the hole they came from.
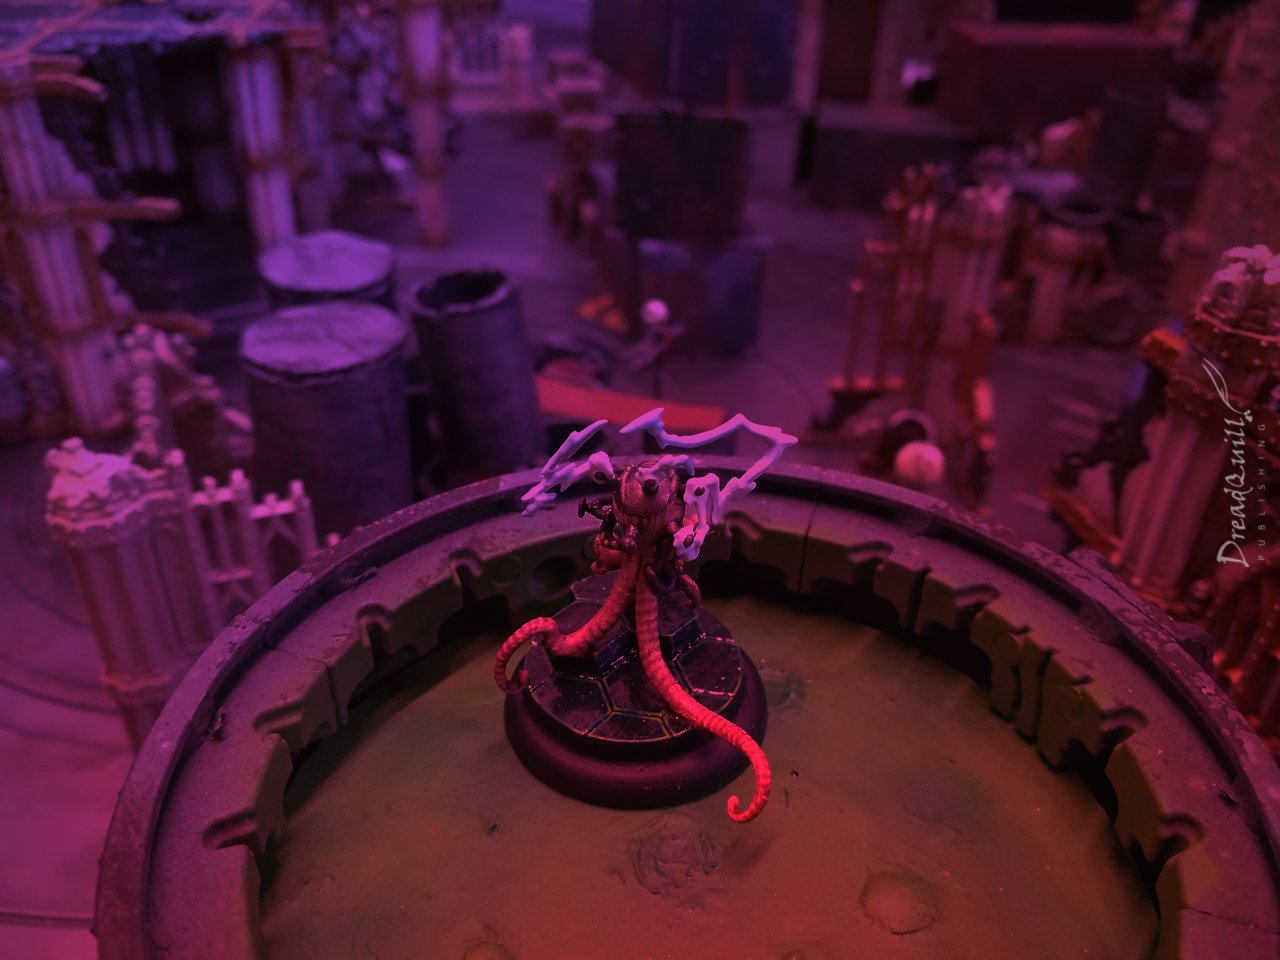
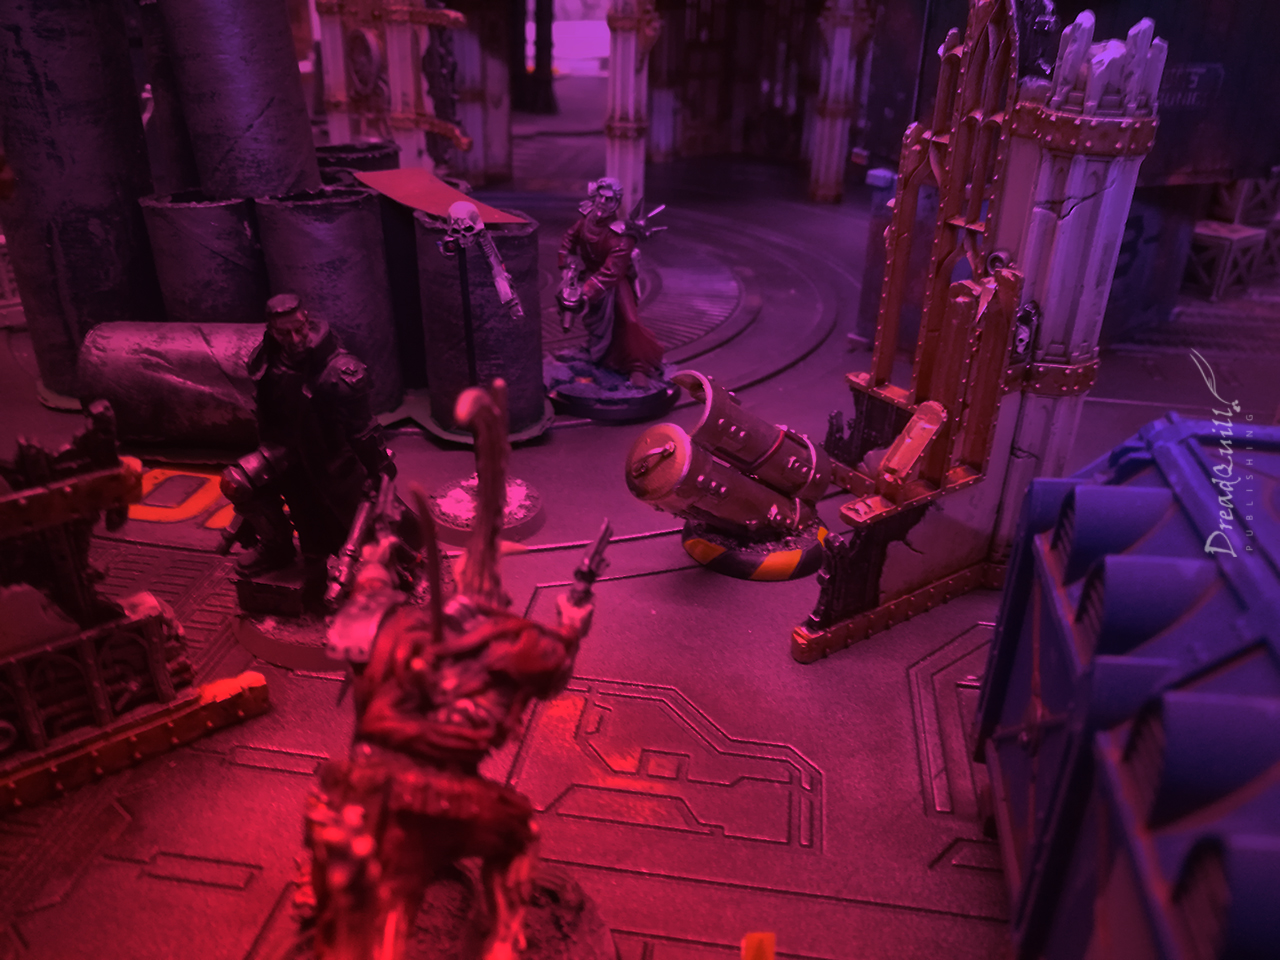
The strange electrical drone continues to carry out its nefarious task. It was noticed by some characters but they weren’t able to capture it to discover its secrets. What is its purpose?
Determined not to leave with figurative or literal empty hands, Havelock cuffs the freshly-stabilised Dmitri and begins to drag him off. He has a date with a couple of knuckles in a nearby alleyway that Havelock is keen for him to be punctual for.
Unless…
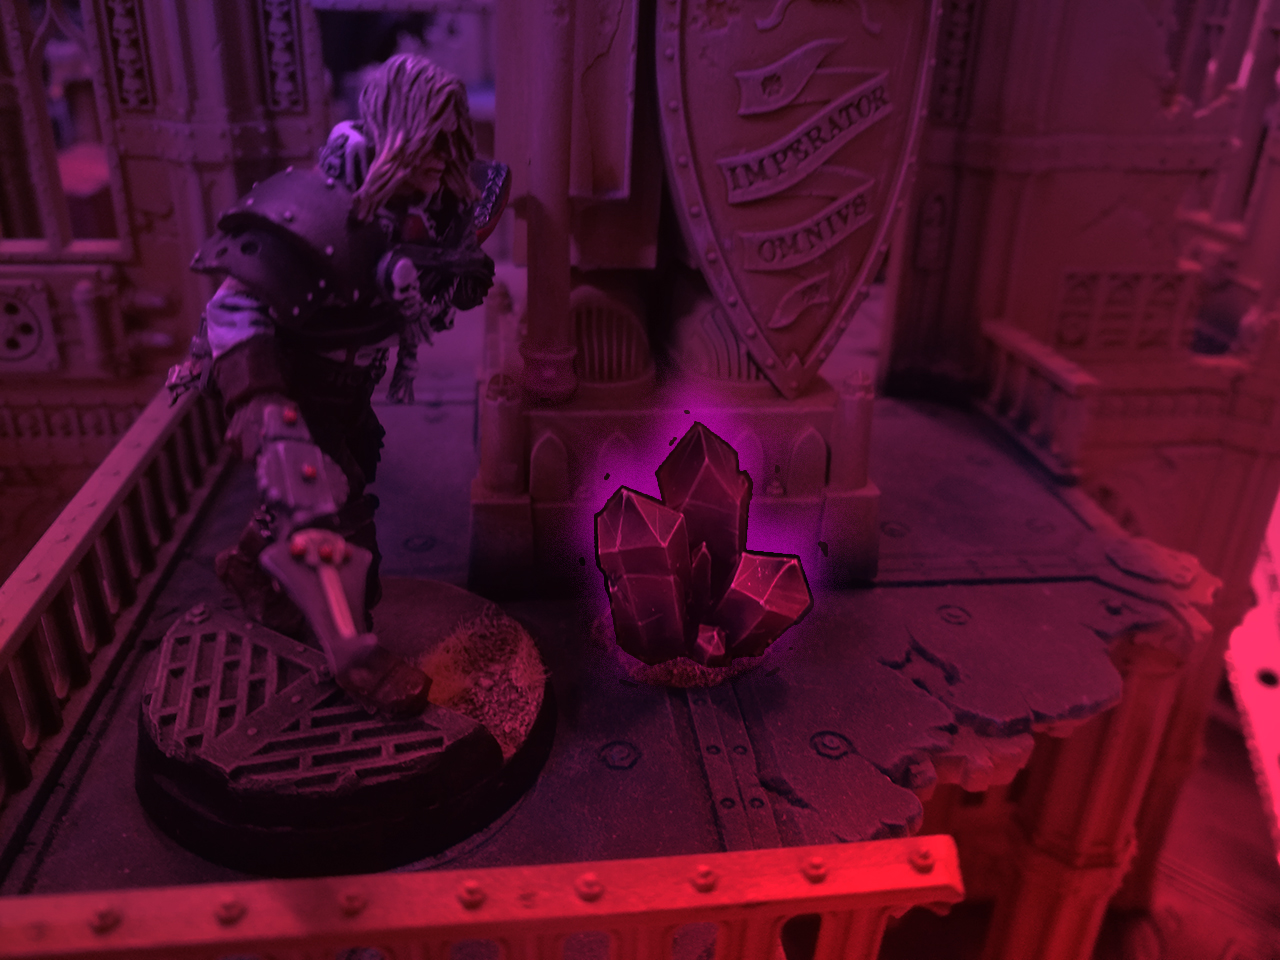
Before the Arbites arrive, Havelock couldn’t resist poking his nose into the one untouched loot token the Chaos cultists had been so keen to get their hands on. Inside is an artefact of strange provedence and unknown power – it radiates warp energy, making him stick to his stomach to even lay eyes on it.
Whatever it is, it’s bad news.
He’s presented with a conundrum – make off with a tool of the enemy, or make off with one of the enemy.
He quickly decides that the warp artefact is a matter for the (proper) Arbites and he can get some quick answers from his new Chaos acquaintance.
He drags off Dmitri, beats him to near death (again) and leaves him bleeding in the corner of a manufactorum nearby. Dmitri thinks he’s escaped death a second time, Havelock knows better…

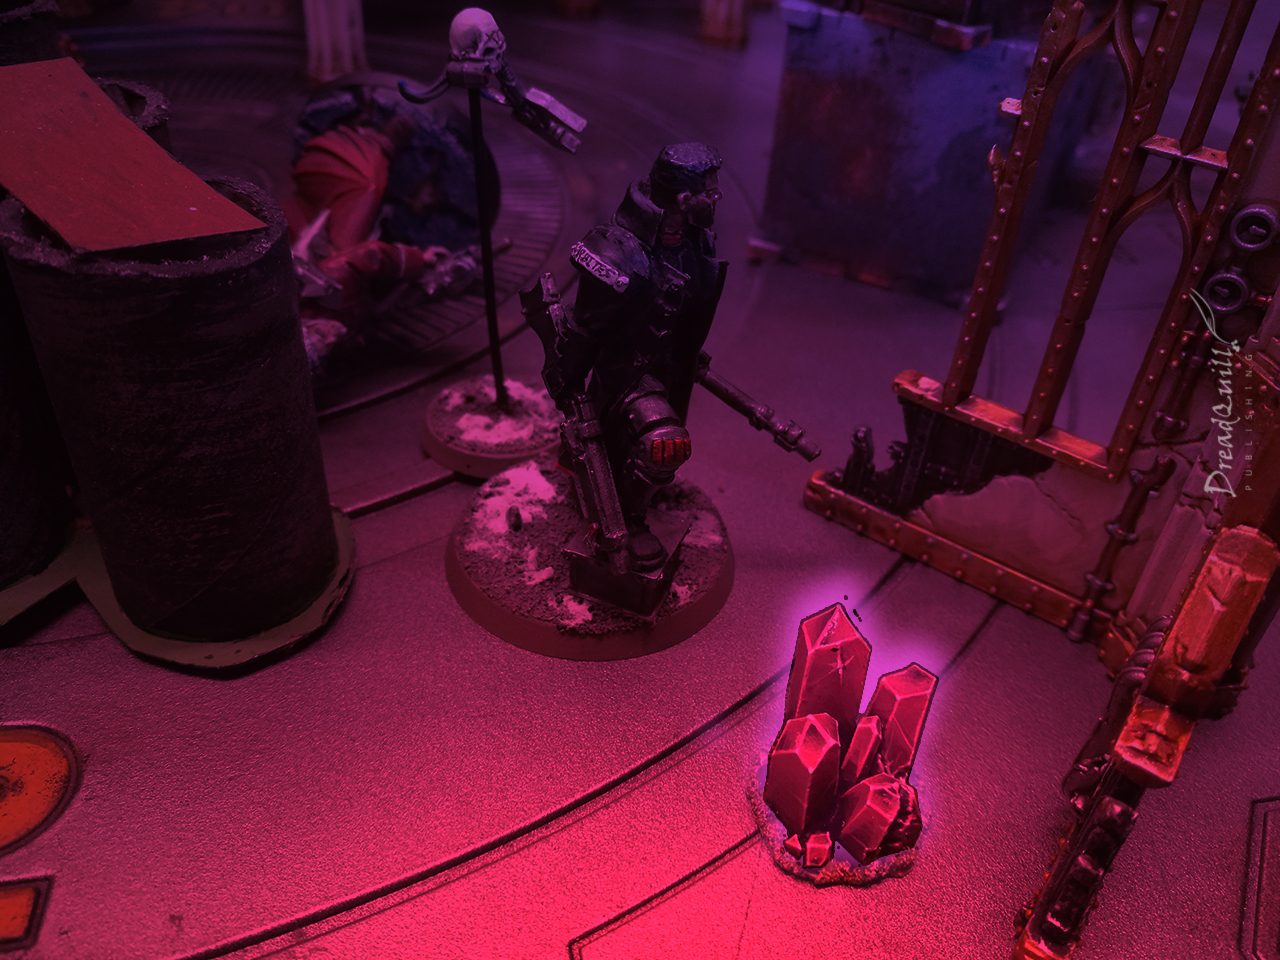
In the closing actions of the game, Fetch gets greedy and pops open another loot token. This final crystal proves to be his undoing – as he touches it, an ice cold sensation shoots up his arm and swallows his conscious thought. He goes to scream but no words come out, and collapses on the floor.
Just in time for the Arbites to arrive…
Roundup
Diamond’s Interests snagged a crystal early on, completing their objective. Unfortunately the Crimson Wake were fighting a battle on all sides from the beginning and never got their hands on one of the xenos artefacts and left the board empty handed.
Although the Arbitrator and Corporal failed to prevent anyone leaving the board with a crystal, they did manage to cart off a heretic with valuable information, so they were awarded a Vital Evidence as recompense!
The deployment for this game was a gamble – I’d never tried it before, but I think it worked very well. I wouldn’t want it for every scenario, but for close quarters ones like this I think it worked really well.
Typically you could spend several turns of characters walking cautiously towards each other, pausing for breath around corners, generally taking a while to get to the Good Stuff. This way we had action from the first turn, as our characters had already pre-sneaked their way into the optimal positions of carnage. Definitely one to try again!
Week 1 end results
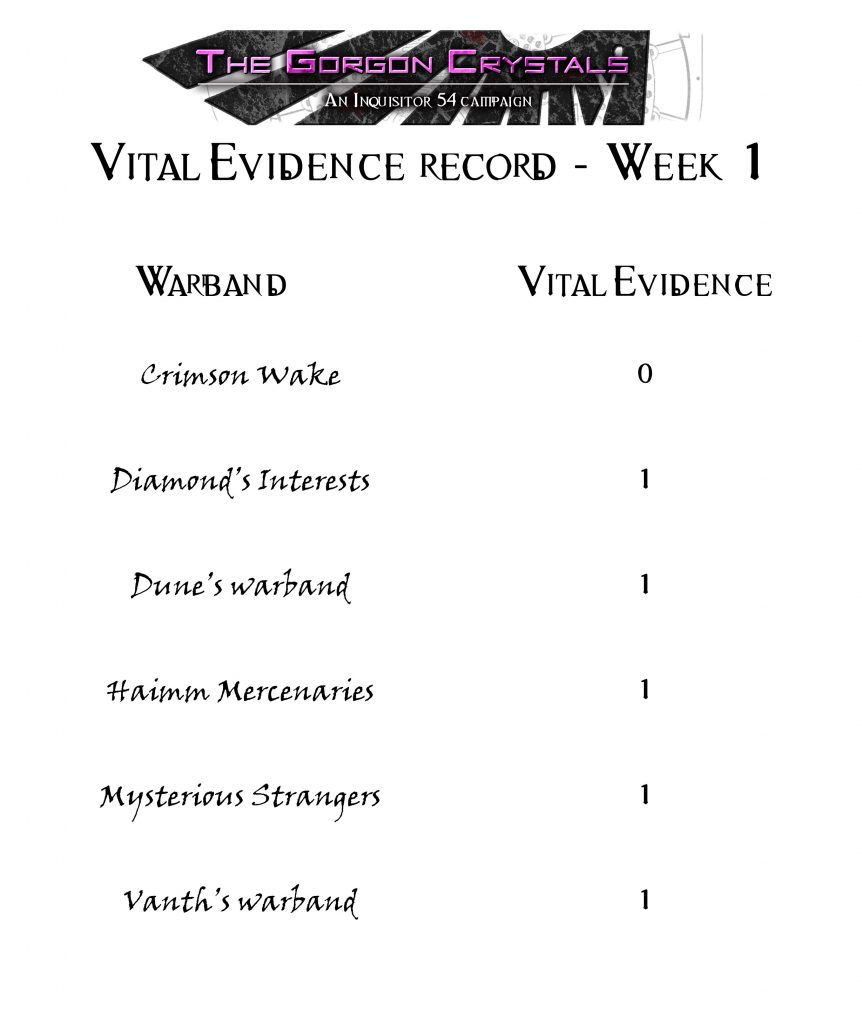
Week 1 of the Gorgon Crystals campaign draws to a close and the Vital Evidence is tallied up – everyone has one piece of Vital Evidence except the Crimson Wake with zero. It’s neck and neck, but the campaign is yet young, and there are plenty of opportunities for that gap to widen.
Watch out for the next scenario, The Stone Baron, coming soon!