I have a penchant for tubular snacks, whether it’s a tower of pringles or a silo of twiglets, there’s something about a big foil-lined cardboard cylinder I find difficult to let go.
Last year I acquired some Galvanic Servohaulers to add some flavourful scatter to my games, and in my idling over the Christmas break discovered that the circular rail the crane sits on is the perfect diameter of the bottom of a Pringles tube. Haha jk but what if…
Buttery biscuit base
The core structure of the project was naturally the Pringles tube, but it needed weight and stability. The bottle of Old Speckled Hen I was enjoying while musing over the project fit so snugly into the tube I didn’t bother trying anything else. I gave both a rinse out and sealed it in with hot glue.
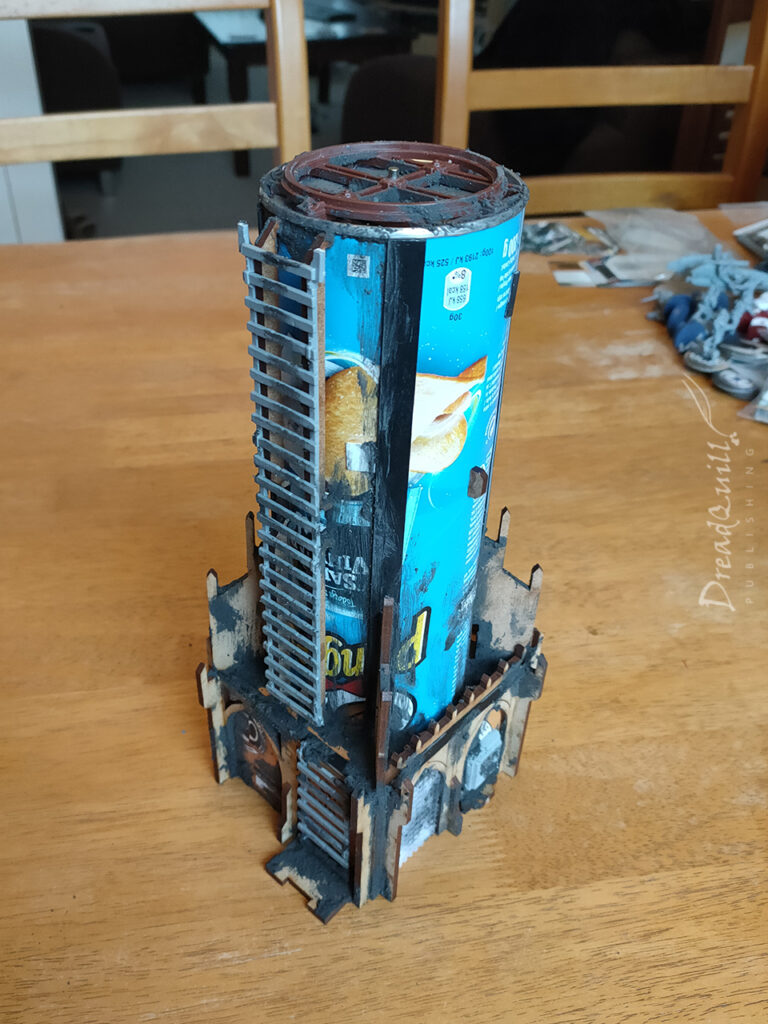
I build a rough box out of old beer mats I had lying about and decorated with lots of lovely gothic MDF inserts from MAD Gaming. I designed it to fit the theme of my Mercy table, which I haven’t shown off yet other than some very early WIPs.
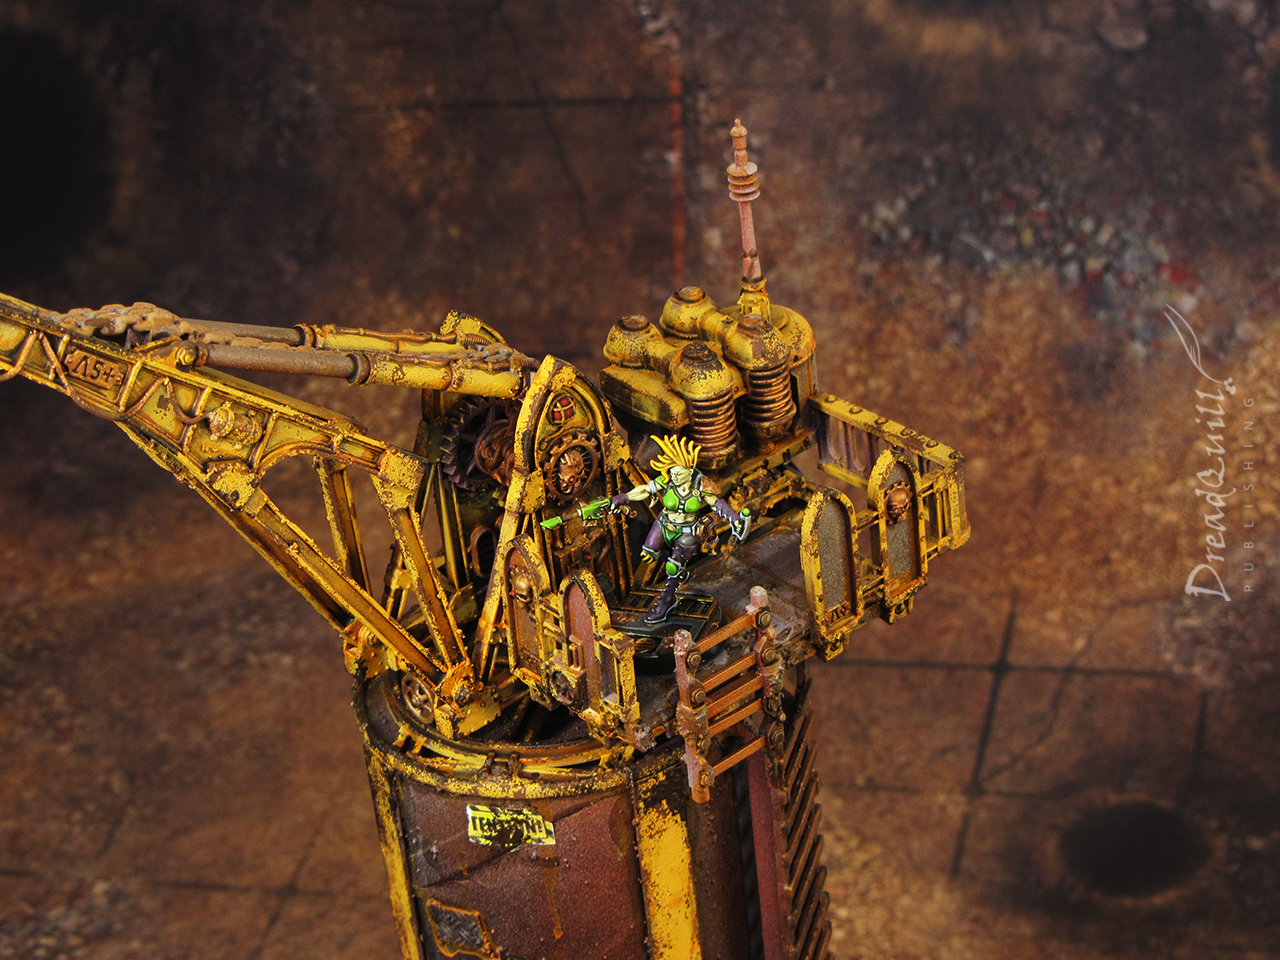
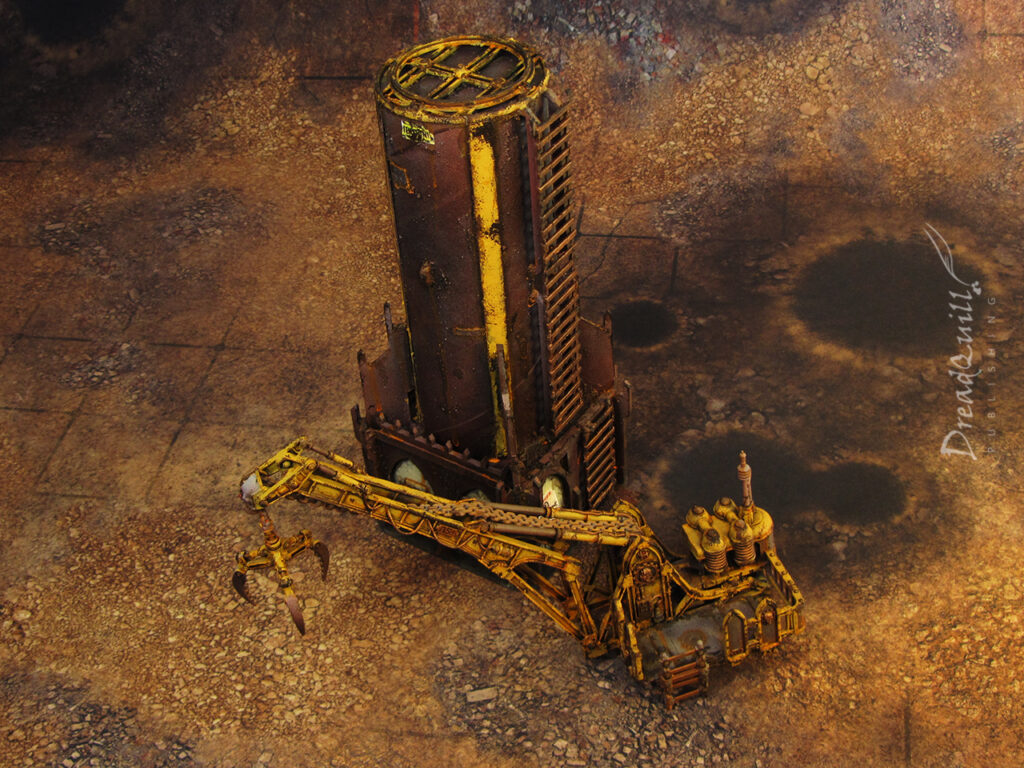
The crane itself was a joy to put together. The only real change I made was to add a kind of balcony so that models could stand at the top. The whole point of building tall towers is so people can climb it and get knocked off, right?

The crane largely stayed in place by friction, but being so unbalanced I didn’t want to chance it toppling off mid-game. I added a pair of magnets at the very centre (one is visible in the first picture) so the crane could still swivel.
After playing with magnets for my Mercy board, I’ve come to appreciate their applications in scenery. I’m still not fully sold on them for minis, perhaps for some larger ones where you want to swap the weapons out between games or remove wings for storage, but being able to fold down scenery for transport seems like a must.

It’s big! Even with a double Move, a Goliath ganger wouldn’t be able to reach the top. Some house rules might be necessary I think…
The finishing touch is to smear on a load of my home-made textured paint recipe. Equal parts PVA, cheap filler, sand and black poster paint. Great for filling gaps and adding texture to flat surfaces.
A crane canvas
This was possibly the largest single piece of scenery I’ve painted to date. Luckily I already had my painting recipe down to a T from painting all my hab blocks (I really should get those photographed soon eh).
- Blast everything with black spray paint. MDF often needs two passes, as it tends to absorb a lot of paint.
- Give it a zenithal highlight of brick red, I use Autotek Red Primer.
- A very light dusting of grey primer, again I use Autotek
- Main colours are blocked in – Averland Sunset was used for the yellow parts, Deepkin flesh for the wall sections around the base
- All the grubby areas were given a wash with Agrax Earthshade. It also gets splattered and dribbled down walls to look like grime.
- Watered-down orange paint was then applied to recesses and walls to look like rusty water damage. Just slap it on anywhere and let it dribble down.
- With a bit of torn-off sponge, light brown is dabbed on to exposed edges to emulate paint chipping, followed by a lighter application of dark brown
- Posters and decals are added, just tiny bits of paper printed off from a home PC, scrunched up and with some more paint dabbed over the top.
A time consuming process, but it looks wonderfully grubby when it’s done.
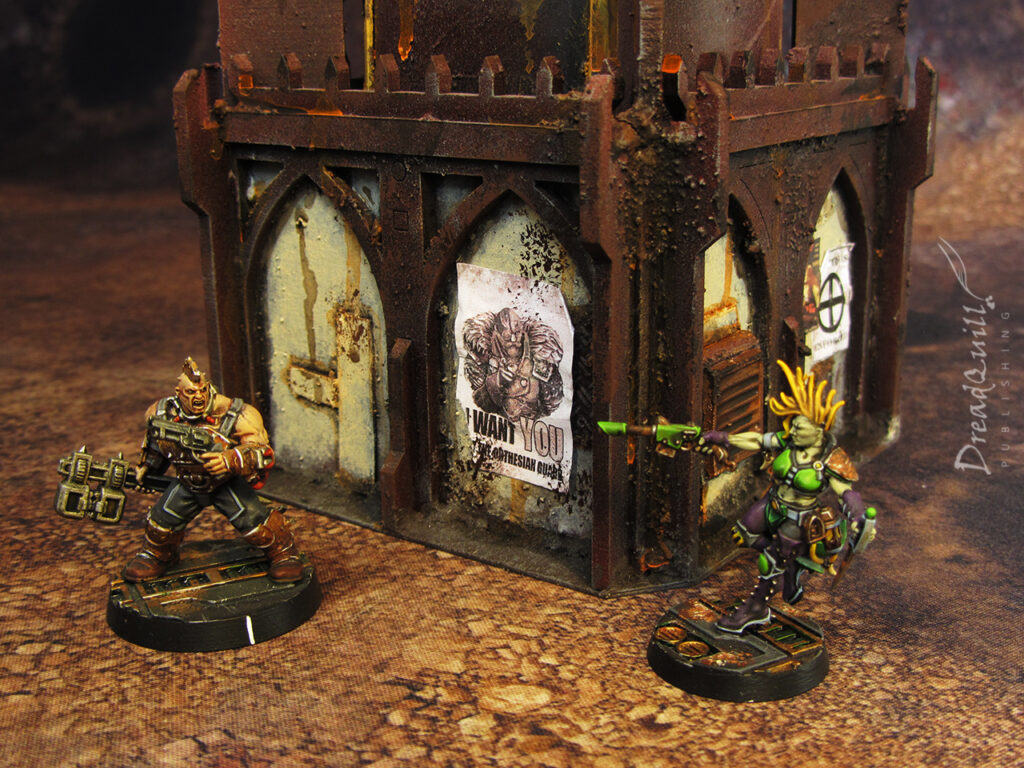
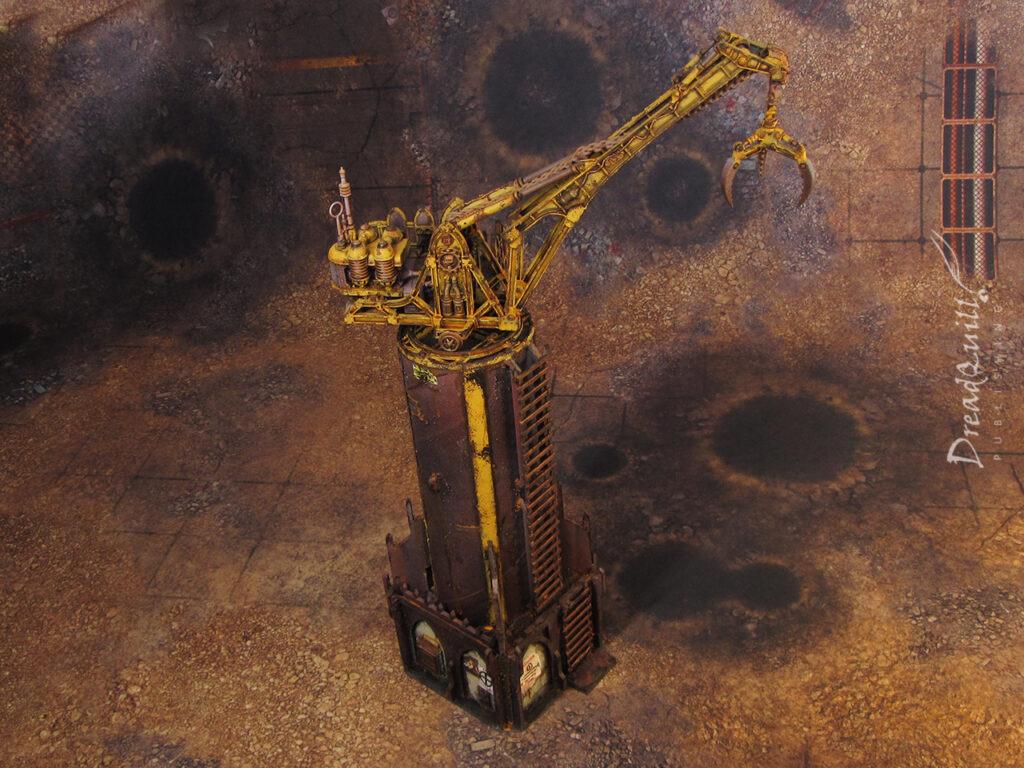
I’m very happy with how it turned out! It was relatively quick to paint for its size and does exactly what I wanted it to do on the board – be big and tall and playable.
I’m counting down the days for when someone topples off the balcony. You better believe it falls under the 10″+ category for fall damage…