I’m running an Ash Wastes campaign for Necromunda later this year, and playing some tester games has made me realise I need some serious verticality. I needed some serious old school gamer tech. I needed some modular hills.
Really useful planning
I’d already made some rocky outcrops (that I laughably referred to as “hills”) and I’d bought a bunch of cork bark to make a second round of hilly scatter, but I didn’t feel it scratch the verticality itch I was feeling.
I’ve been getting into Really Useful Boxes in 48L and 9L sizes for my terrain storage solutions. I like that they stack, they’re robust, and they can survive the damper conditions of the loft and be protected if there’s leak. It also means I have a fun game of filling each one with precisely the amount of terrain that fits in each box, so I have to be cunning about construction.
I’d recently found a bunch of 48L boxes at Asda for a knockdown price – was I a bad enough dude to create a set of vertical hill terrain that fit perfectly inside a really useful box?
With a box of scraps
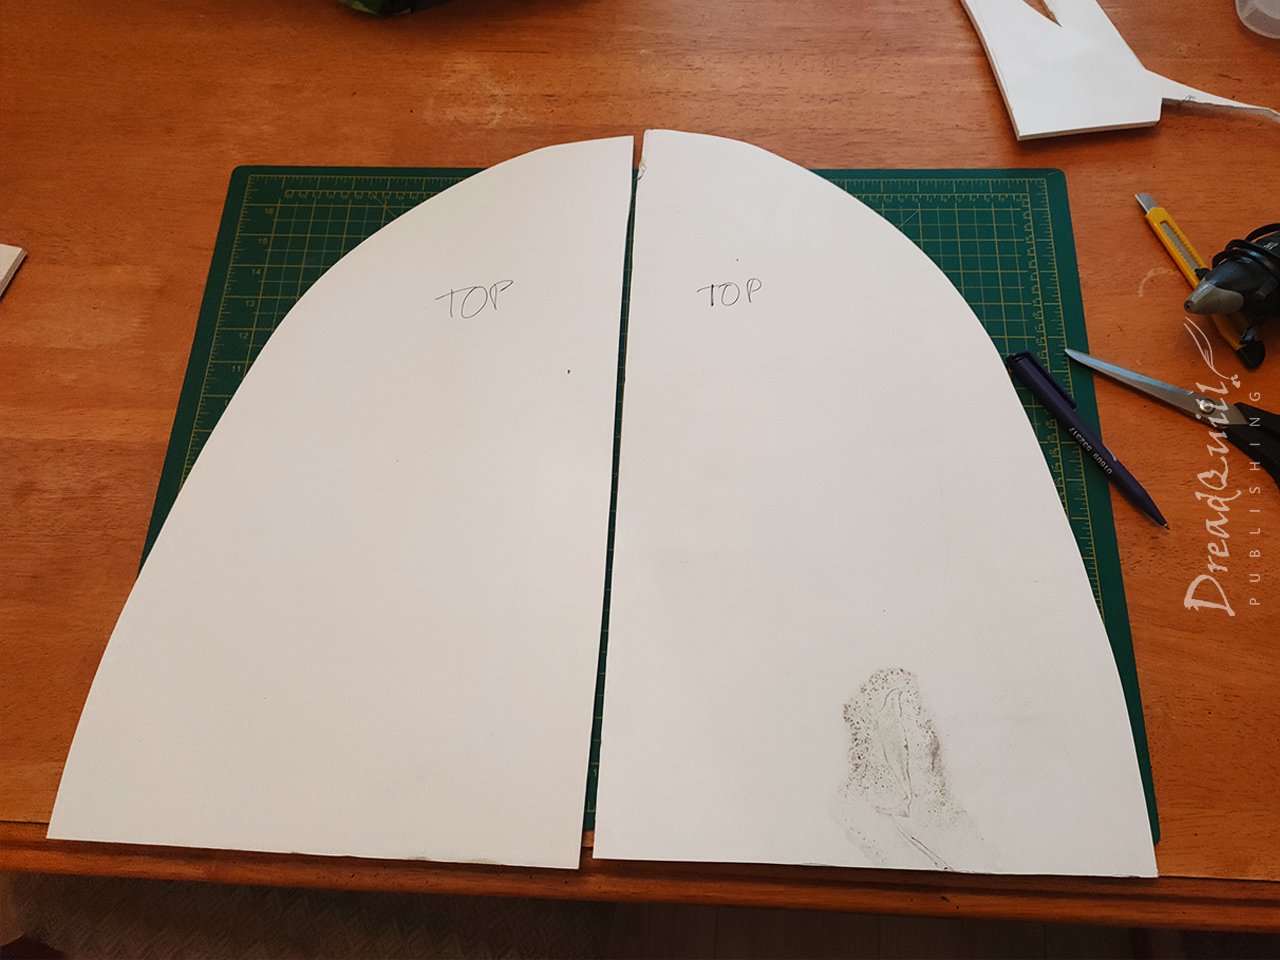
I had a big bit of scrap foamboard that would serve as the base, with a slightly lopsided curve so the two hill pieces could be wider or deeper on the board.
I had just enough cork bark to fit across the curved surface of each hill. The bark I’d ordered arrived in sticks roughly 10″ long, so cutting them in half would make each hill about 5″ tall. Given I had just shy of 11″ of interior space in the Really Useful Box, and the average GW terrain height works in blocks of about 5″ (ash waste habs and sector mechanicus walkways), this was most serendipitous.
Cork bark arrives curly like a big quaver, so I had to make some vertical cuts so they’d fit flush to the gentle curve I had in mind.
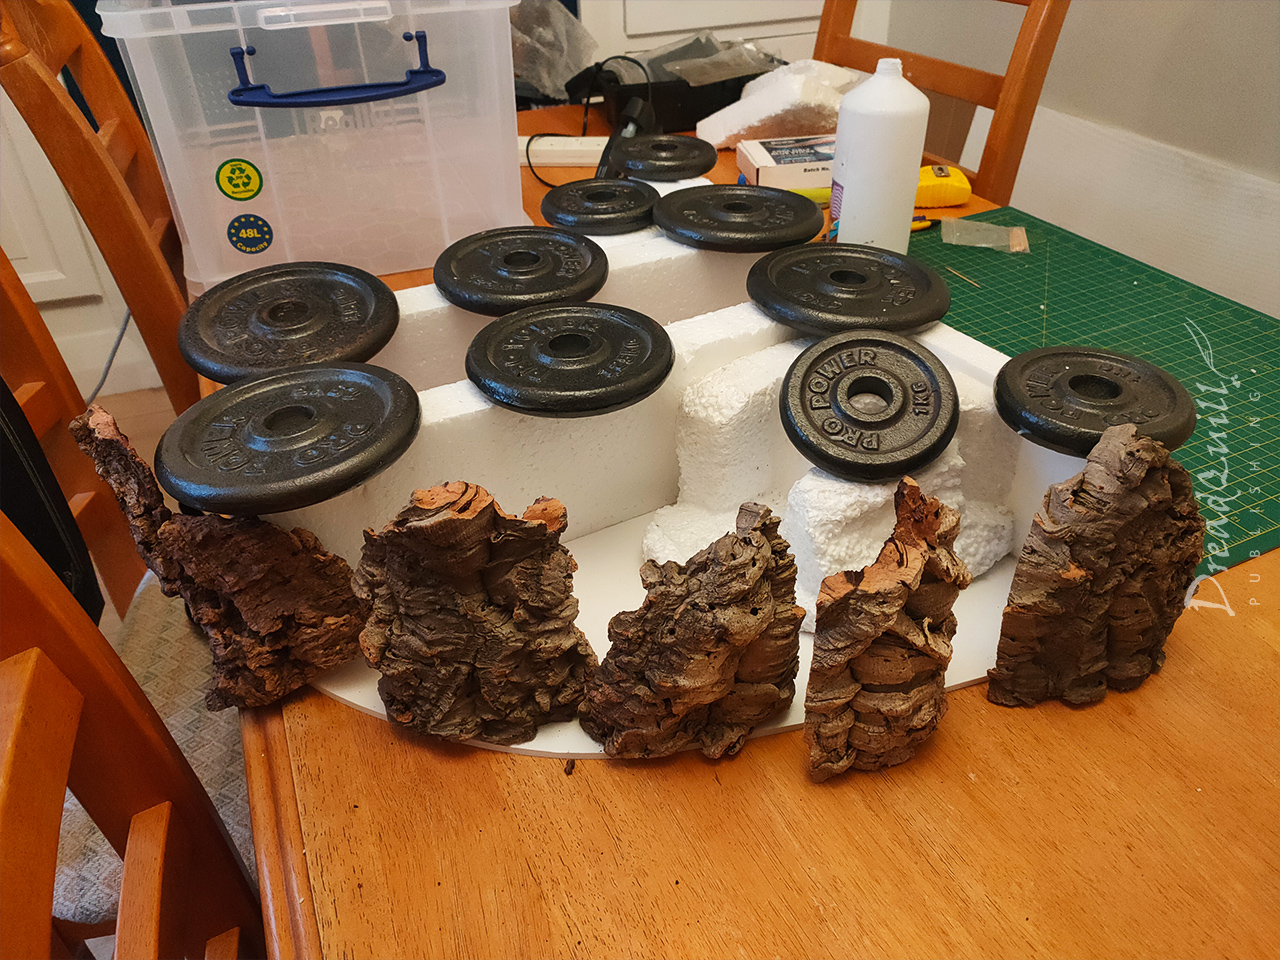
I had a bunch of expanded polystyrene I’d saved from a skip that would be perfect for this project. Given how non-uniform any of the bits were, I tried my best to block out the size and shape with the biggest bits and heavily weigh it down for its first drying session.
I’d encountered warping plenty of times before in other projects and given the scale of this one I wasn’t taking any chances. Every stage got about 48 hours of drying time while pressed down with around 30kg of metal weights.
I had some very thin strips of polystyrene that I arced round to produce the curve, and pinned in place with cocktail sticks while it dried.
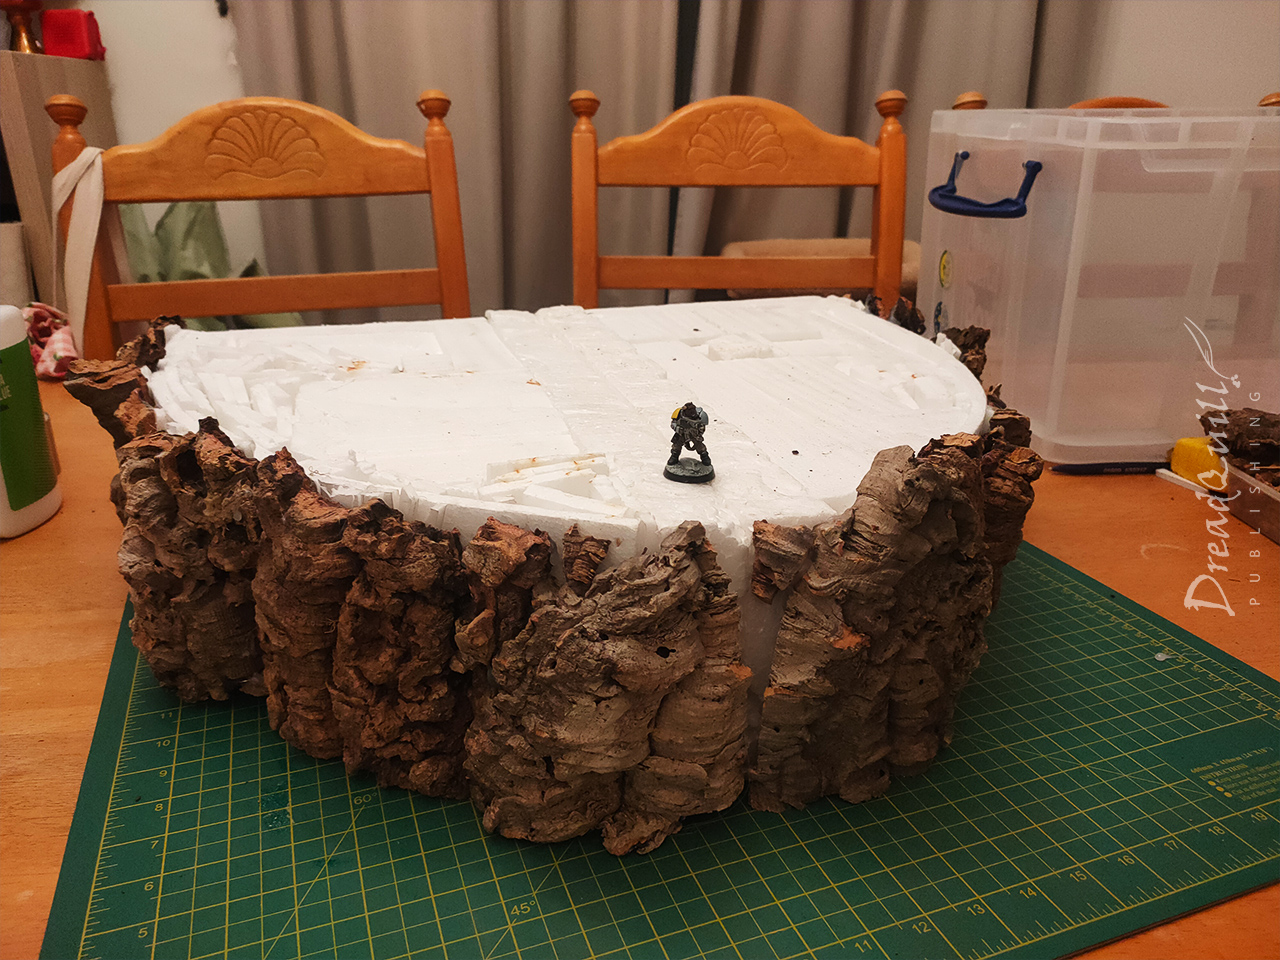
I set about just jabbing random offcuts of polystrene in the top to fill the void, safe in the knowledge this was A) much easier than doing it any kind of sensible way and B) would produce interesting undulations in the terrain that would be visually pleasing.
In between rounds of PVA and air drying, I also stuffed some broken bits of foamboard in the void between the cork bark and the hill face, giving it a little tickle with the glue gun for added structural support. These things would see a lot of knocks on the tabletop so there was no point cutting corners on its integrity.
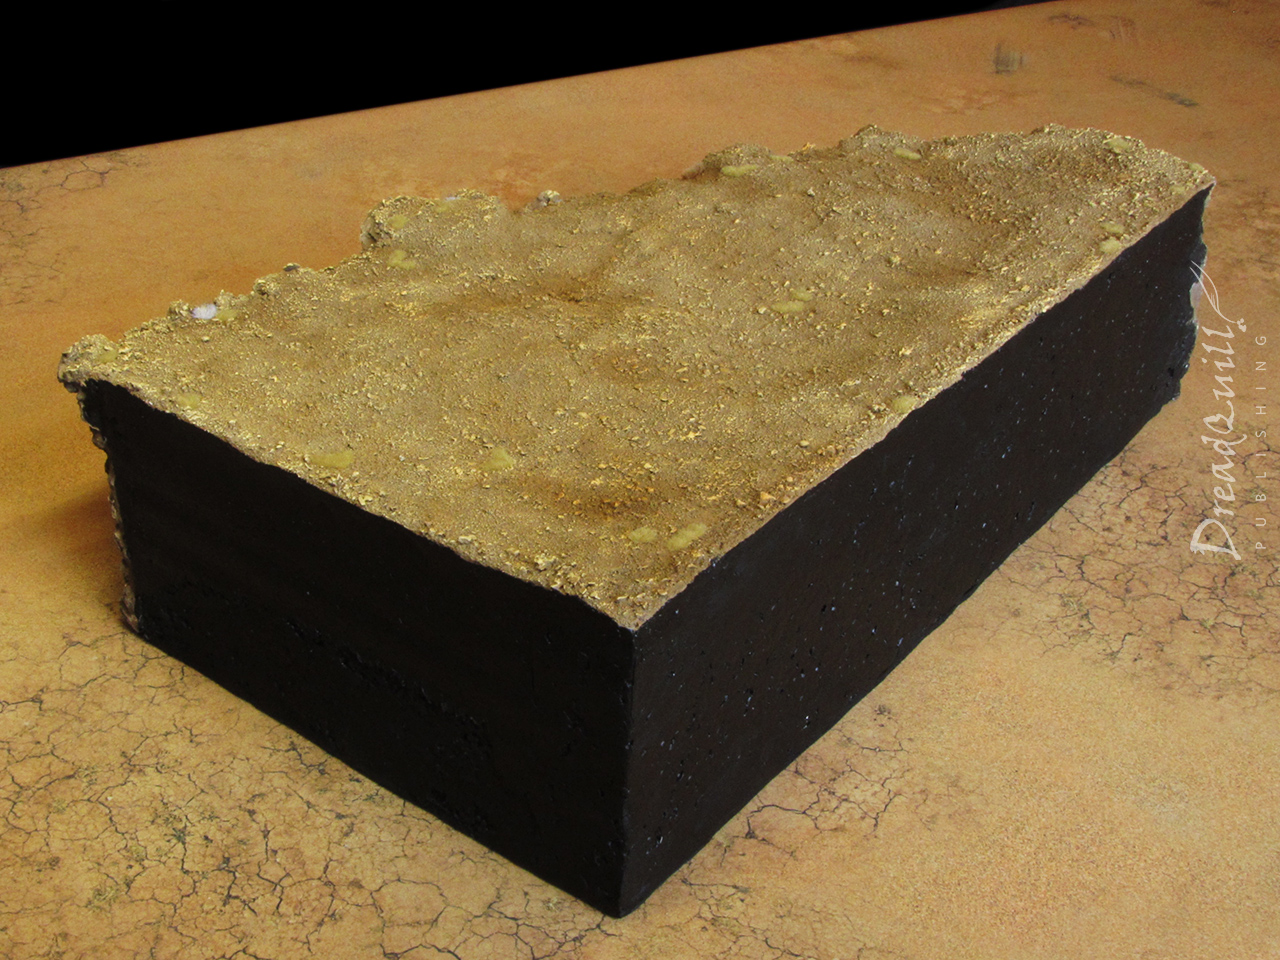
Sandy tops, filled bottoms
Once everything was definitely dry and I was confident it would be released from its bondage without warping, I started on the filler.
I use cheap pre-mixed filler that you get in big tubs. It’s really versatile and water soluble so you can easily mould it with just a finger and a little tub of water. The downside is it dries very crumbly, so I always paint some PVA on afterwards
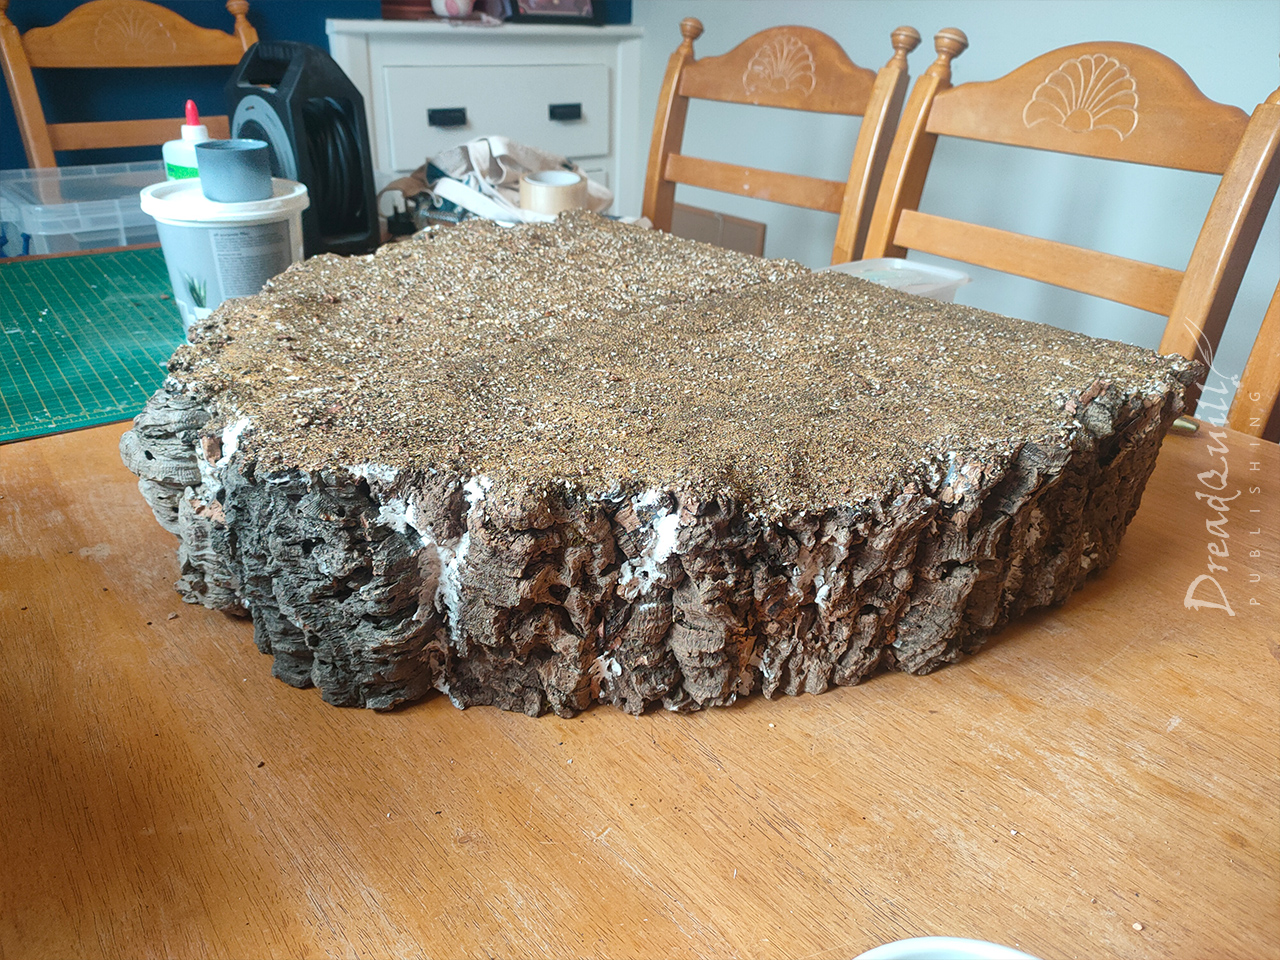
I liberally smeared filler across the top, making sure to level out any angular bits from the haphazard arrangement of polystrene ends underneath. I also poked a little bit of filler into the bottom of any gaps left behind in the cork “rock face”.
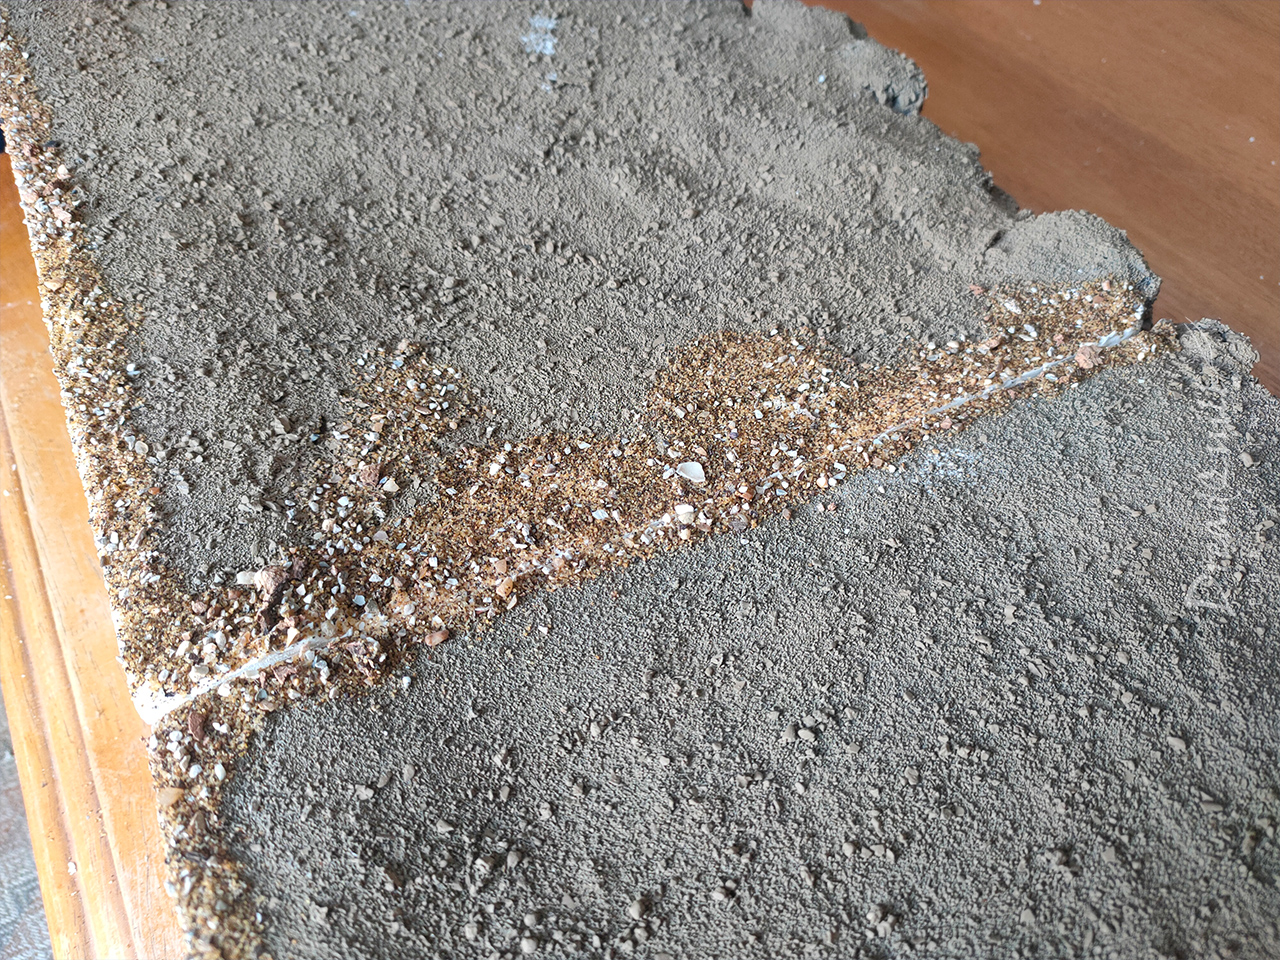
More PVA was painted on and the top given a liberal coating of mixed basing materials made primarily from bird sand – a very affordable mix of sterilised sand, small rocks and broken shells for the bottom of bird cages. It’s more variable than play sand (and without the thrill of potential asbestosis) and a fraction of the price of any hobby-tax branded sand.
A watered down layer of PVA was painted over the top to help secure the sand and protect against too much getting knocked off during play.
Prime hill estate
I hit the whole thing with grey car primer, although in retrospect I should have used black for darker recesses. The colours I used later ended up being darker than the grey primer and I had to do lots of post-production faff.
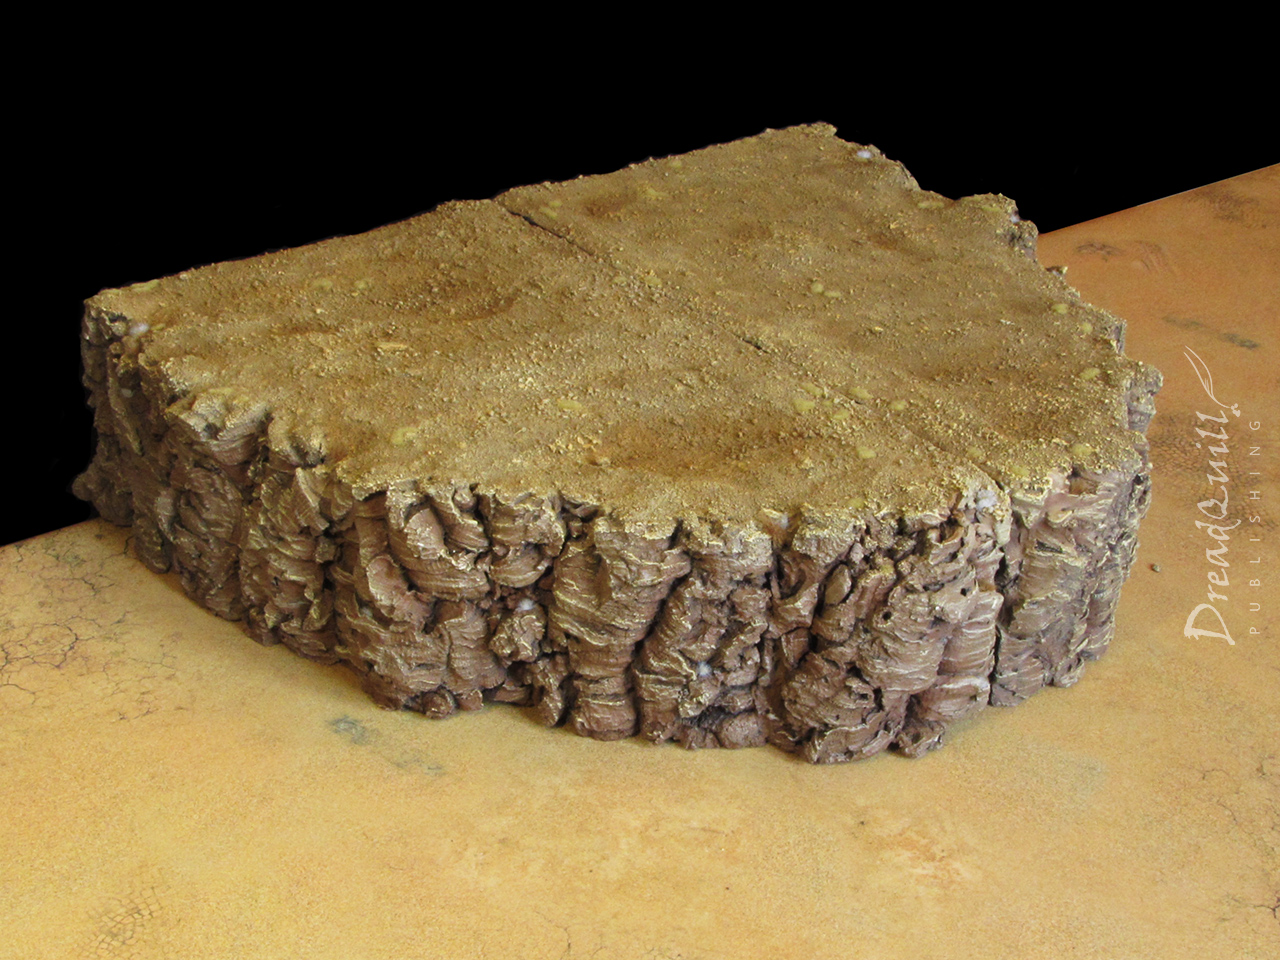
The sand was basecoated with Zandri Dust spray (to match my other ash wastes scenery) and the rock face with Army Painter Leather Brown spray.
The painting also highlighted an alignment problem with the pieces, there was a significant gap at the top of each piece when pushed together. This was mostly down to the inaccurate method of assembly and not getting a perfect 90 degree angle out of two bits of scrap polystyrene.

I had to hack away at the base with a sharp knife and do a little extra filling/bird sanding around the top to close the gap a little.
It was a cheap fix, and although I was worried about how it’d add a noticeable lump near the edge once it was painted, it was far more preferable than looking at that horrible gap every time I played with it.
Painting the hills
Once the touch-ups had been undercoated again, the paint job could finally commence.
I already had a recipe from my chimney stacks, but I now had an airbrush that I could use to scale up the process.
- Undercoat Zandri Dust
- Drybrush Ushabti Bone
- Wash Seraphim Sepia
This matched the colour of my desert mat close enough without mixing paints or doing anything complicated, and the airbrush meant I could make the sepia wash go further. I tried not to be too precious about consistency (mostly just avoiding streaks) and I made sure to add a little extra in the recessed areas for some colour variation.
The cliff face used a similar palette, but I realised I’d used a completely different brown to undercoat these hills compared to my rocky outcrops and I needed to add some red tones to it.
The grey primer was also a lighter colour than the brown I used, and reached much further into the recesses. This gave a weird effect of it looking unfinished or unpainted, so I needed to go in with a brush and some good ol’ Nuln Oil to add some darkness and definition to the crags.
I airbrushed some Carroburg Crimson wash into the crags again to give it some red tones. When that was dry, I mixed up some cheap acrylic paints to roughly match Zandri Dust and gave the cliff face a drybrush, followed by mixing in some yellow/white to create a more-or-less Ushabti Bone colour for a lighter drybrush.
Final touches
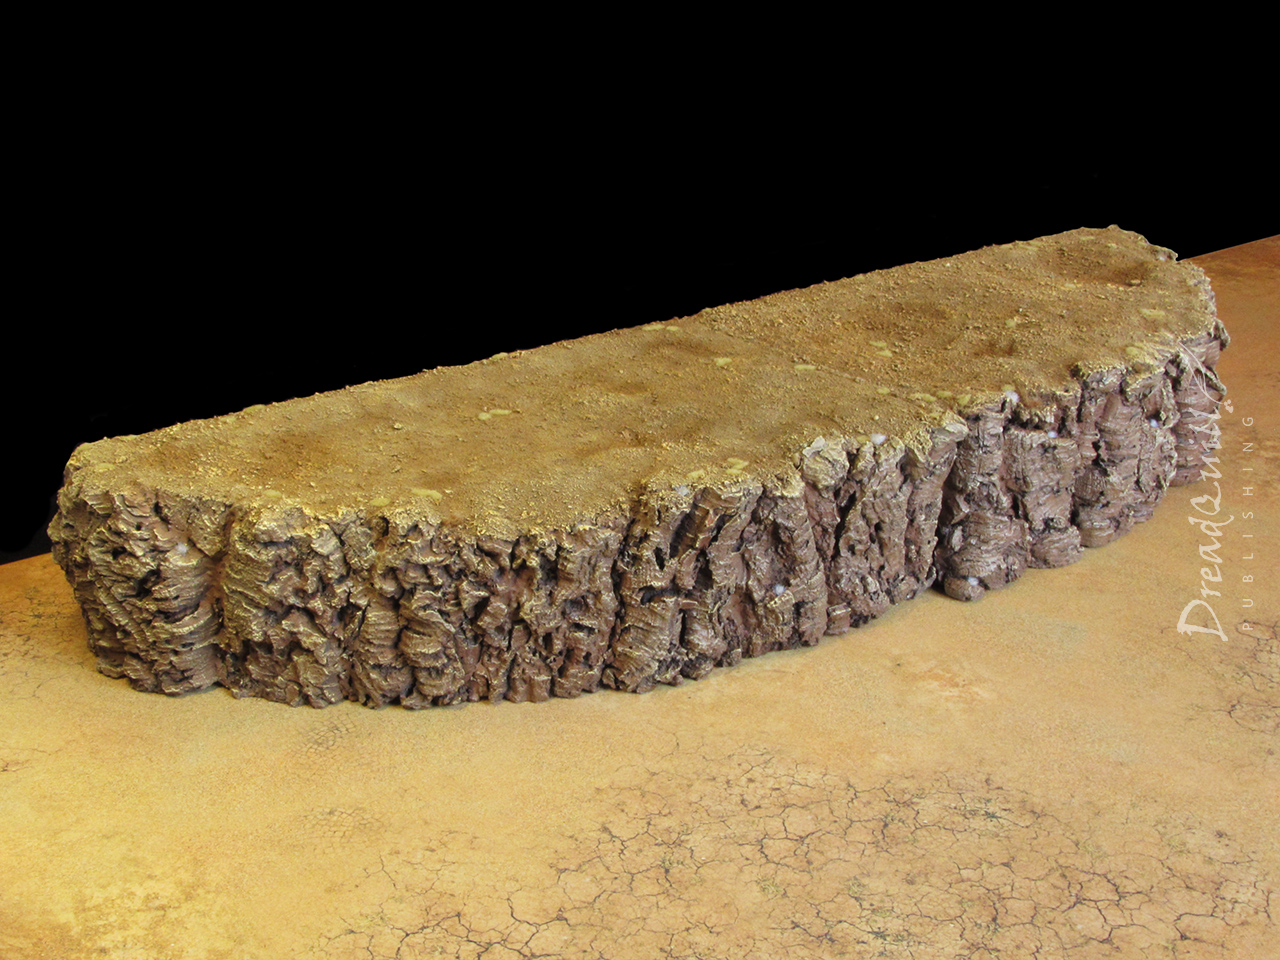
Some grass tufts were superglued down to add a bit of texture, a small yellow fuzzy type and a large white bushy type. All from Bad Squiddo Games of course.
I’d originally intended to glue felt to the ‘raw’ sides of the hills to give them some strength against random knocks during gameplay, but after crack-filling debacle I realised felt would be too thick for the pieces to be pushed together.
I settled on a few coats of cheap acrylic black paint heavily laced with PVA.
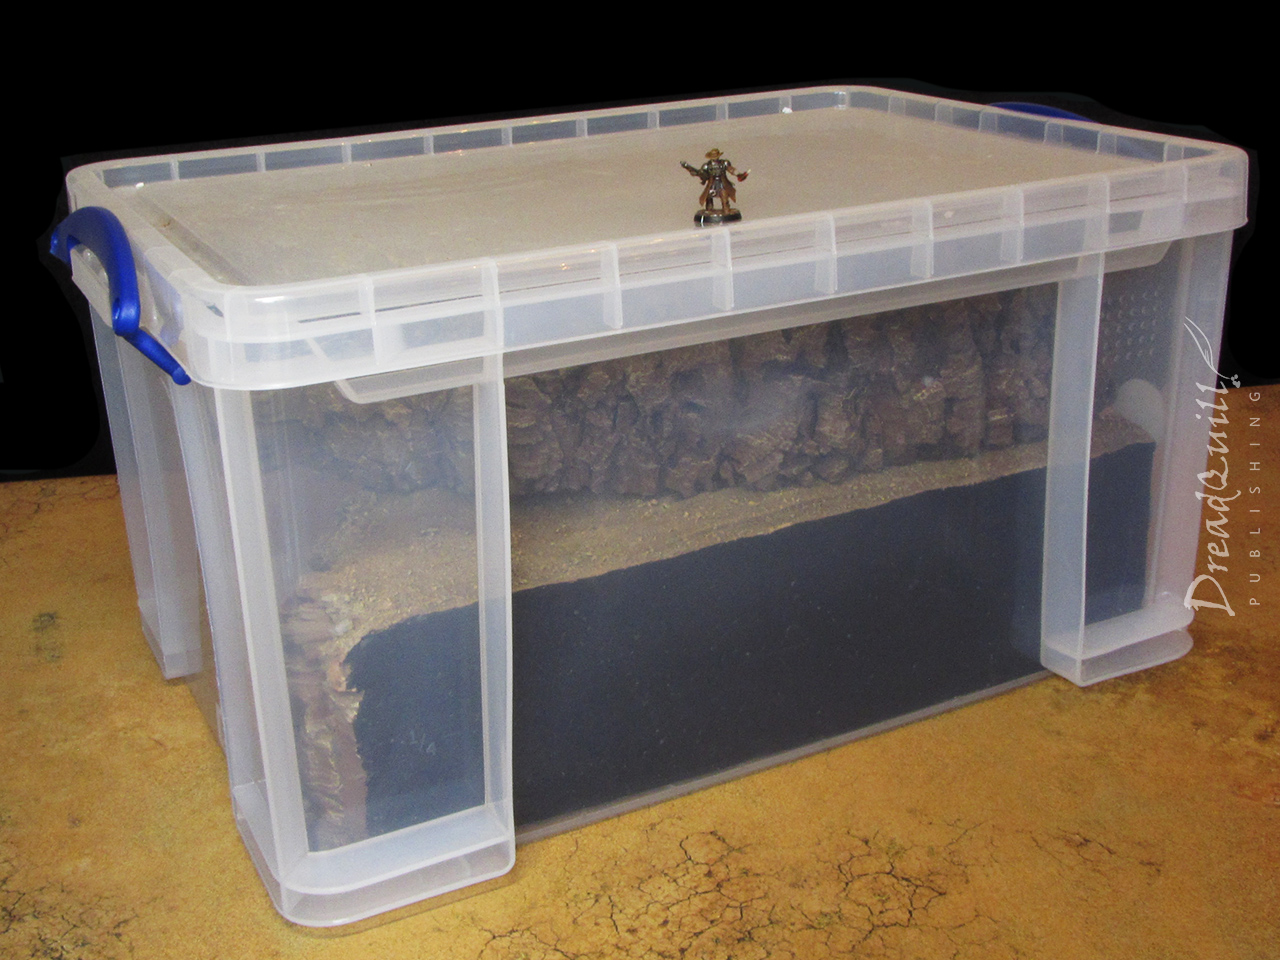
And they’re finished!
Most importantly, look how neatly they tuck away inside their new 48 litre home!
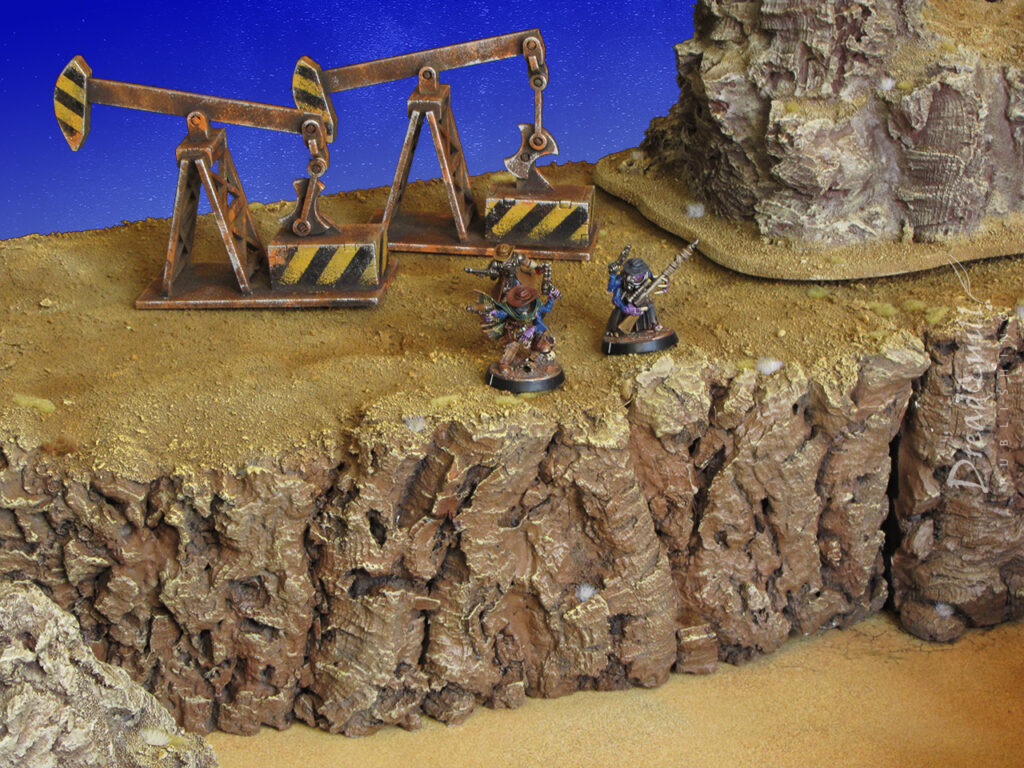
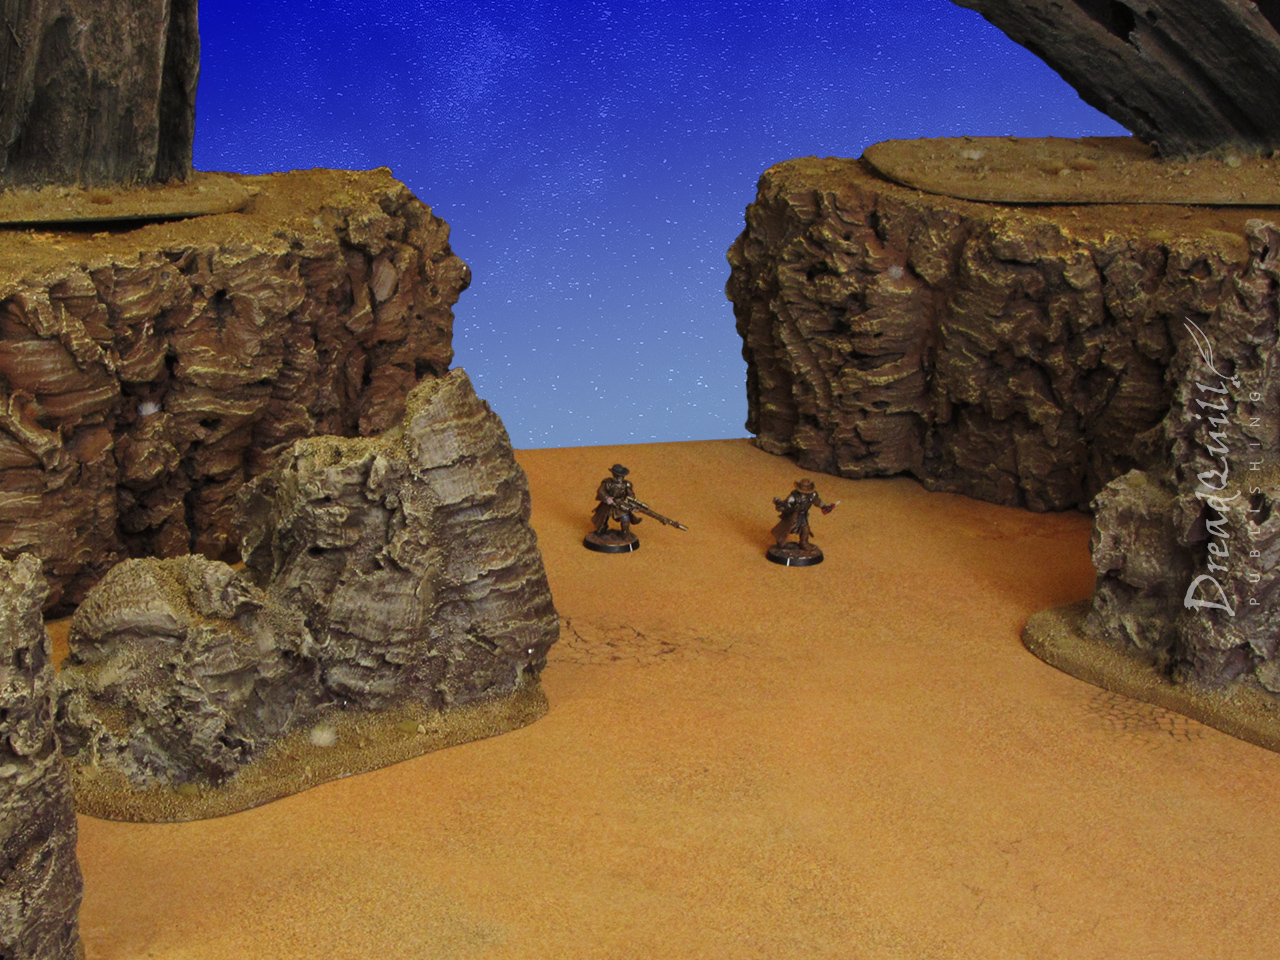
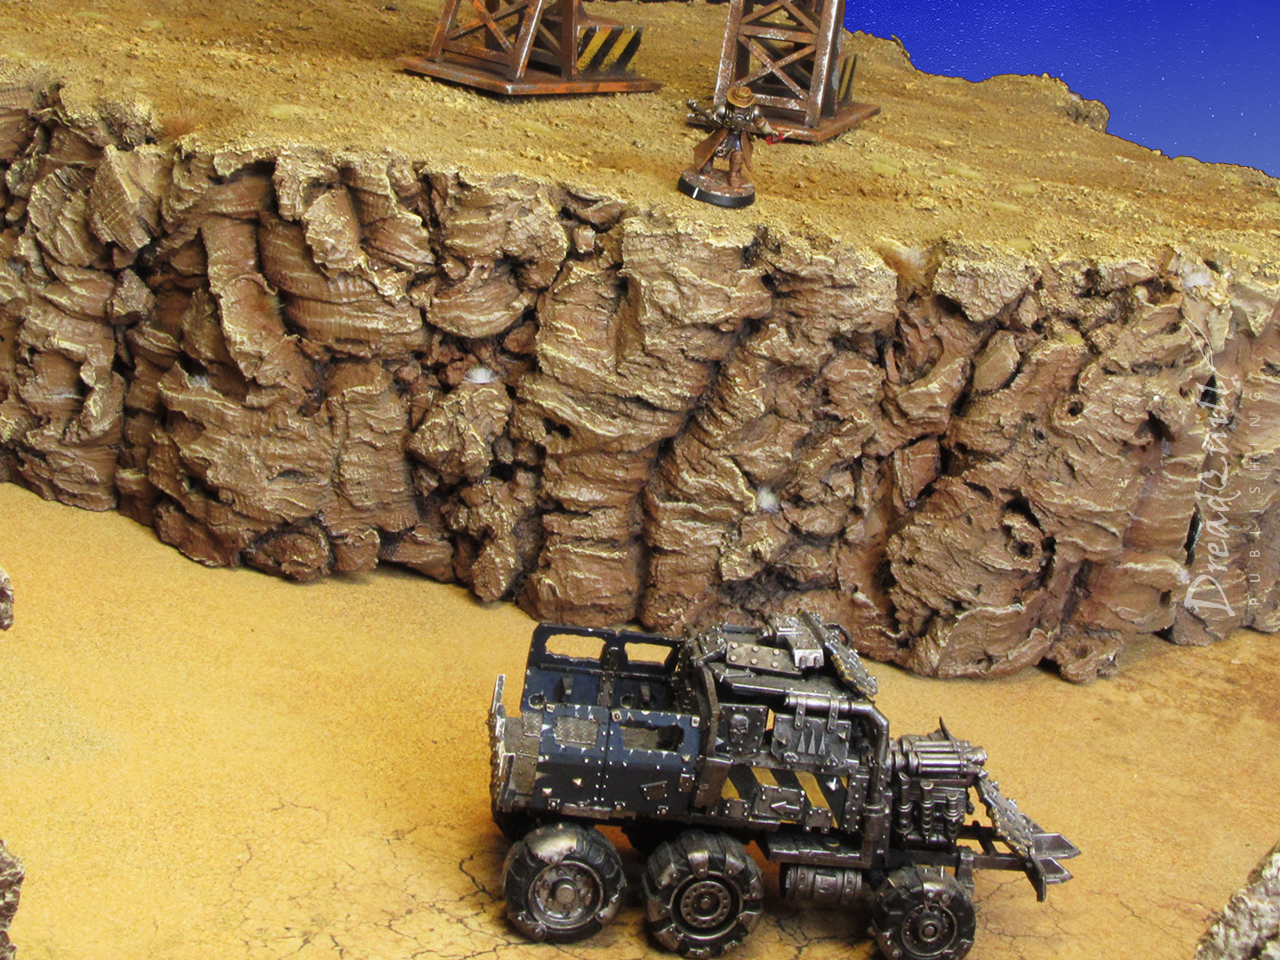
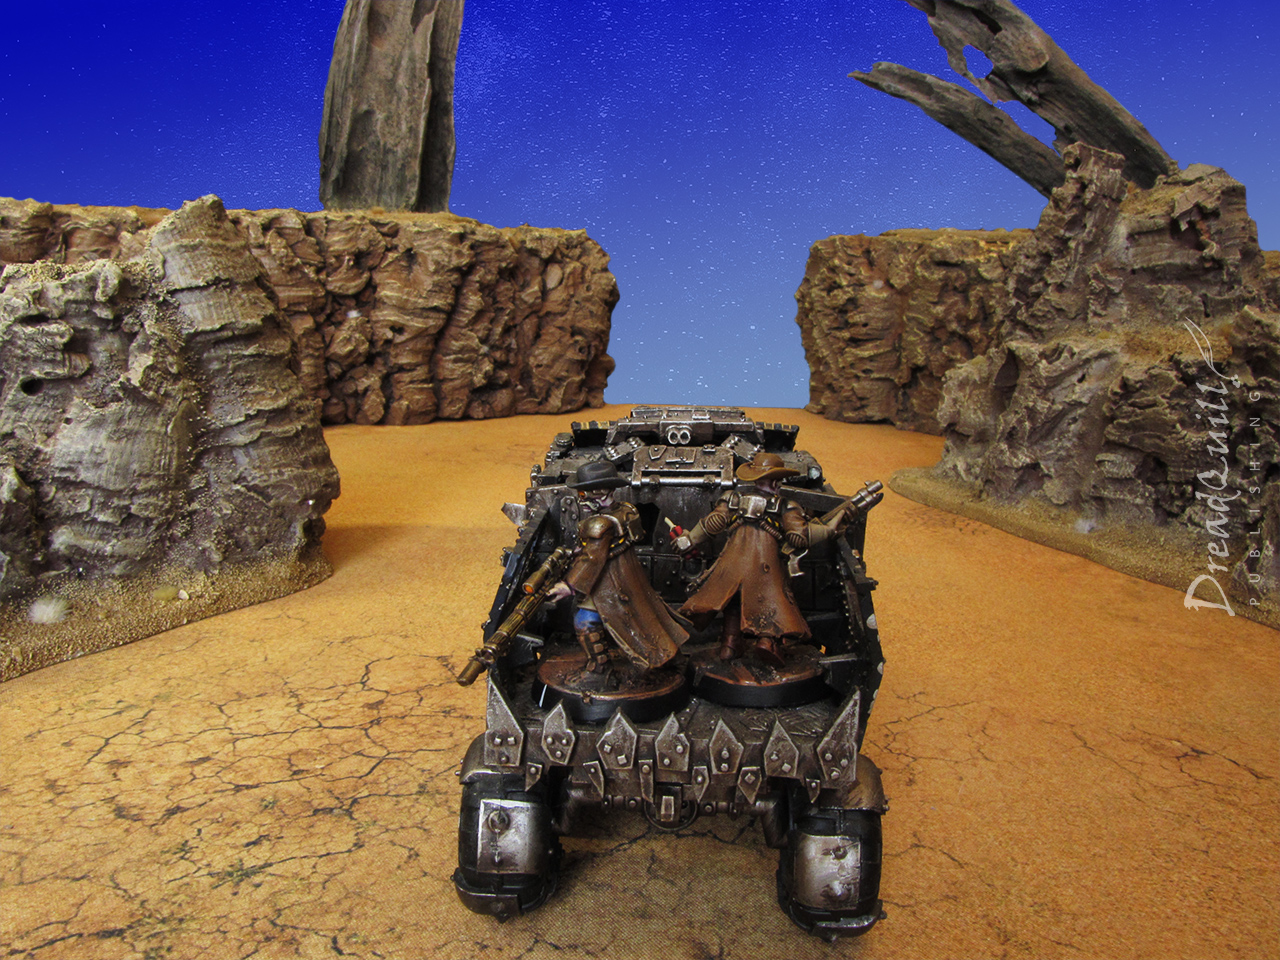
Shooting gallery
All that’s left is to set up some wild west-y terrain and get snapping. Some of this scenery I haven’t photographed before, but the minis are from my definitely real human cowboy Necromunda gang Hive Noon.
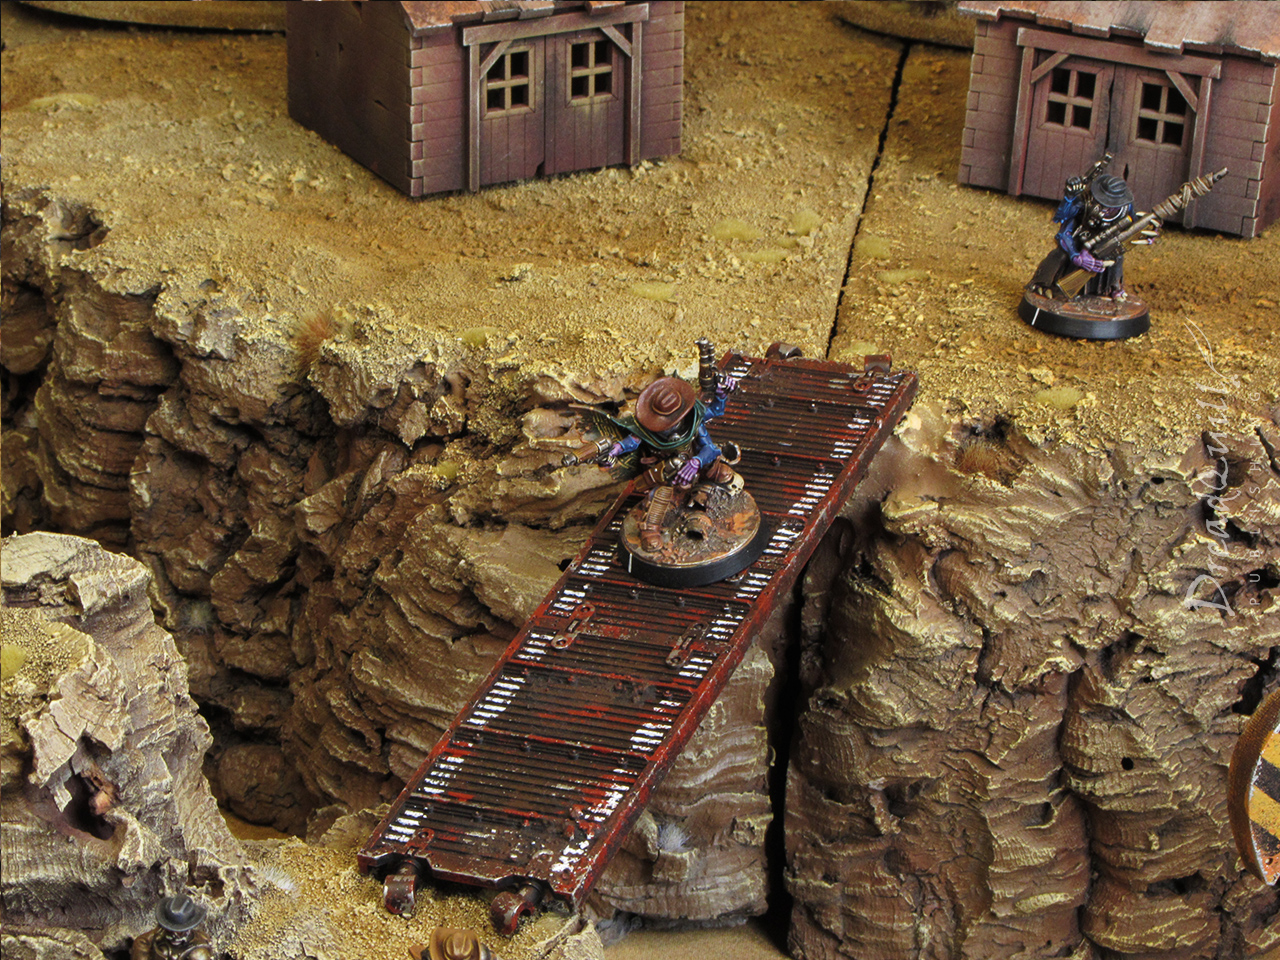
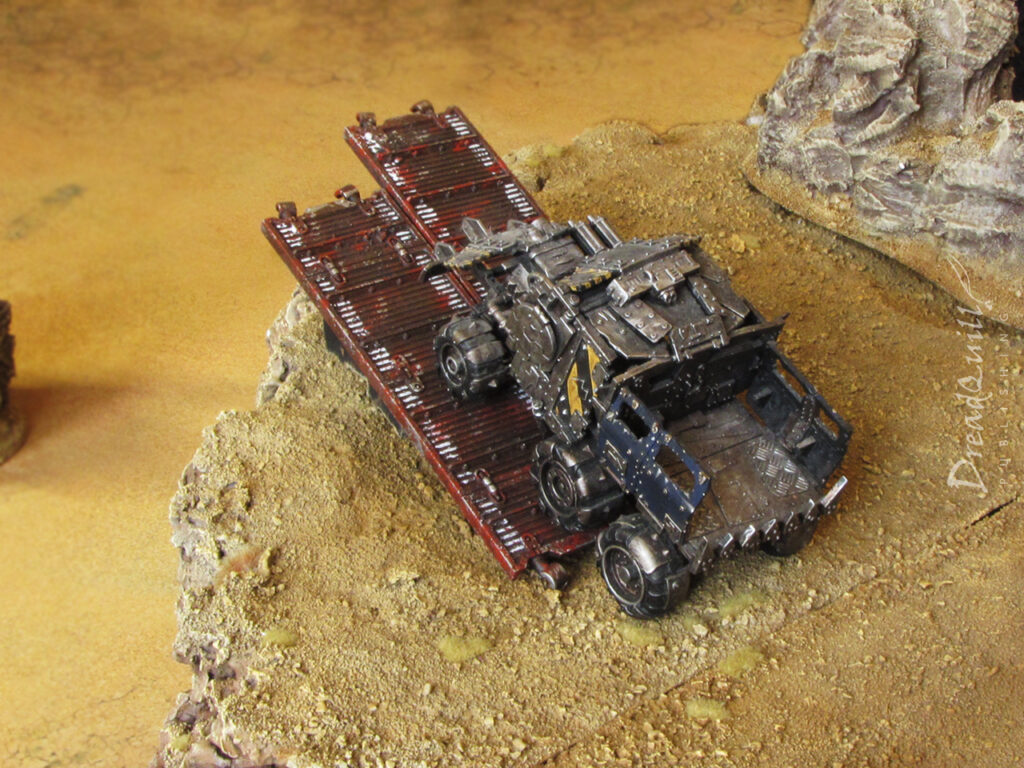
And how do vehicles get down from atop the hill I hear you ask?
Stunt jump unlocked.
The wrap up
I’m delighted with how these two pieces came out. There were a lot of potential failure points throughout the project but everything lined up to be precisely the amount of material I needed to fit into the exact shaped box I had.
It’s given me some really fun options for setting a board up – do you have them in the corners representing the entrance to a canyon? Perhaps on opposite corners like a choke point? Or stick them all at one end of the board and add loads of verticality at that side so it’s like you’re in the foothills of a mountain?
It’s also forced me out of a hoarding mindset, “I’ll use that one day” is now today, for this project, because there isn’t a better fit.
It’s also also given me a bit of leeway to examine my other scenery collections. If there’s a little extra room in that 48L box, perhaps I could get a little more scenery as a treat…
(If you’ve made it this far, enjoy the void-creature assisting me with my work)