

One of my first events I felt safe returning to was an Inquisitor day at Warhammer world, run by venerable members of the Conclave with a familiar format. There are 3-4 time slots during the day, and everyone can have a crack at running a one-off game with a group of people they might otherwise not usually play with.
One of my many lockdown projects was a trio of 54mm Bloodletters, and I was eager to pit them against some worthy opponents. It wasn’t acceptable for them to simply be there though, clearly they needed some set dressing to add to the drama.
I already had a few odd Chaos-y bits, like the classic Warhammer Temple of Skulls kit, but I wanted something more Khorney. Perhaps it was time to delve into the mysterious realm of resin.
Pooling resources
I played with the idea of doing some horrible craggy rocks or bronze icons and such, but for spectacle nothing really beats steaming pools of blood filled with the skulls of your enemies, right?
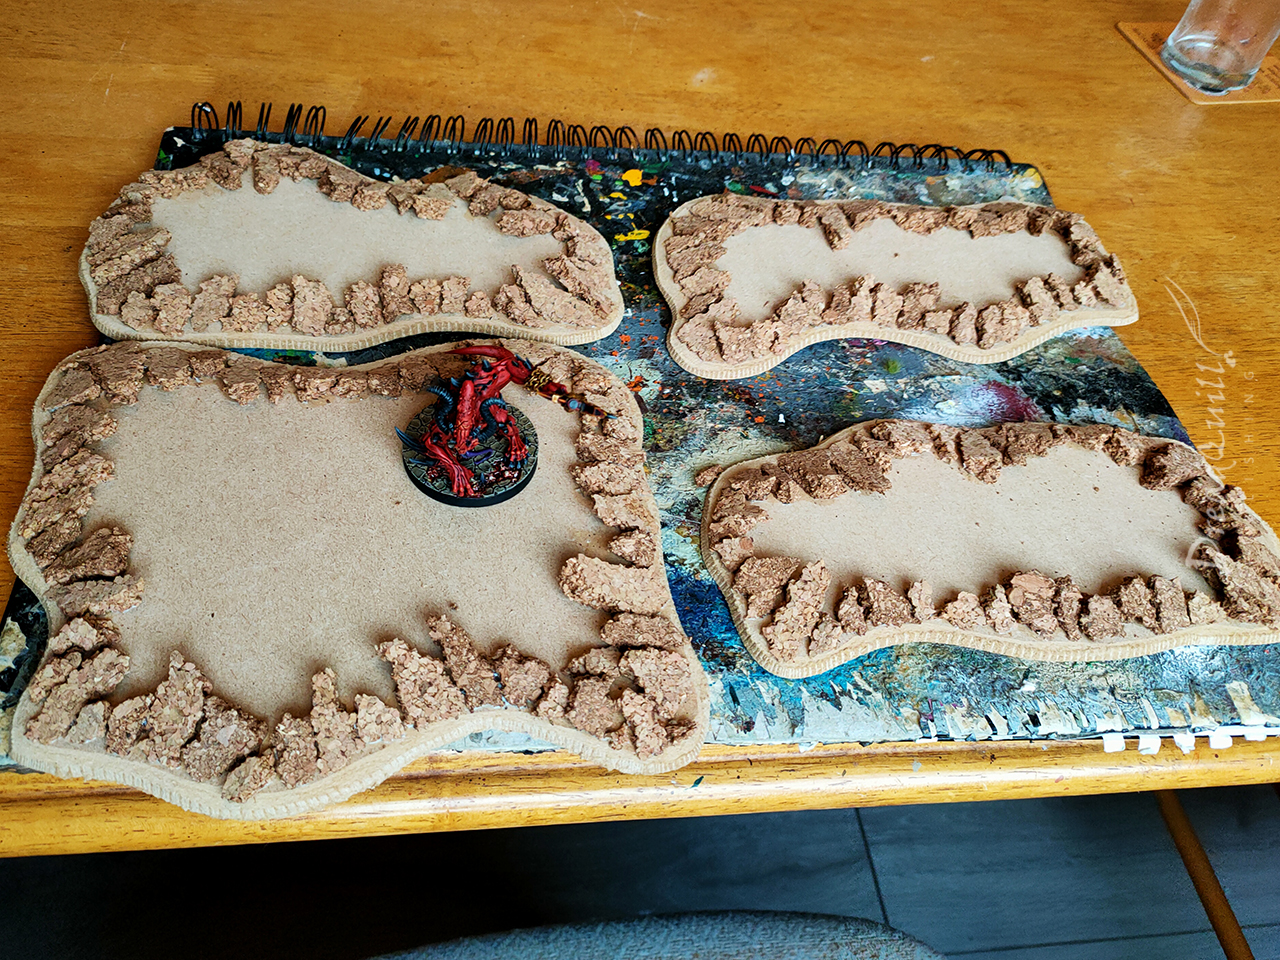
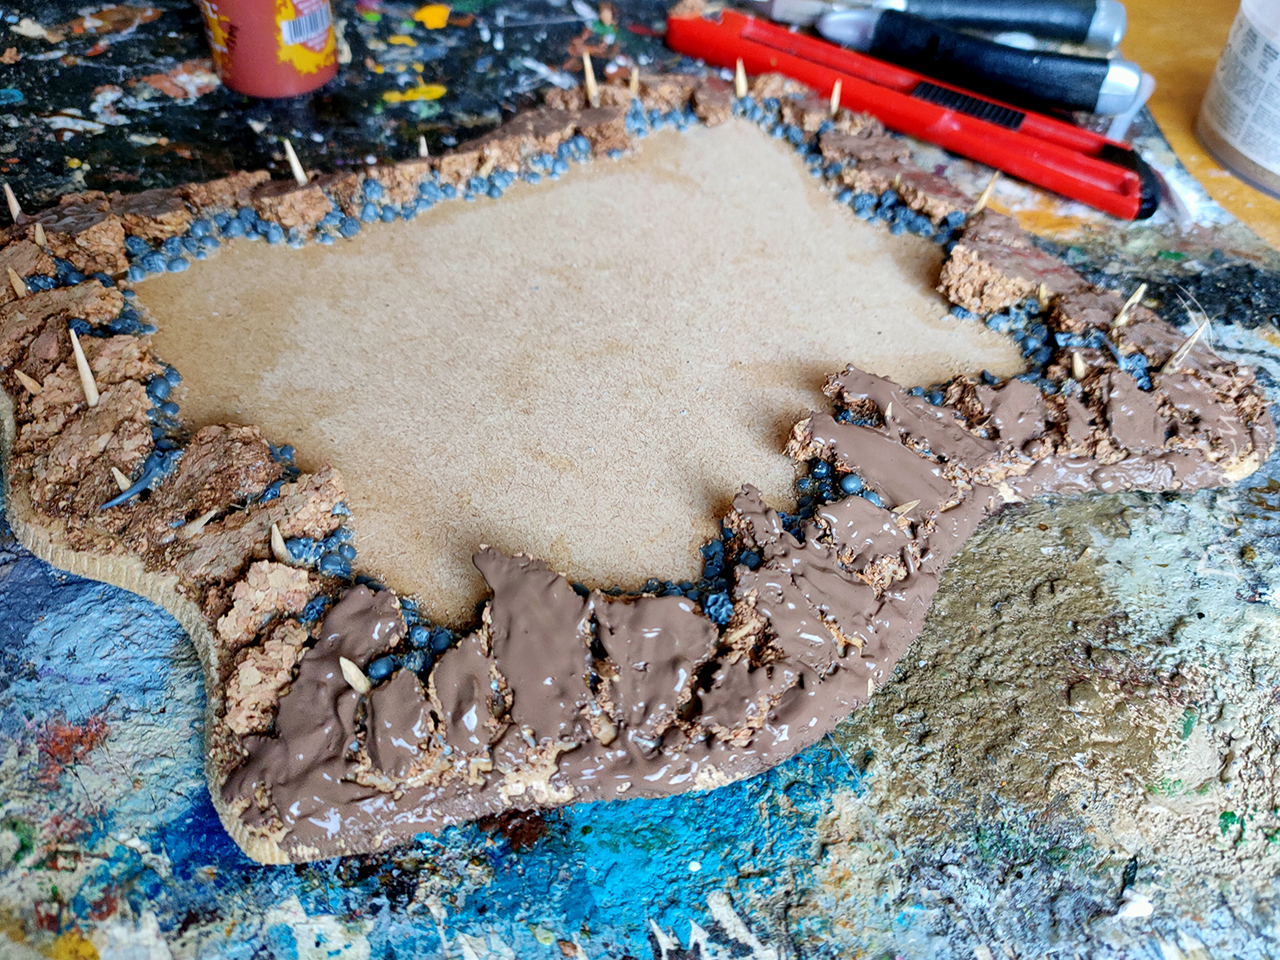
I already had a bunch of 4mm MDF shapes cut out for another project, and the addition of some cork chunks broken roughly into triangle shapes around the border formed the basis of the pool.
With a bloodletter for scale, I was happy with how much table coverage I’d get with these. On to the tedious part!
Skulls for the skull pool
I wanted the pools lined with skulls , having them get smaller as they got near the centre of the pool to hopefully sell the illusion of depth. With a box of Citadel Skulls and a sharp knife, I set to work.
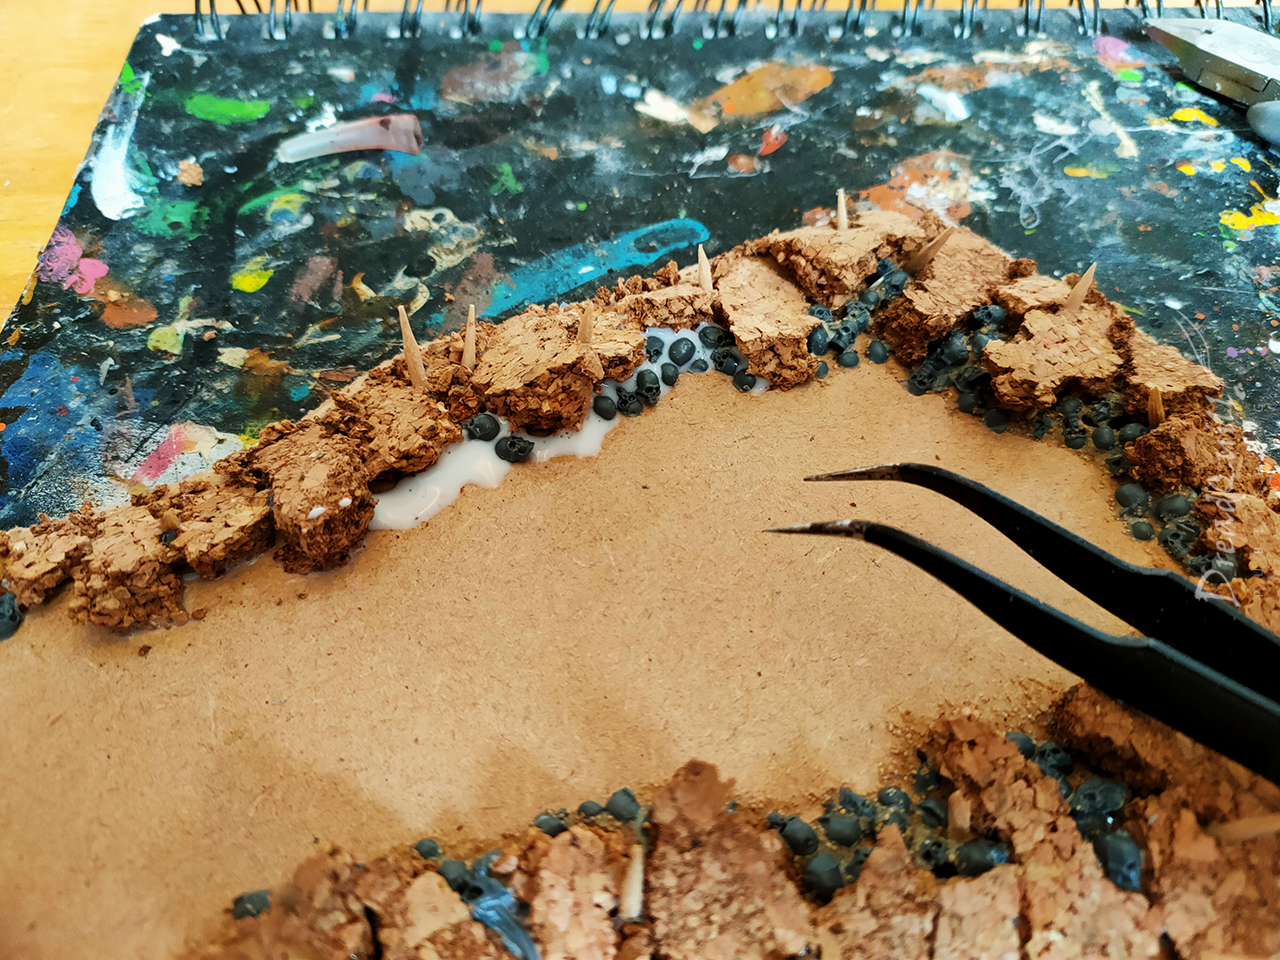
I’d got the process down after a while. Snip a few skulls out, clean off the mould lines, then slice them roughly in two, varying the angle of cut to produce different shapes.
Add a decent blob of PVA to the work area, and use a set of tweezers to roughly cajole the skulls to where you want them to be. The PVA would (hopefully) act as a bit of sealant between the cork sections for when it came to resin time.
Once the skulls were down, a sprinkle of hobby sand added texture and helped bind the skulls together with the added surface area.
It helped to work in small sections, partly so there wouldn’t be PVA sloshing everywhere, and partly because I’d had a few warping mishaps recently (hence the very thick MDF) so I was conscious about using as little glue as possible.
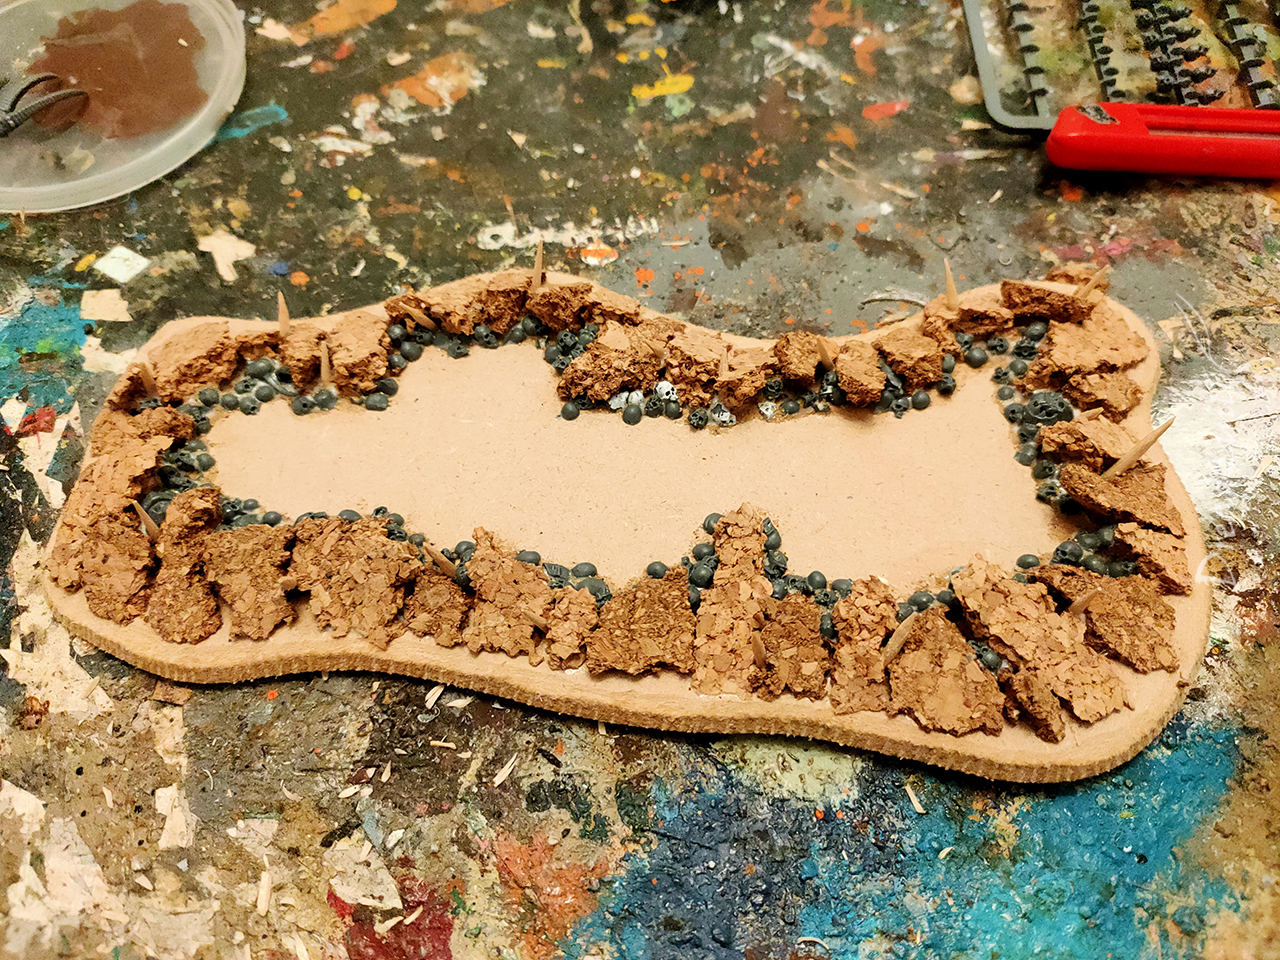
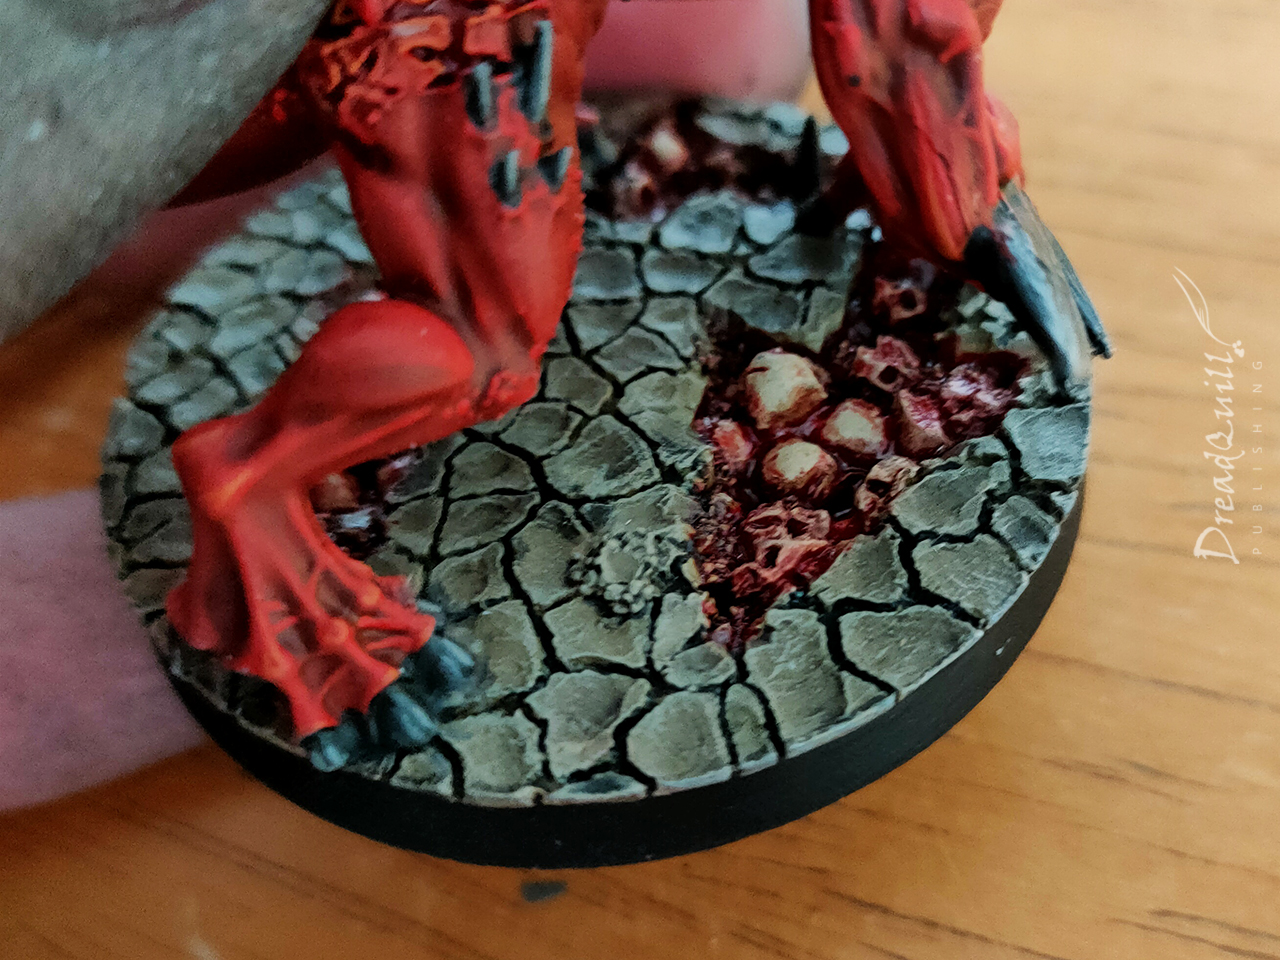
The vibe I was going for was a base style similar to the one used on my Bloodletters – cracked earth, mysterious skull pools, and jagged spikes jutting up at dangerous angles.
Cocktail sticks broken into sections and roughly sharpened with a craft knife worked perfectly for this, once again just using a little blob of PVA to secure them.
I smoothed the transition between cork triangles and MDF base with some more cork, this time it was all the dust collected from breaking up my triangles. Waste not!
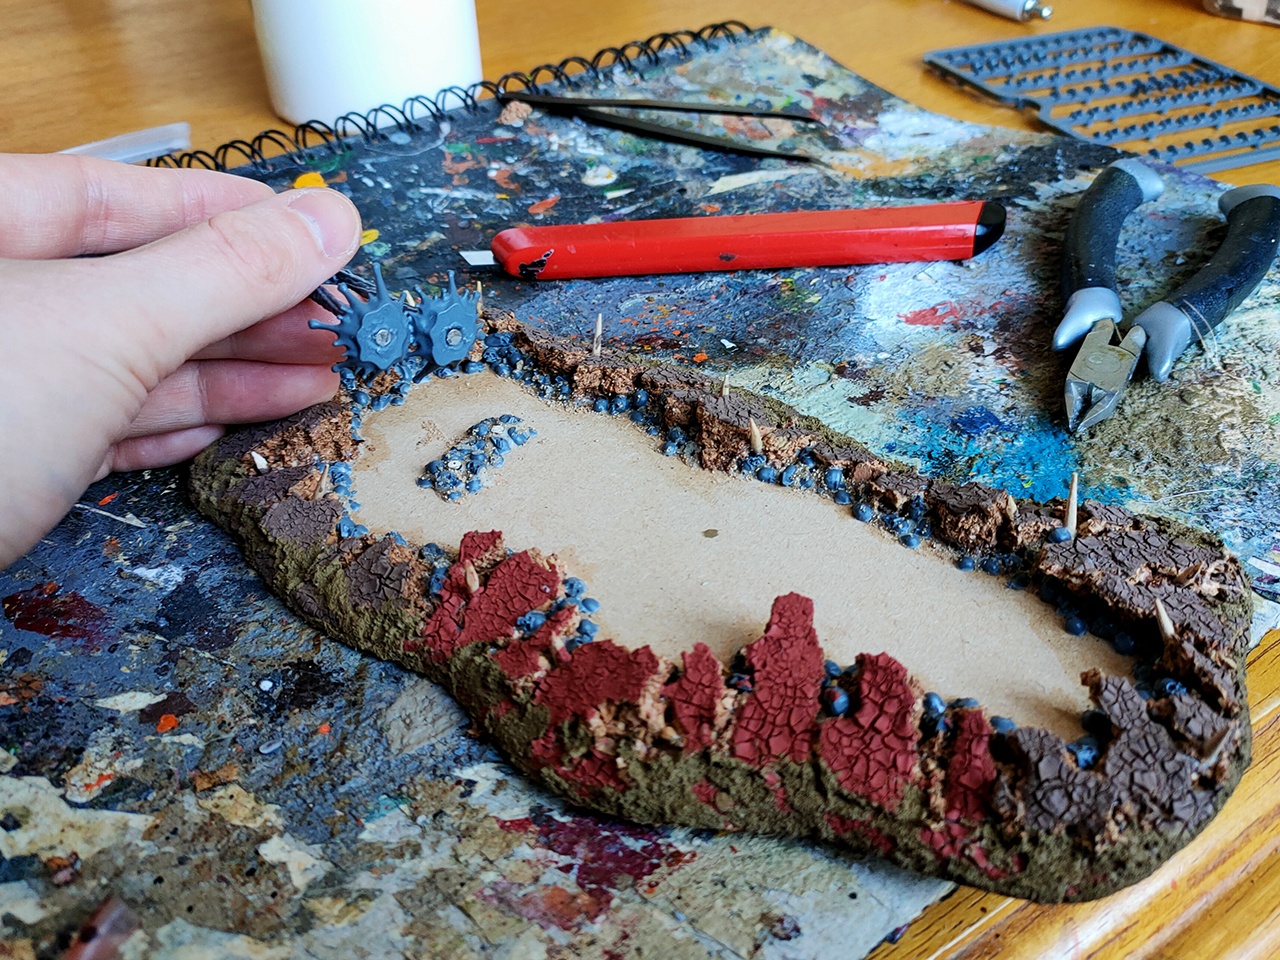
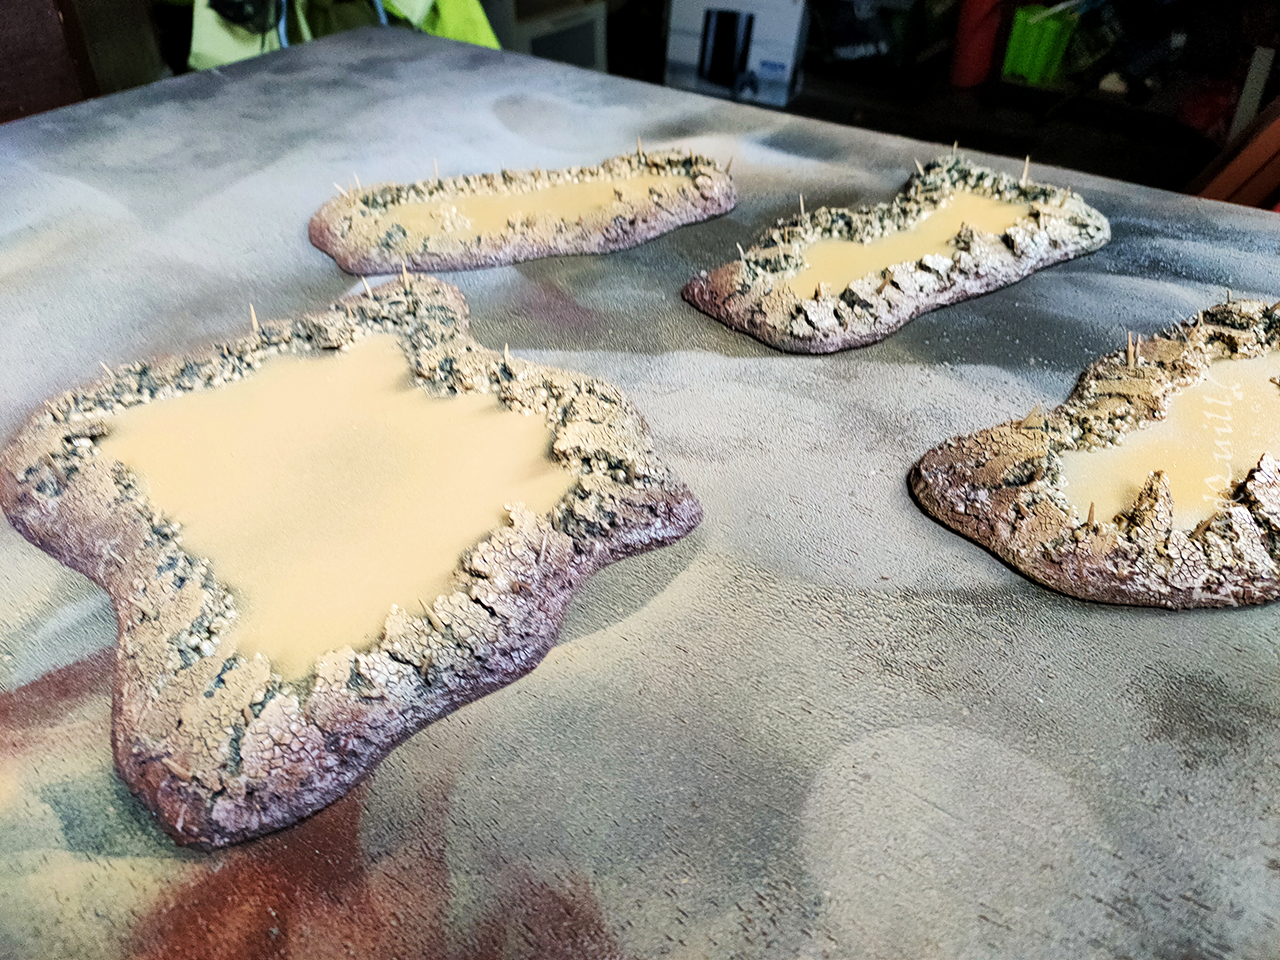
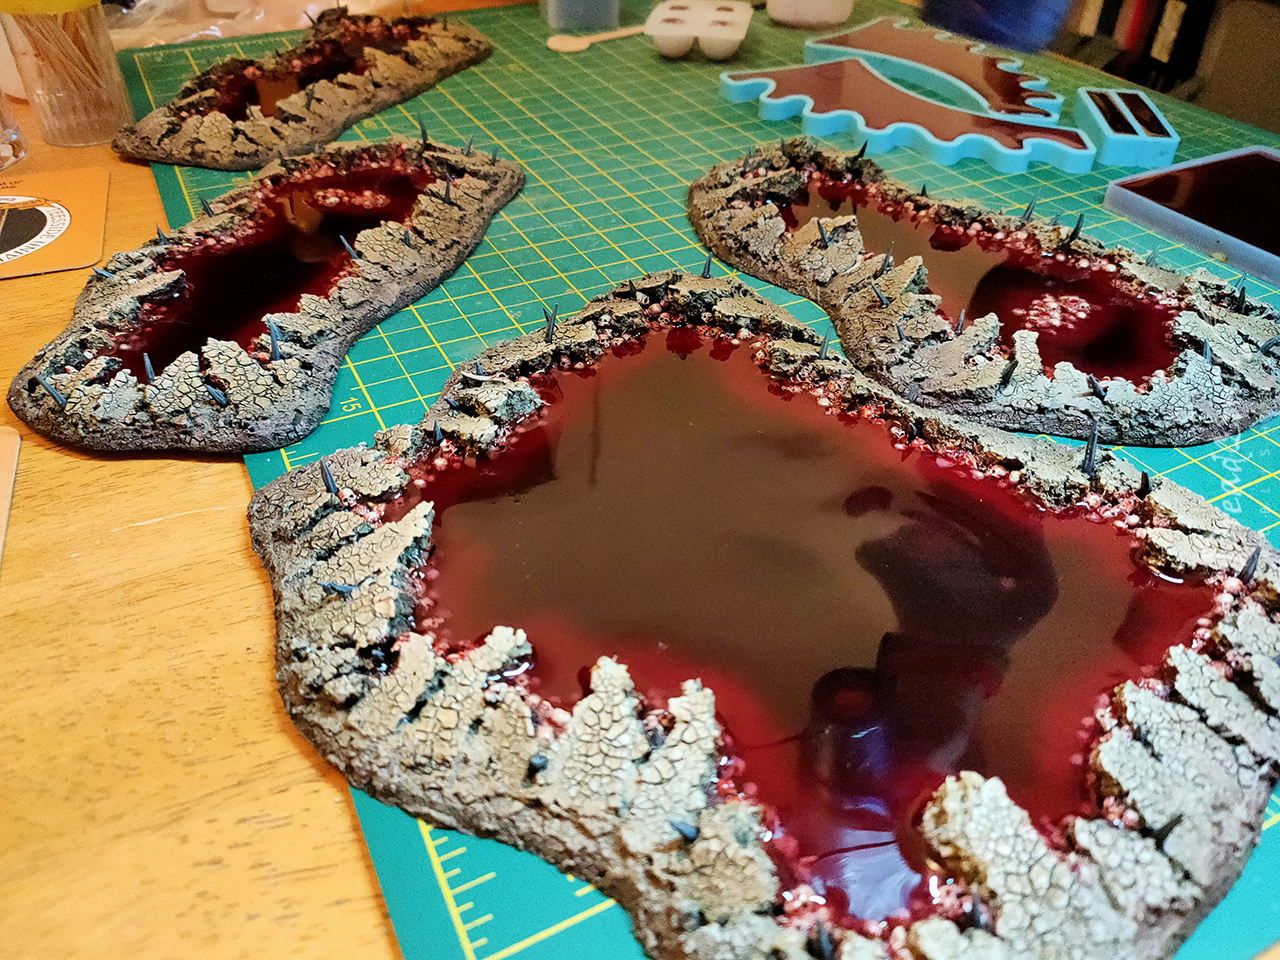
Once that was dry, everything got a heavy coat of crackle paint on the larger flat surfaces (I used a few colours here because I kept running out), with some textured paint in between to break it up.
Once all that was dry, I couldn’t put off my excitement for science any longer.
How do they work?
Yes. We’ve gone from baked earth to rare earth.
I was shocked and appalled how easy and fun it was to construct this. I had the Judgments of Khorne endless spells from Age of Sigmar stuck in my head as something I wanted to utilise for my blood pools, and a floating skull crying rivers of blood seemed like the perfect addition.
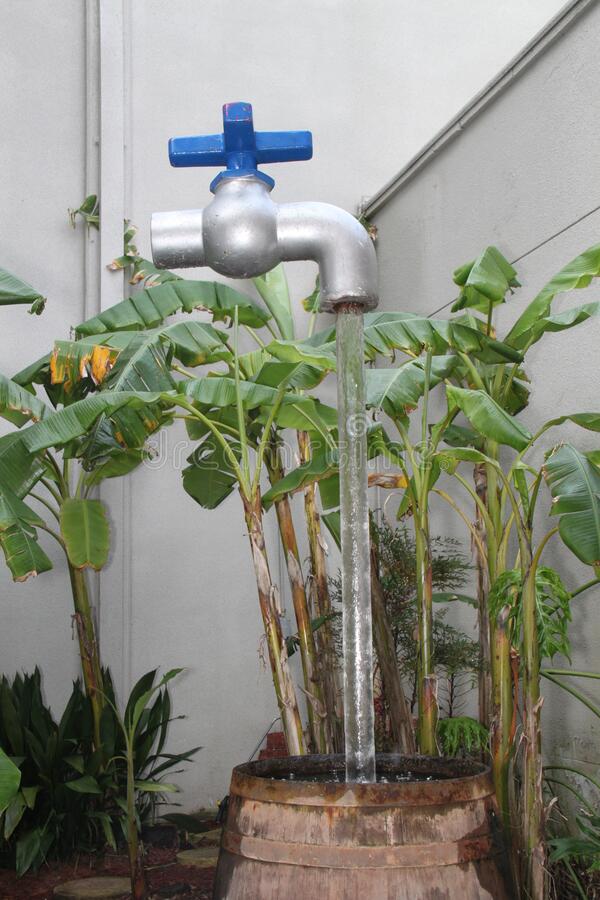
I was reminded of a Ripley’s Believe it or Not I visited as a kid with the floating faucet, except with more blood and skulls.
Using magnets was an afterthought. Storage was a prime consideration for my pools, and a bunch of MDF with cork glued to it stores flat pretty well, but it gets a bit awkward as soon as you start adding honking great floating skulls. Magnetising all of the big bits meant I could collapse everything and store it much more efficiently. It was also much easier than I thought to get the magnets aligned – my biggest concern when using magnets.
Much m-aligned
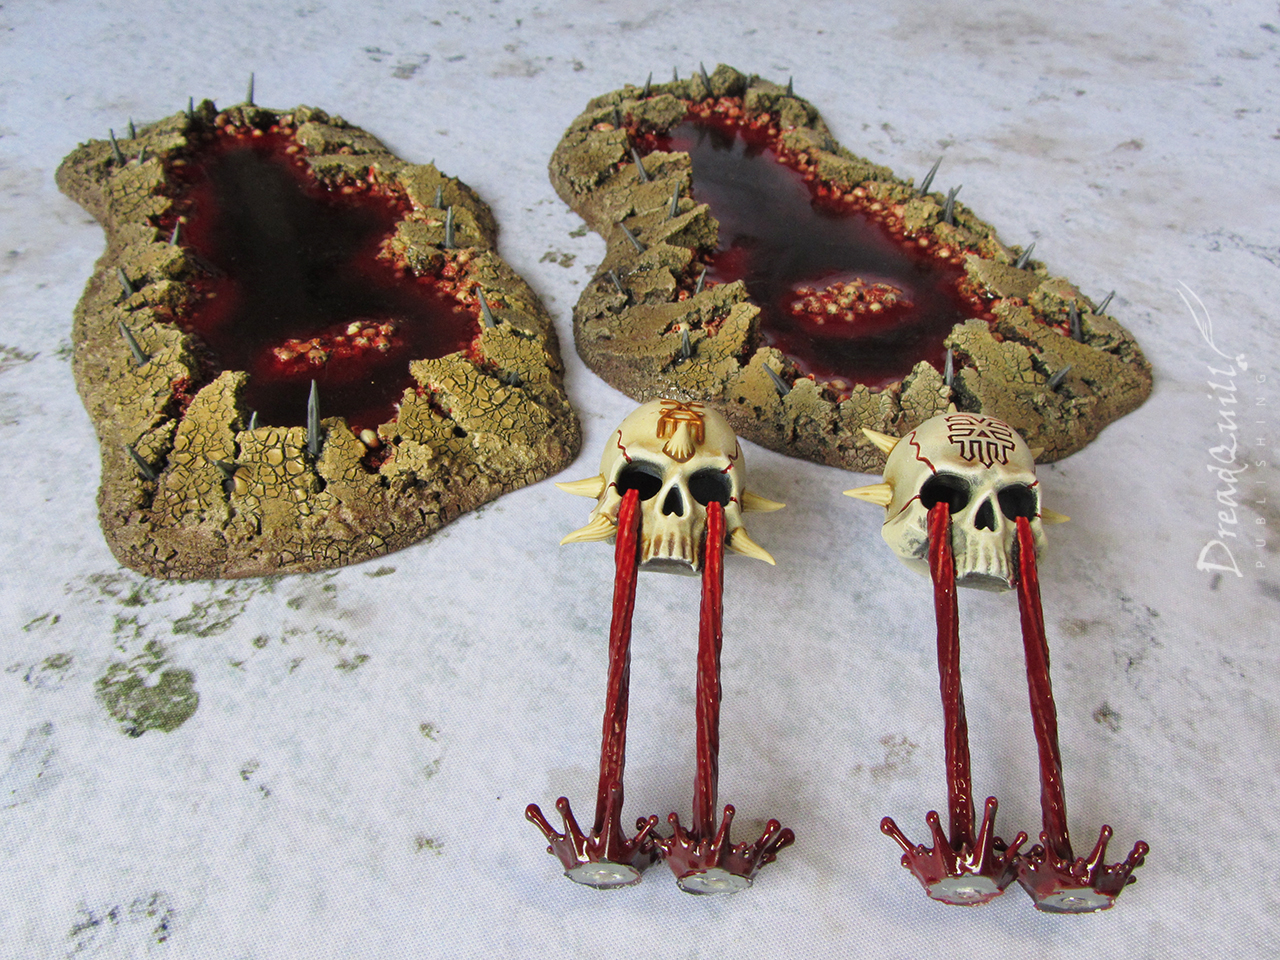
First I drilled holes in the bottom of the floating skulls where they’d usually be glued to a base. The magnets I use are 3mm wide and 3mm deep, so I bought a specific drill bit for this to make it easier.
Once the magnets were robustly superglued in place on the skull section, I added the second set of magnets and marked off where they would attach to the MDF with a blob of superglue. I balanced the whole blood-fountain skull on top while the bottom magnets dried to the base, making sure I wasn’t accidentally gluing everything to everything else.
The dried magnets in the fountain skull held the lower magnets in place while they glued to the MDF base. I made sure not to move anything while it was drying (these magnets are stuper strong), and gave it another dose of superglue after 24 hours to make sure.
When I was happy the glue bond was stronger than the magnet bond, I gave the skull a little wiggle, before gently folding it off the base. Success!
I added some more skulls around the magnets on the MDF to help secure them and to blend them into the model. I was planning on adding a thin layer of resin later, and this would help the magnets stay just flush to the surface.
Blood for the blood god for the blood god
It was time to paint! In preparation, I had stocked up on plenty of Blood For The Blood God, just in case the resin pour didn’t work. I needn’t had worried.
First I blasted everything with a brown primer, with a slightly lighter brown on the raised cork edges. The floating skulls were hit with a grey undercoat and a white zenithal spray.
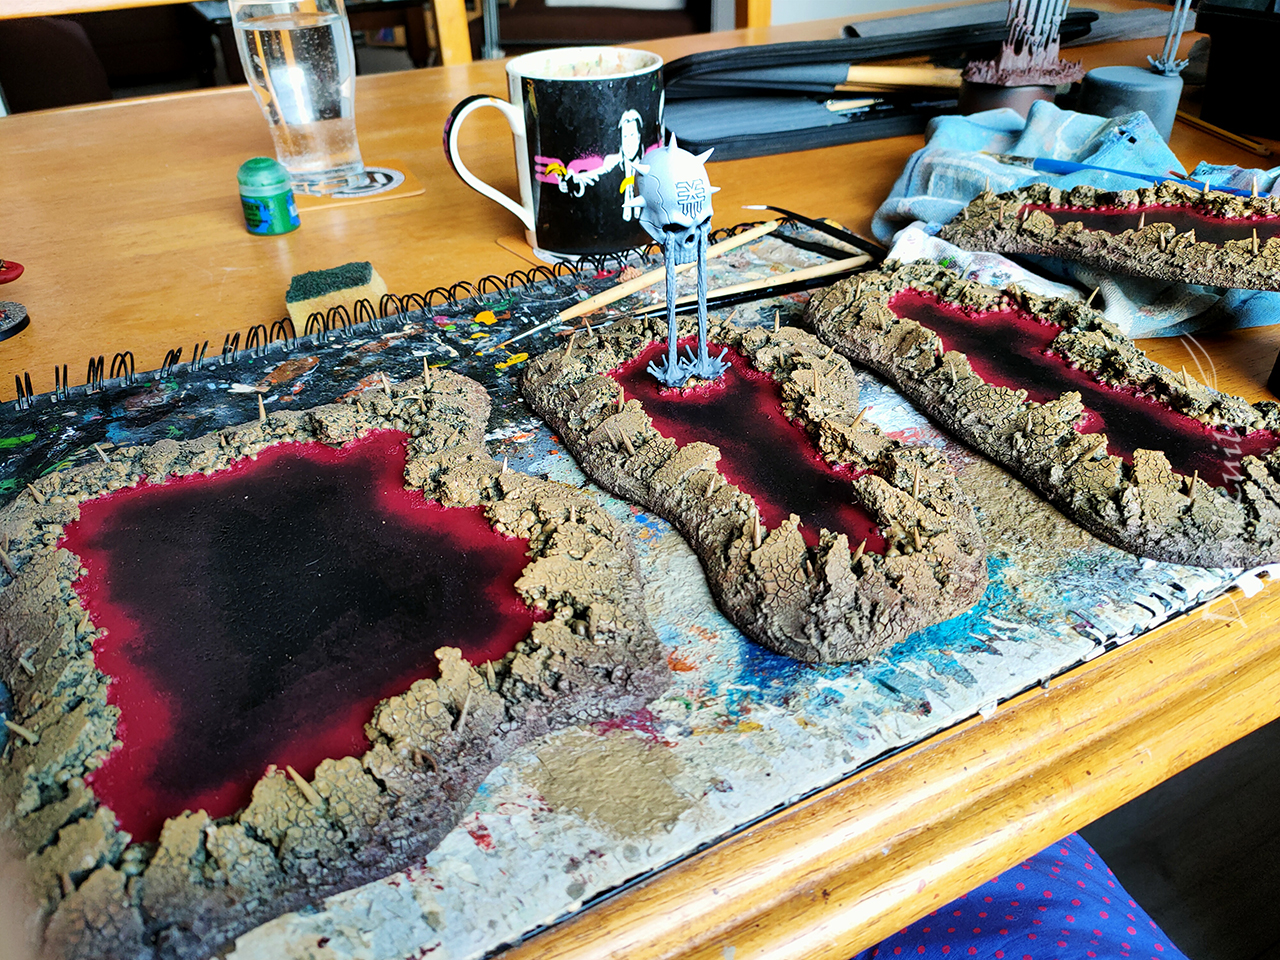
I hand-painted a border of crimson red where the skulls met the pool, and wet blended it into pure black in the centre with a chunk of sponge. This would hopefully give the pool some depth when the resin was applied.
What a difference that made to the overall vibe though. All my fears immedately subsided when I could see it coming together.
The broken ground sections were drybrushed bone and the spikes picked out with grey. All the smaller skulls got a quick hit with a bone colour as well, followed by a watered-down was of Blood For The Blood God. I wasn’t worried about being neat, as the blood effects would cover up any mistakes I made.
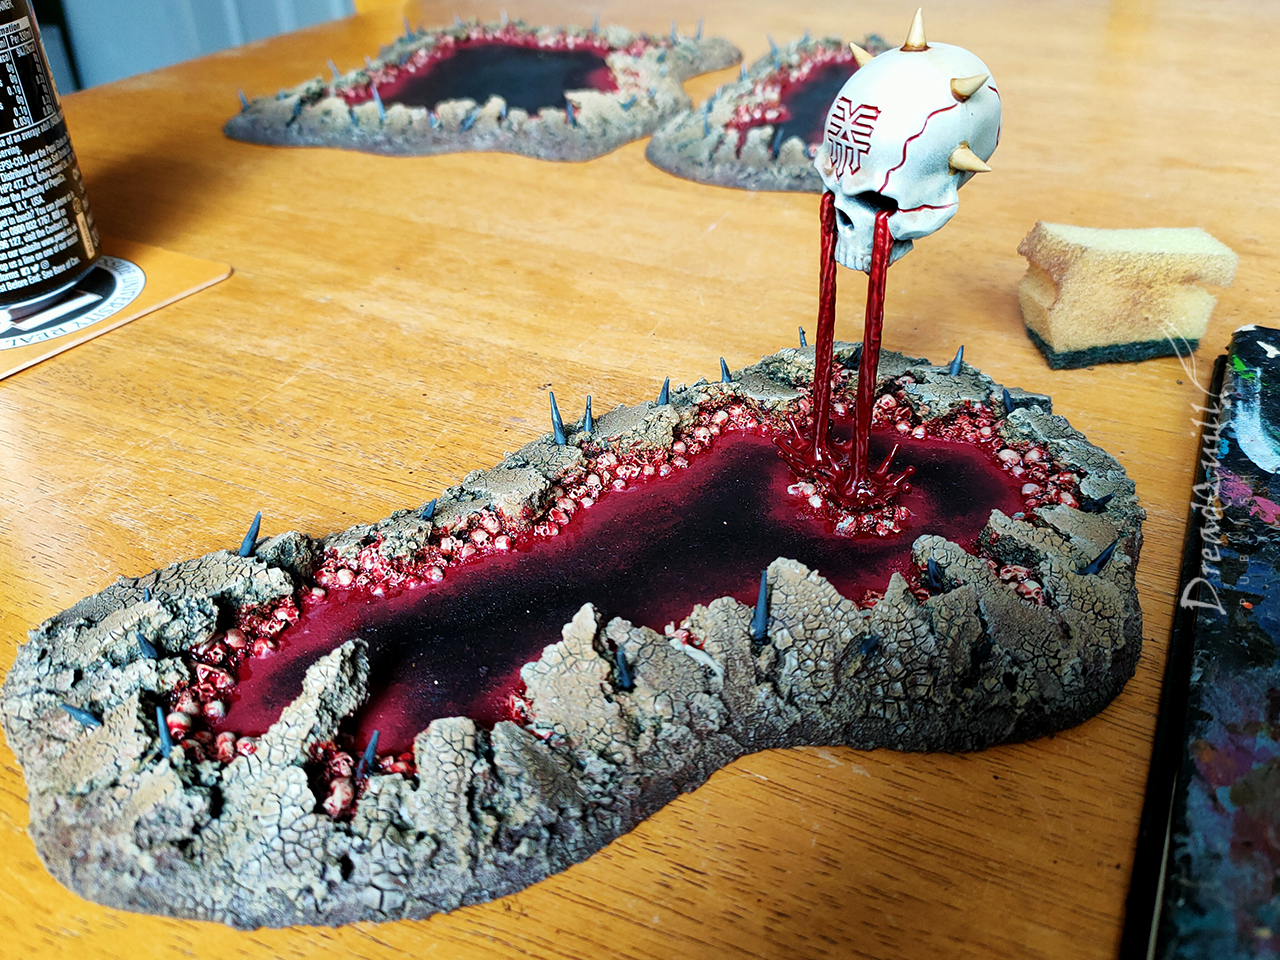
The floating skulls were given another quick drybrush of white to tidy up the undercoat, and the bloody parts picked out in, surprisingly, Blood For The Blood God again. The white to grey gradient from the zenithal undercoat really helped sell the blood pouring from the eyes. That’s literally just white at the top, grey at the bottom, and hit with a single globby coat of BFTBG and it accidentally came out brilliantly.
It really resinates with me
Now for the final and scary part. I enlisted the help of my incredibly talented partner to mix up some resin for the final touches. She mixed up some two-part clear epoxy resin and added some red and blue pigment to create a translucent purple colour.
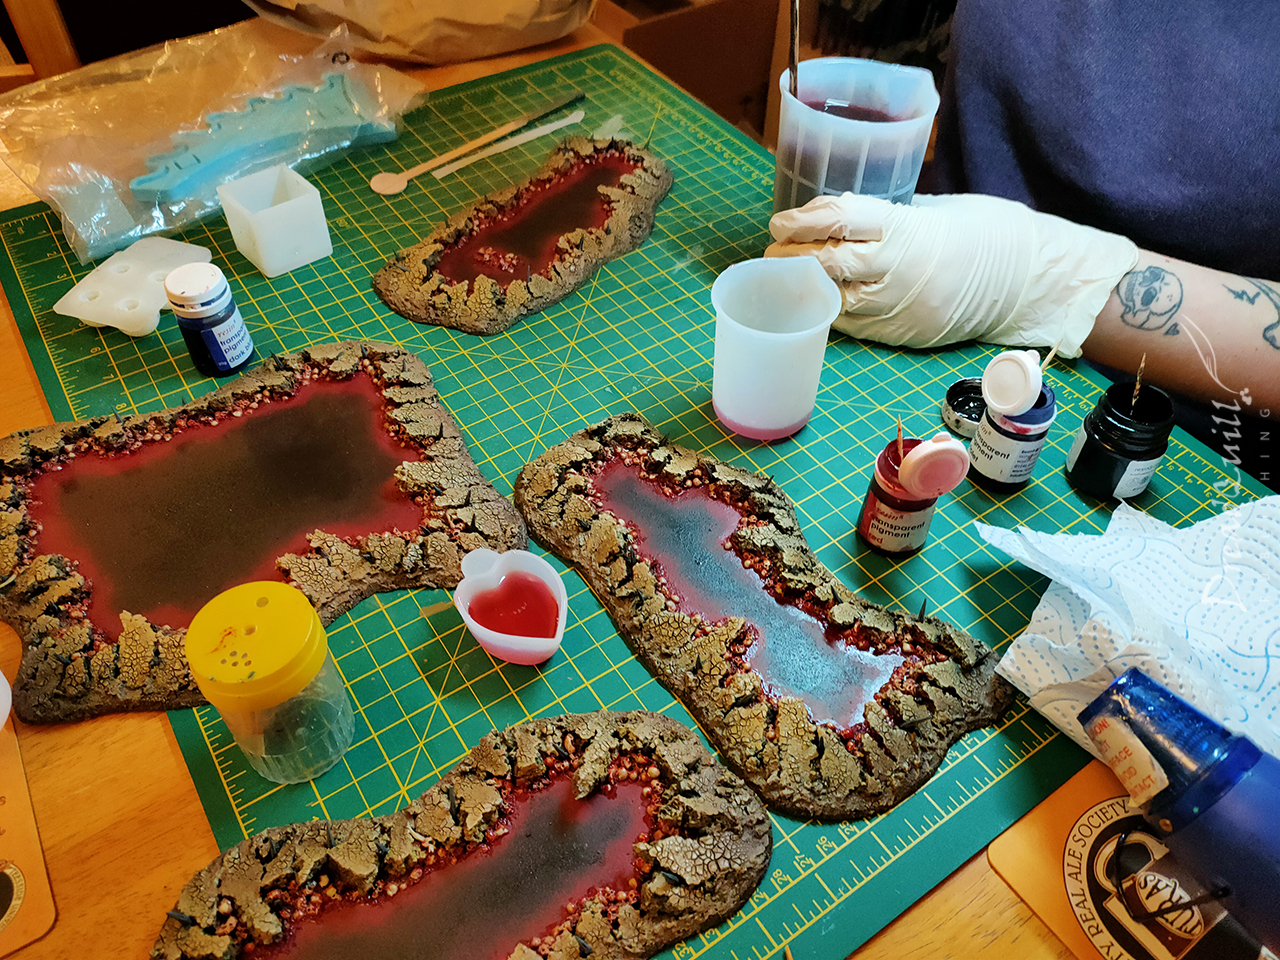
It was poured in slowly (we made way too much, so there were a few extra moulds for excess resin to get poured into), and barring a few leakages it went smooth as silk.
And it was complete! Now just the agonising wait for them to dry (and damming up leaks between some of the cork pieces).
They looked like forbidden jammy dodgers.
Let’s just check the magnets still work.
Hit the pool
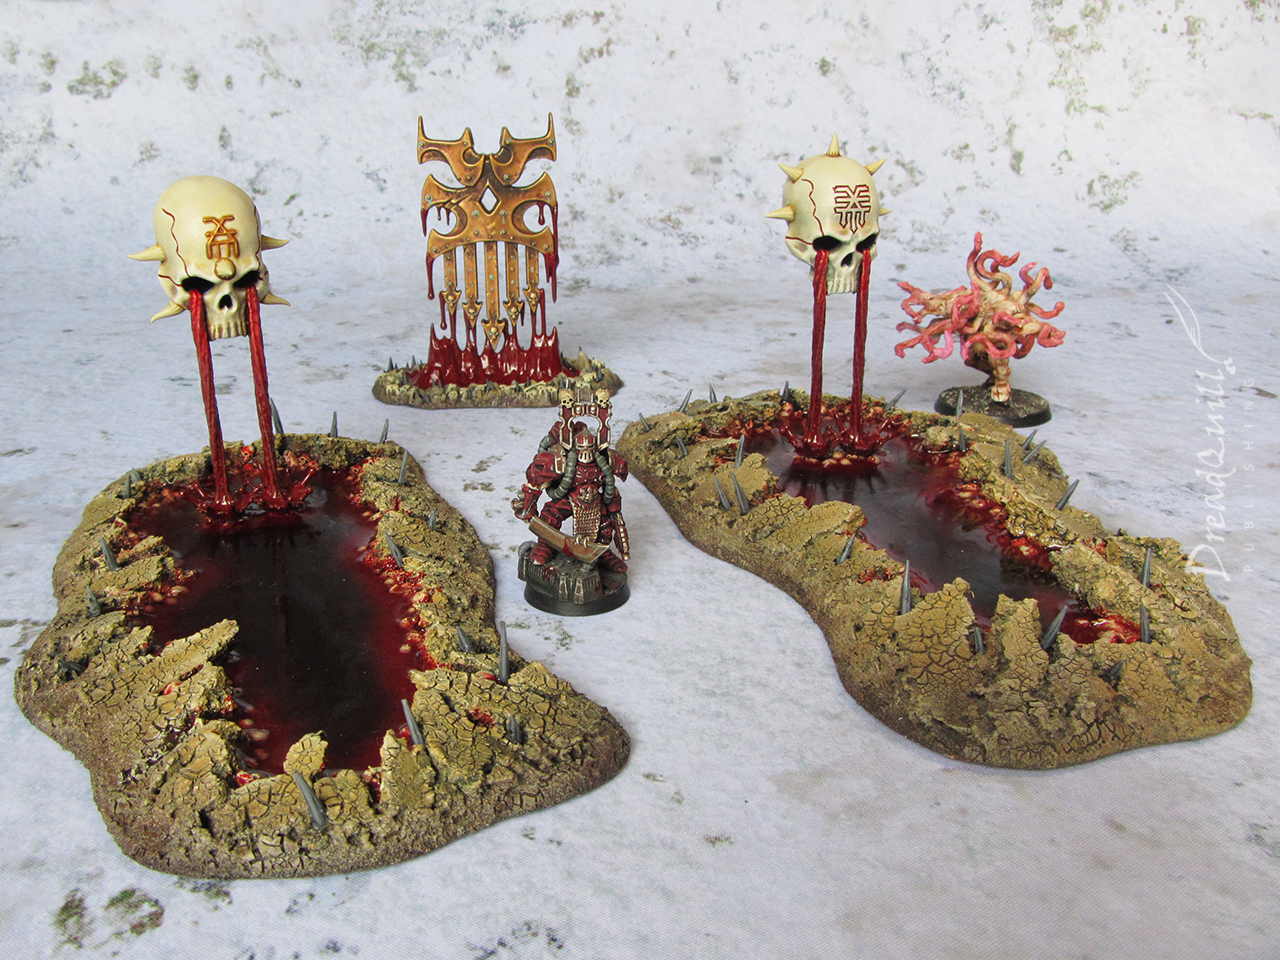
I’m overjoyed with how they came out! The pictures don’t do the resin justice (I haven’t figured out how to photograph pools yet…) but it adds such a wonderful dimension to the pieces that I was already quite happy with.
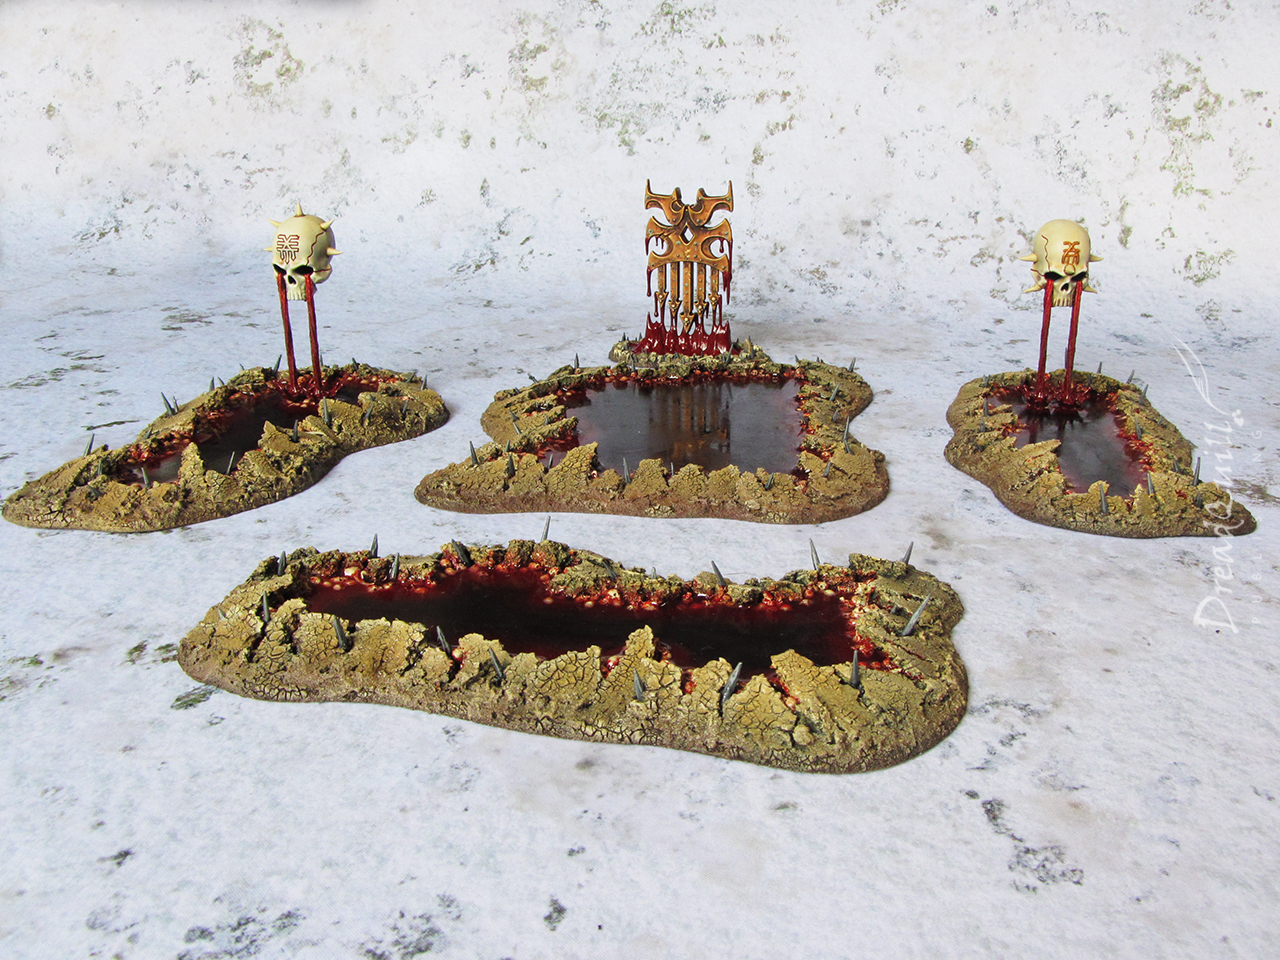
I threw some colour on the Khorne icon as well so it could be used as part of the set. Nothing exotic, just a brass undercoat, brown wash, then picking out the edges with a lighter silver. The rim was painted to match the rim of the skull pools.
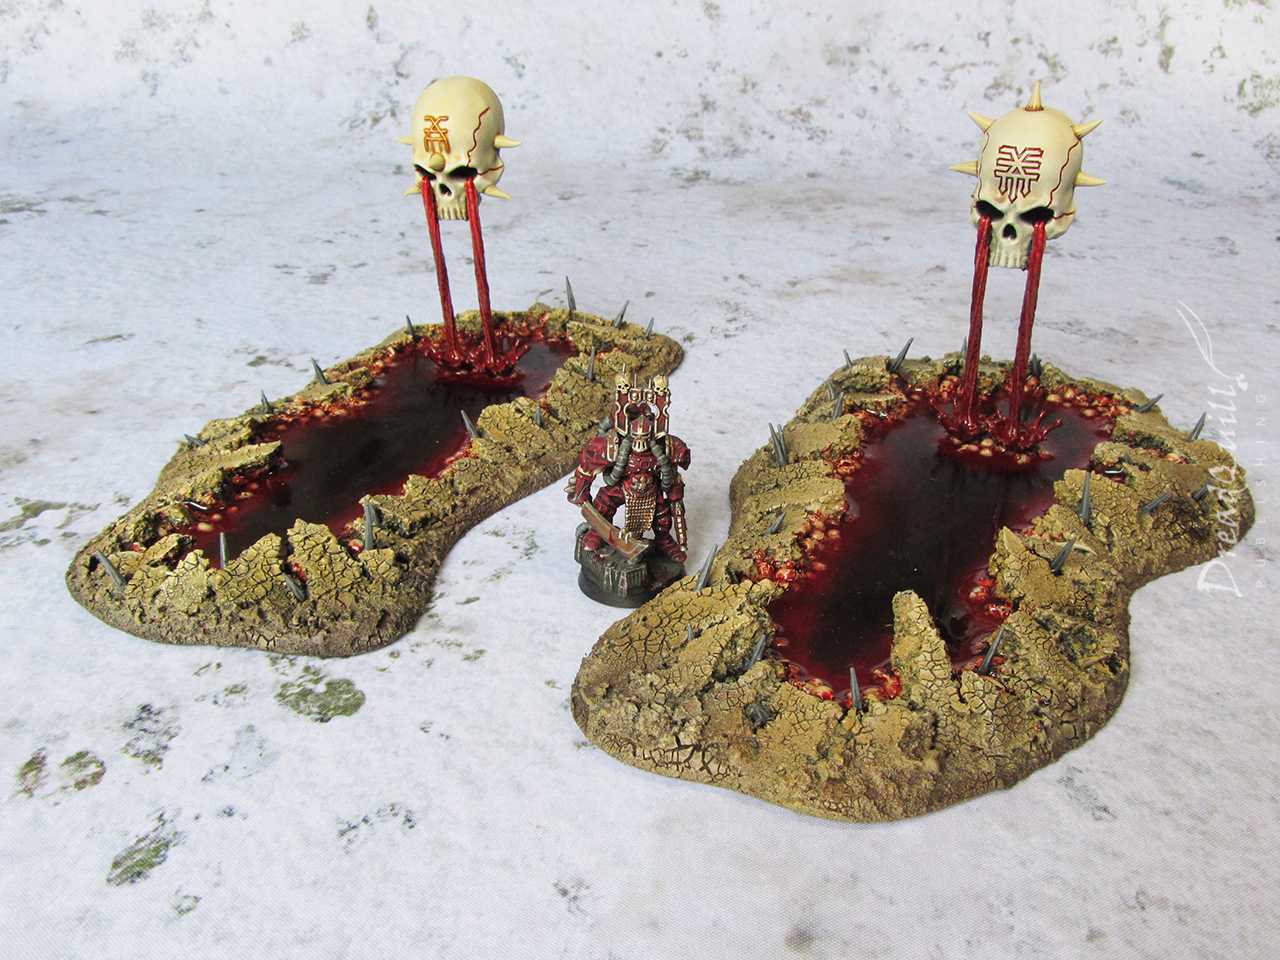
My favourite pieces are obviously the floating skull fountains. They came out way better than I’d expected, and really sell the idea that these aren’t just any normal pools of skulls and blood, they are daemonic pools of skulls and blood.
And owing to our magnetic friends, they pack down perfectly for storage.
The scale is just right, so I can use them in any of my 28mm or 54mm games. Living in a tiny English miner’s house, storage space is at a premium. Having scenery sets that can be used across the board is a must!
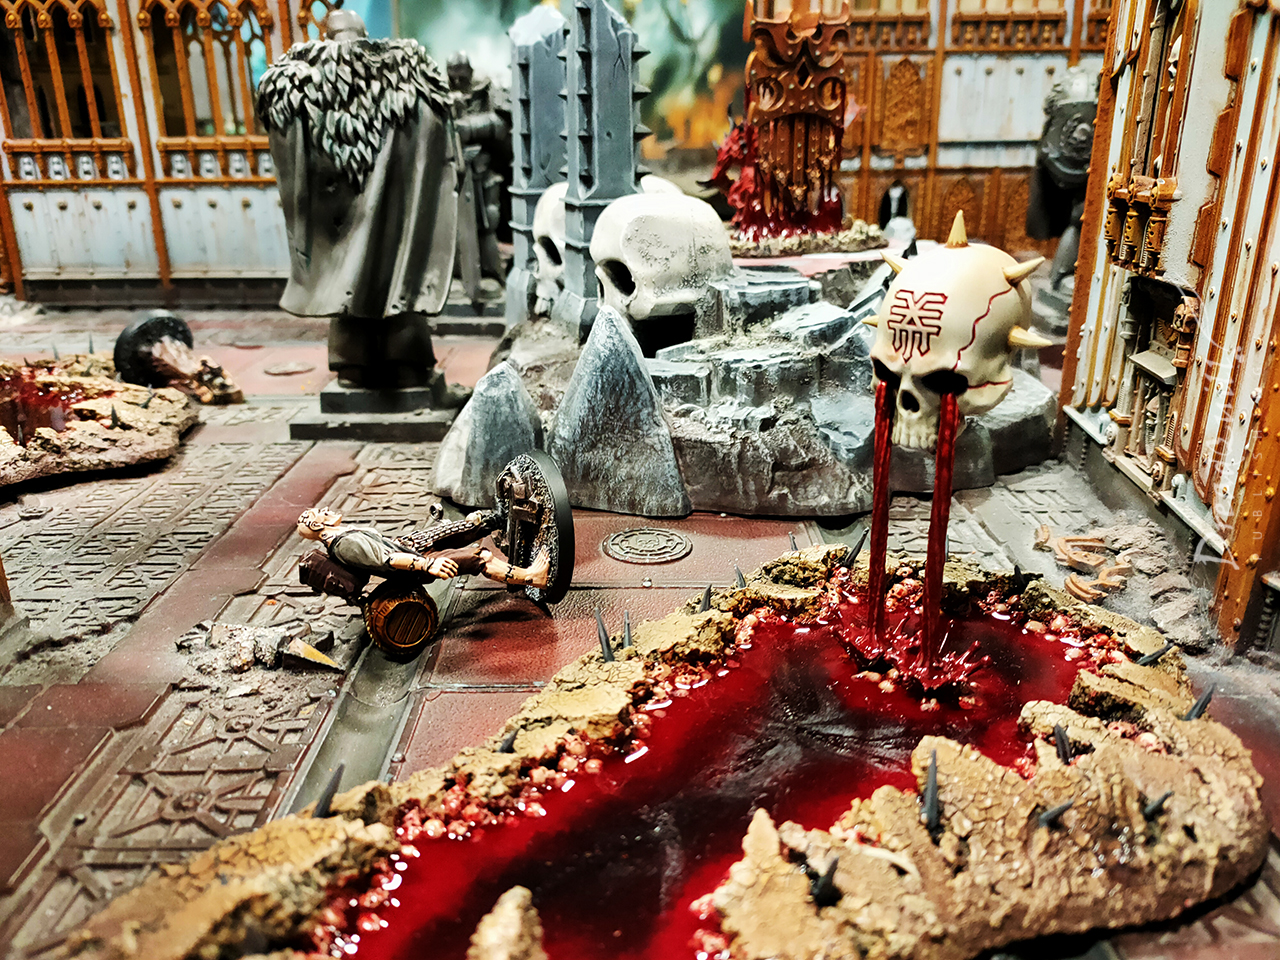
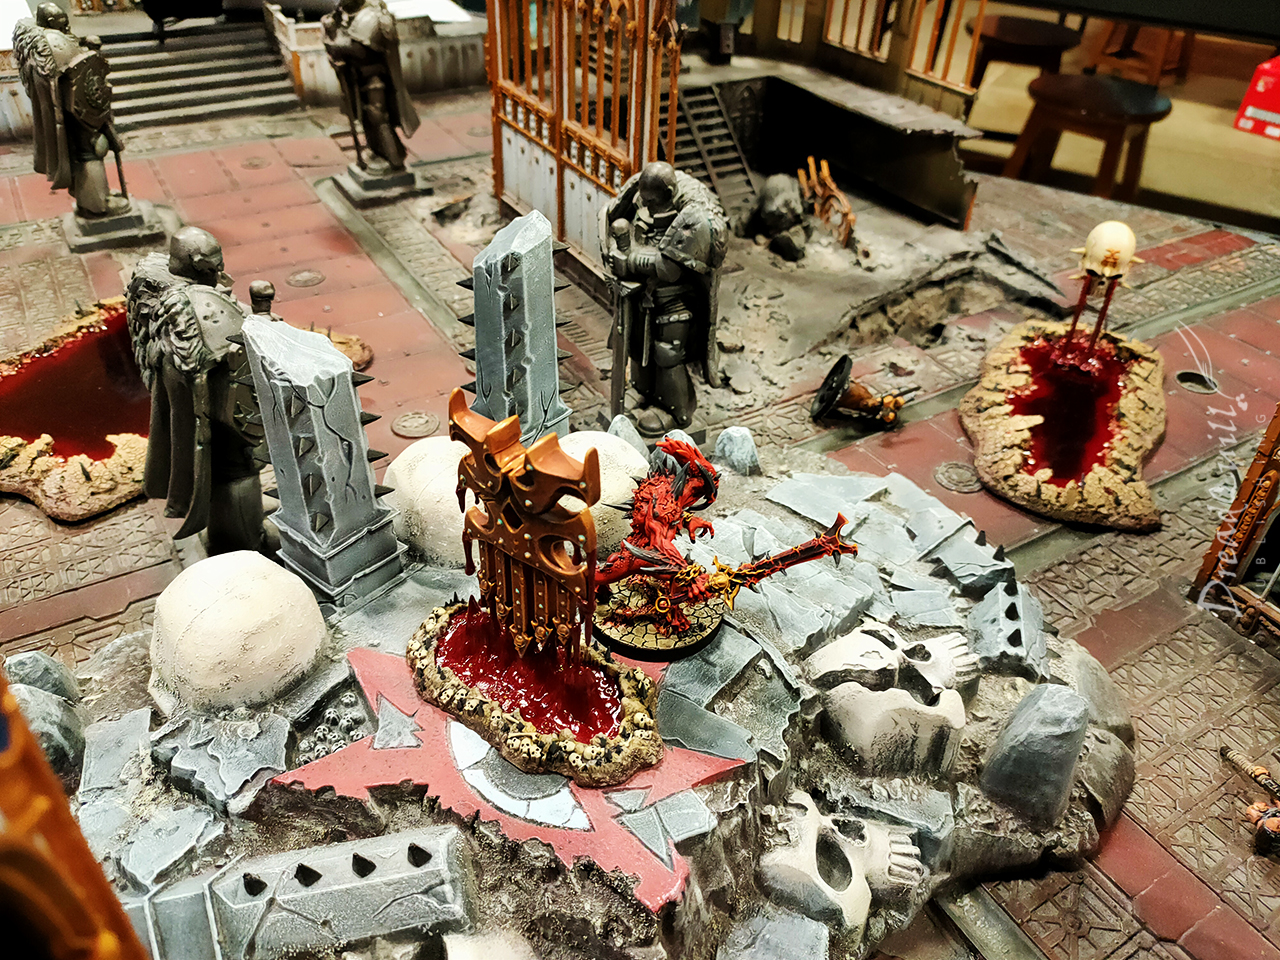
Big Day Out
And they looked great on the day too! This is a couple of shots from our Inquisitor Grand Tournament in March 2022 on the basilica/shrine board they had.
All in all, some excellent pool-making and even more excellent resin-pouring made for some kick-ass scenery pieces. I’ve already thought of a thousand ways to make more pieces to go with this set, but I think I’ll need to dig a basement before making any more rash scenery-building decisions…