
A while ago I bought some wood in a Kickstarter and thought nothing of it. I had no idea what it would awaken in me.
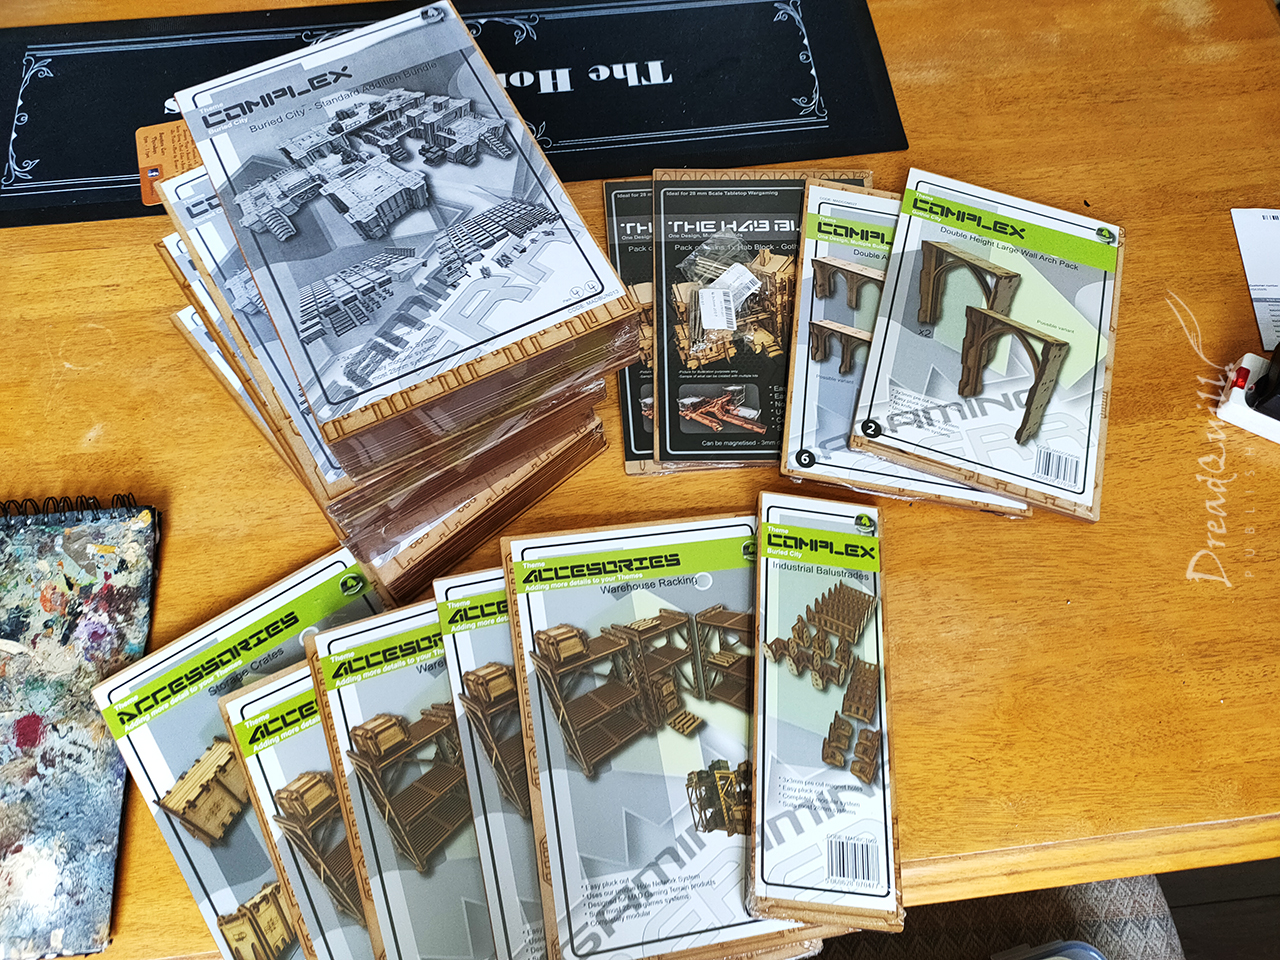
Fast forward many moons and I have returned several times to MAD Gaming for their excellent modular wares. As part of one of those orders I picked up their rather excellent Warehouse Alfa 5 kit, which was ostensibly just a lot of shelves and boxes. Little did I realise just how many shelves and boxes I would get.
Wood you kindly
I’d been doing some terrain auditing during the Plague Years, and realised I didn’t have anything to represent interiors. The last Inquisitor game I played before The Long March of 2020 involved a warehouse raid, and I didn’t have anything particularly decent to bring that wonderful skirmish battlefield trope to life.
I was surprised at two things. Firstly, how little warehouse terrain is commercially available. You get the odd resin piece from Mantic or TTCombat, but trying to actually fill a warehouse with that stuff would be madness.
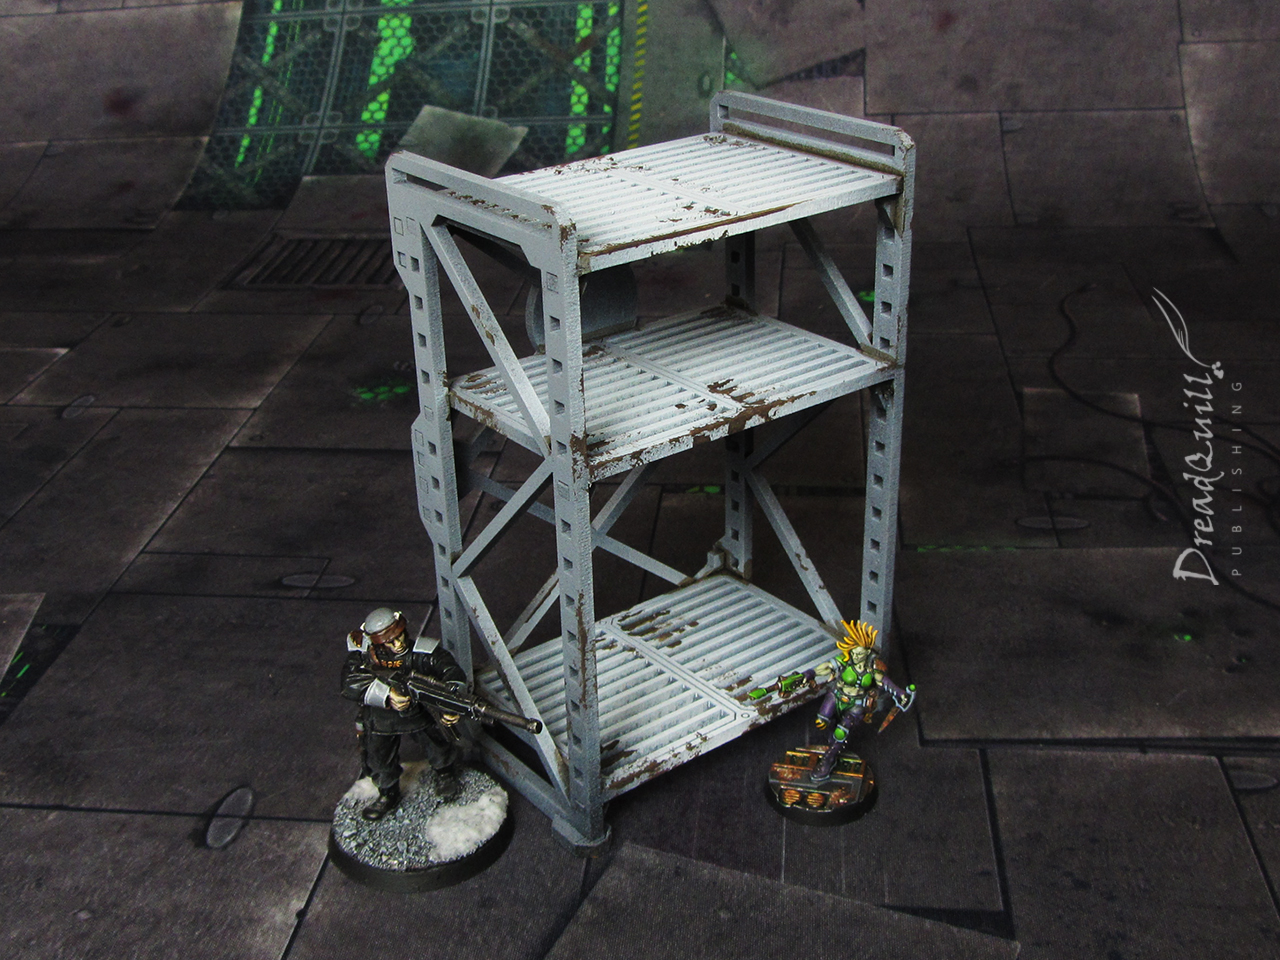
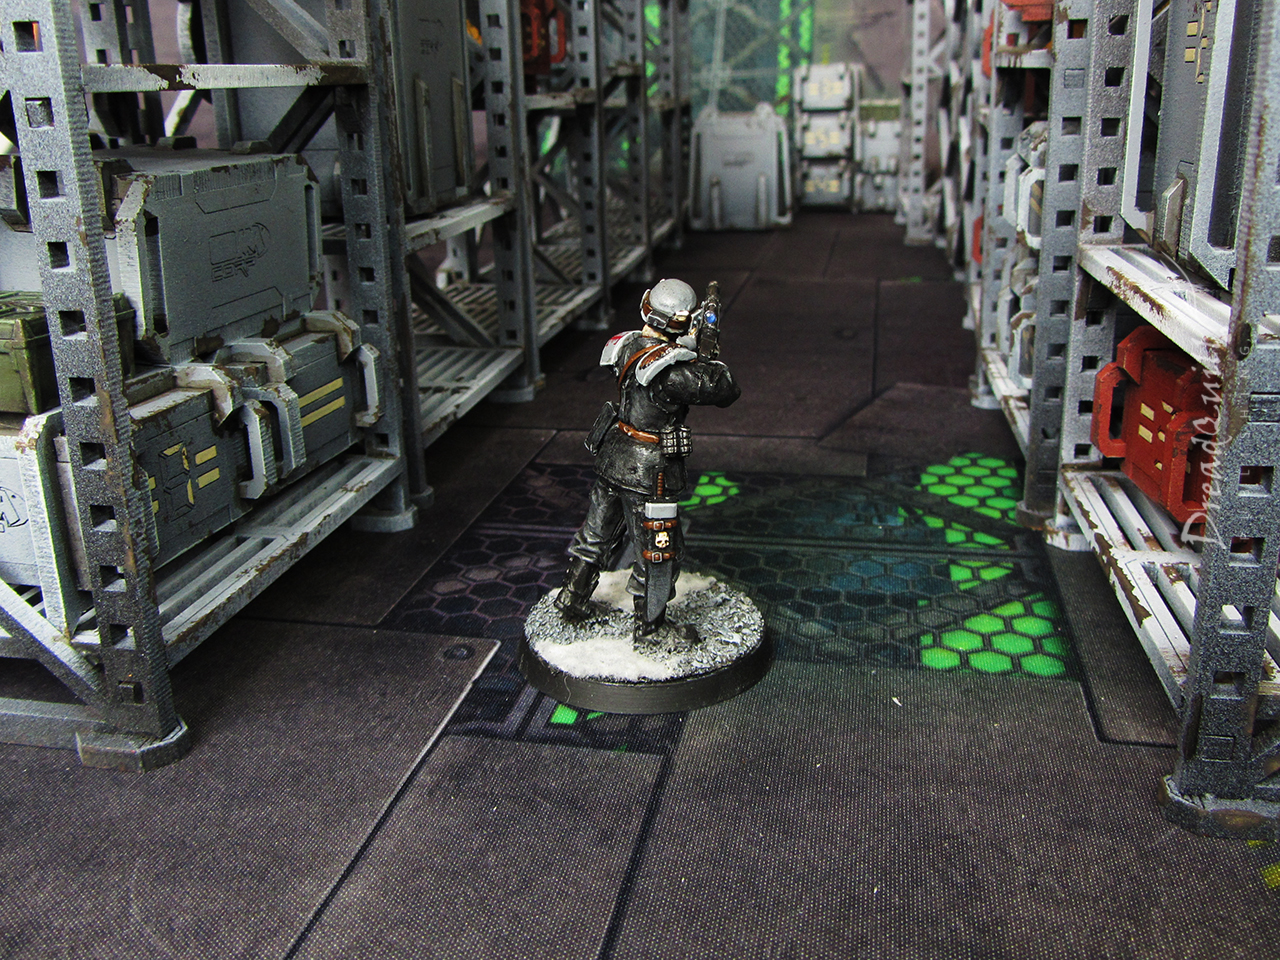
Secondly, how huge the MAD Gaming warehouse kit turned out to be. Not just in physical presence on the tabletop, but how well it scaled up to 54mm.

You can buy all the parts individually, but you save a bit of dosh with the bundle and pretty much get the crates thrown in. You also get lots of adorable little palettes, which I was a little disheartened to see that they didn’t fit any of the crates that came with the kit, so I tucked them away in the bits box for later use.
Crate expectations
Bad news first: building those crates was a very unpleasant experience. They look great when they’re done, but they were so fiddly to assemble. It wasn’t obvious from the instructions whether I had the wrong number of edge/feet pieces, or I was supposed to freestyle it.
The stacking crates (red-coloured ones in later pictures) were the main offenders. You build the six sides of the box, then you have to force the collars over each end, then secure them with the bars on top.
These have been cut to such small tolerances that you have to exhert an uncomfortable amount of force to squeeze them on, often bursting them in the process. I ended up having to shave down corners and edges just to make them fit. If I was to build them again I’d simply cut the collars in half and glue them in place.
Nice rack
A neat little touch is having the freedom to have the racking shelves at any height, and they come with lots of little L-shaped widgets to help you do that. You don’t get much leverage on them to push them into the holes as they’re barely 3mm across.
I made it much easier on my poor thumb by shaving down the pegs a bit so they slid in easier.
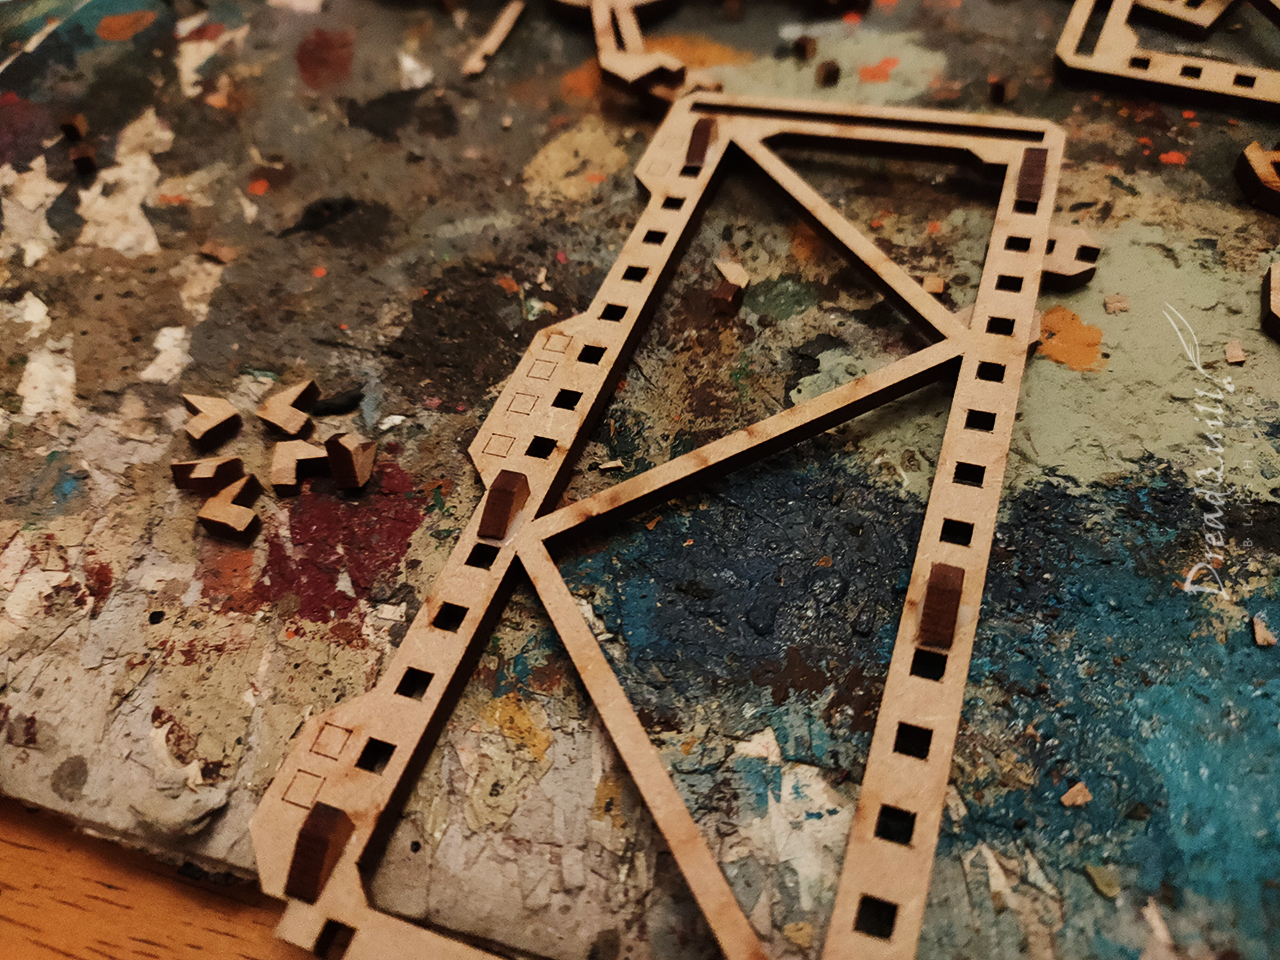
You’ll also want a couple of rubber bands to hold them in place while it all dries. You don’t want a wonky rack now, do you?
Mindless shelf indulgence
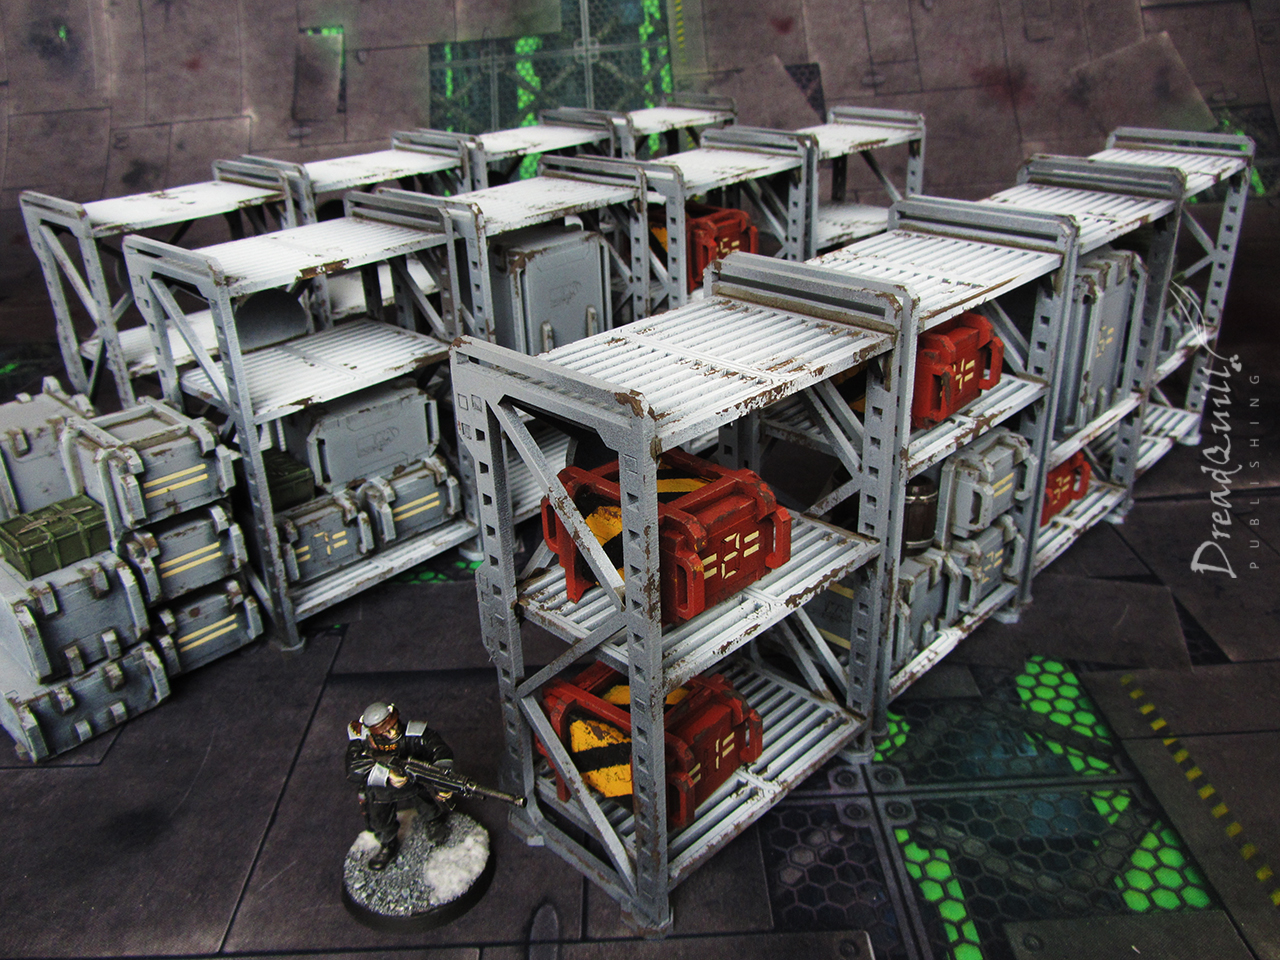
The good news now: Once built, it takes paint brilliantly and is probably some of my favourite terrain I own. Everything was tabletop-ready in an afternoon of rattlecans in the sunshine, with details and weathering taking another few hours.
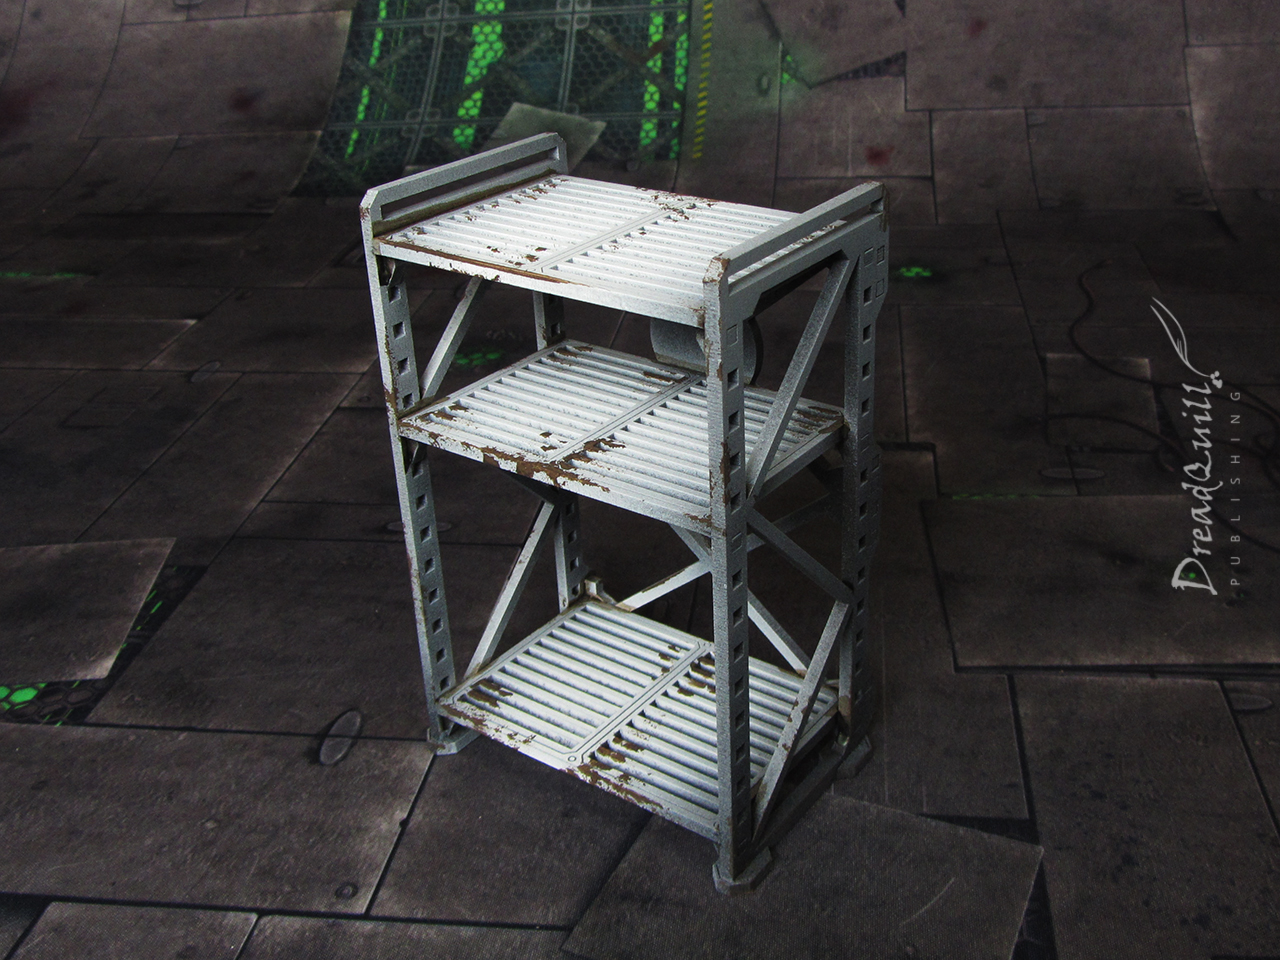
The racking was given two coats of matt black spray, followed by a zenithal highlight of grey spray. A delicate blast of white spray was applied straight down the middle to highlight the shelves. A poor man’s airbrush!
Weathering was easy – a rough uneven pin wash of Agrax Earthshade in the corners, and Typhus Corrosion applied with a piece of torn off sponge. Done!
Did I mention they were big?
Fat stacks
Another trick that helps me with modular scenery is gluing smaller bits together into larger modular chunks, such as stacking crates or barrels. I’ve had some bad experiences with things being too modular, as you spend so much time setting up and tearing down a game board. Play with larger building blocks, and break it up with smaller pieces.
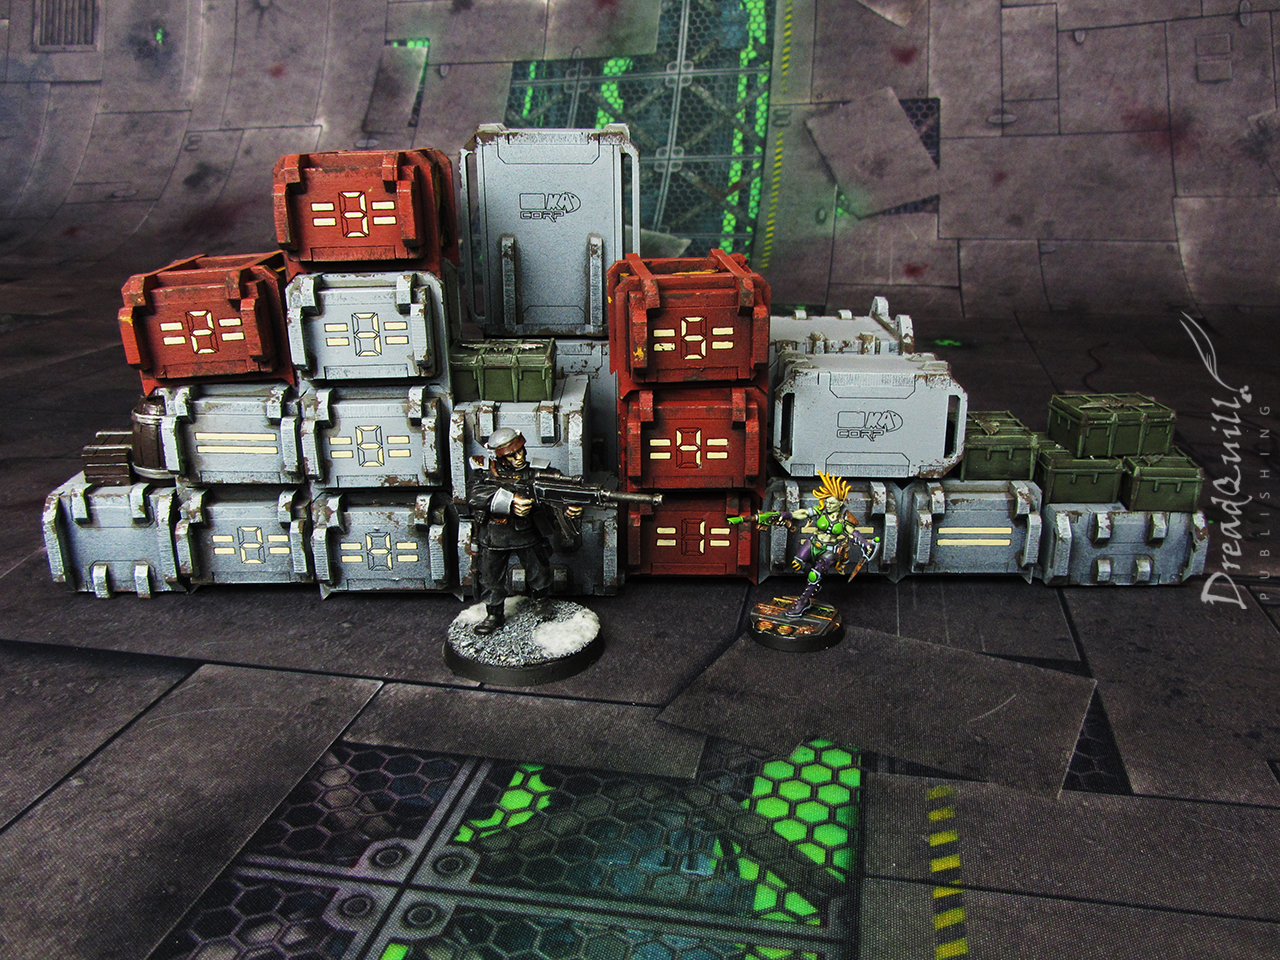
This is one example of a larger building block – five crates from the MAD set glued together with a smaller 40k plastic crate on top for garnish.
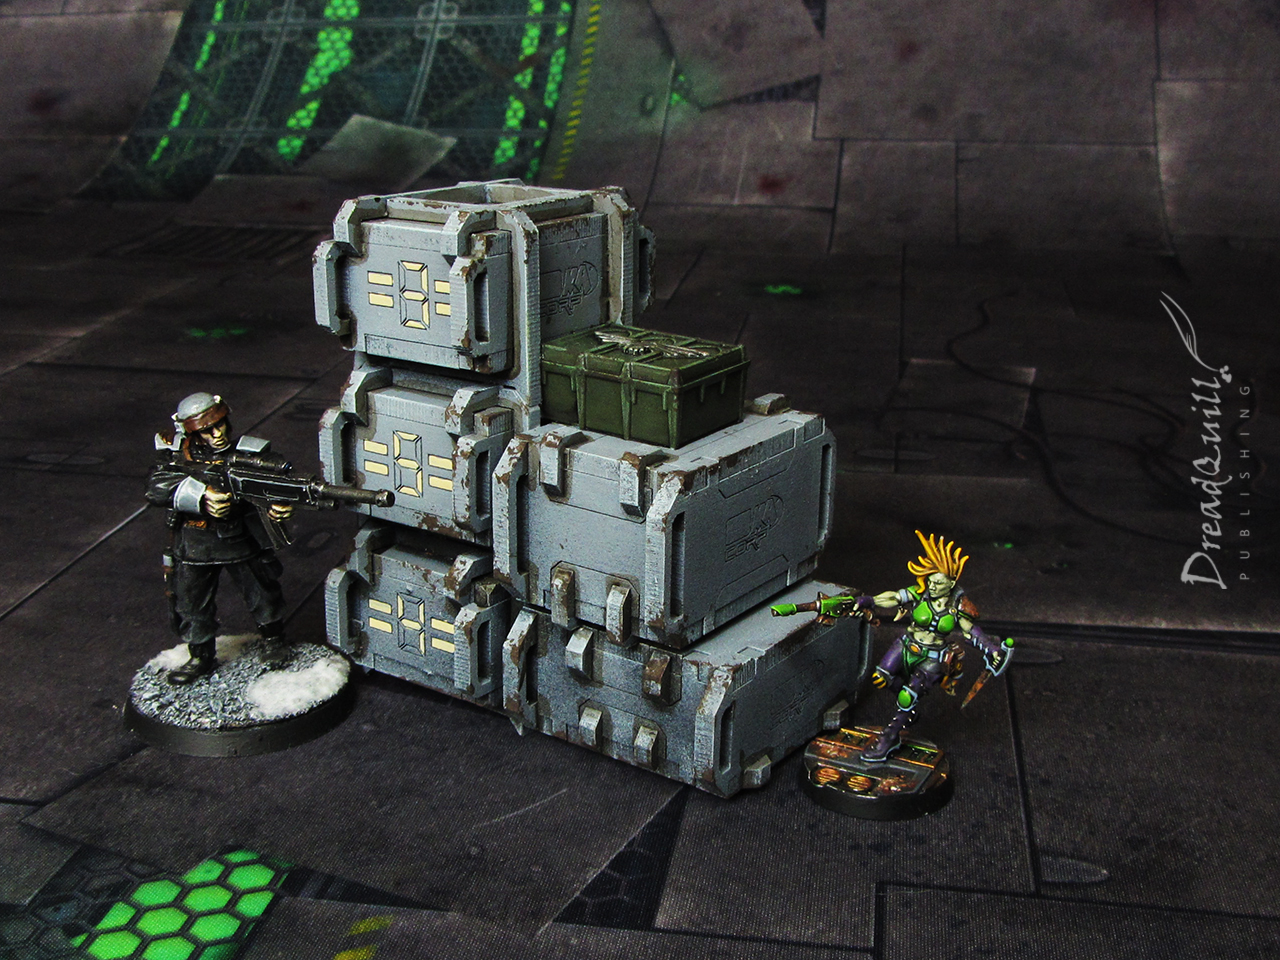
These were painted in much the same way as the shelves, but with block colours painted in before the Typhus Corrosion stage. A light flesh colour was used for the numbers, and the crates were Castellan Green, Nuln wash, then drybrushed with Straken Green.
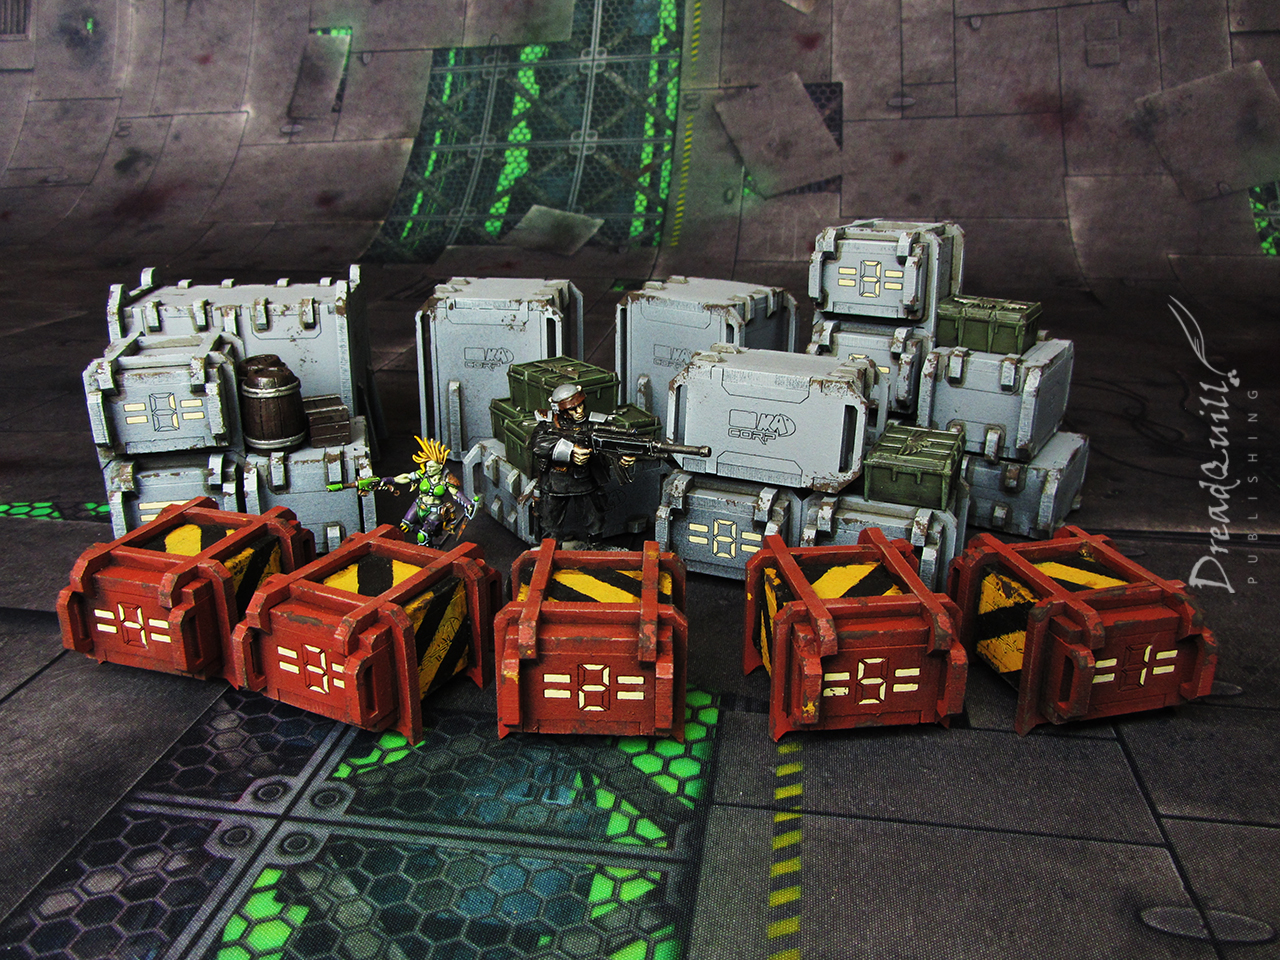
The red crates were blasted with red spray (the white zone is for loading and unloading only), with a fiddly lot of masking tape applied for the hazard stripes and sponging on the yellow. It turned out not to be worth the bother in the end, as I needed to do so much cleanup with a brush that I may as well have brushed it on in the first place.
Grouping them into stacks makes it easy to drop them into the tabletop to create interesting shapes of cover, or pile them together into a megastack without worrying about stability if models decide to go for a climb.
Show me your wares
I was also careful assemble the shelves at different heights to accomodate different stacks of crates. Being able to pop in a stack makes the shelf look busy and populated, without having to do any of the actual menial work of stacking a shelf!
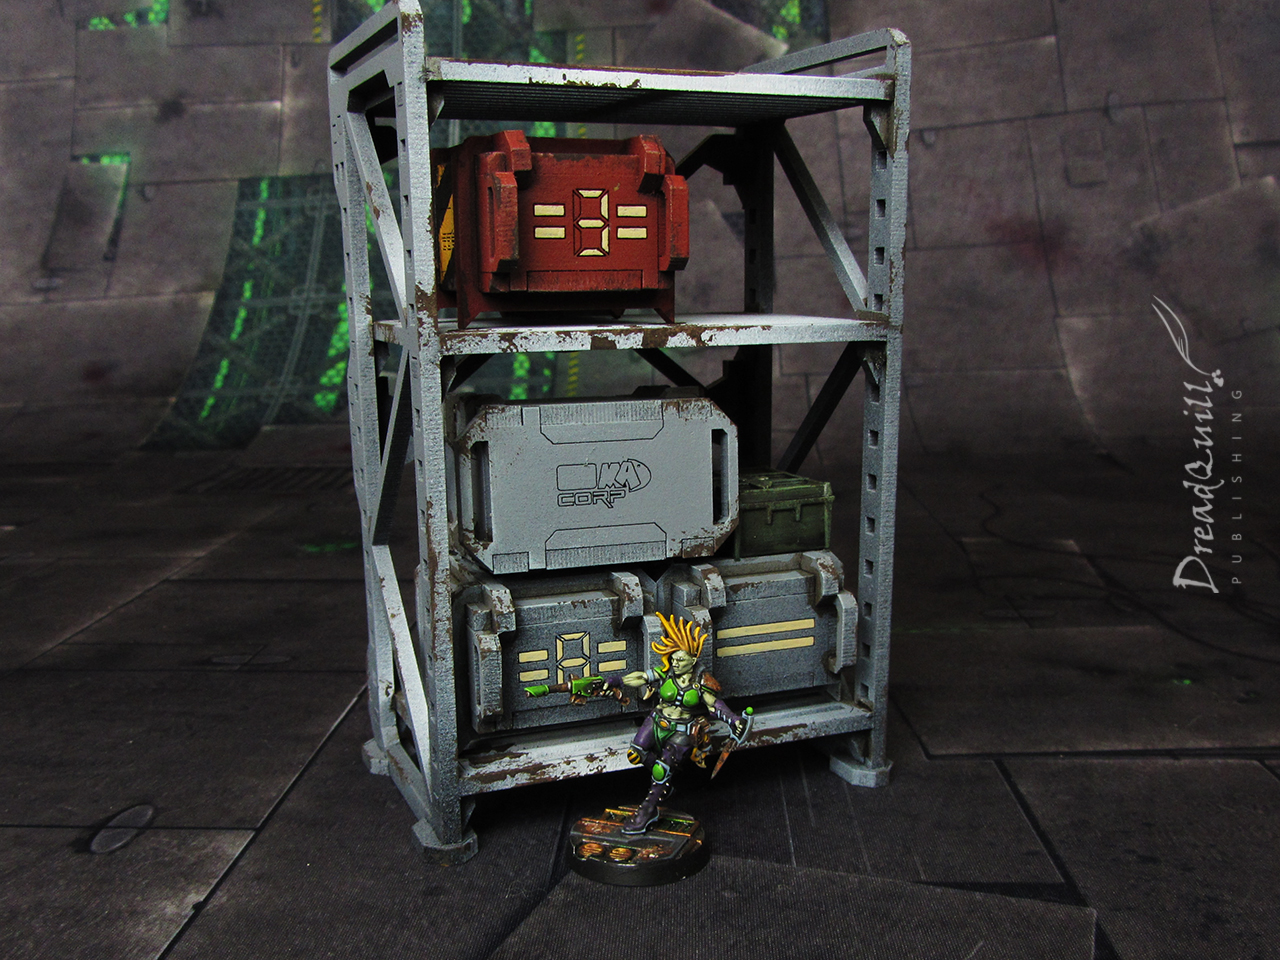
They look great combined combined with the racking, and I’ve got tonnes of other scatter that would look great on these shelves too.

If you leave enough loose crates spare, you can also create a pleasing mess when players inevitably knock them over (accidentally or purposefully).
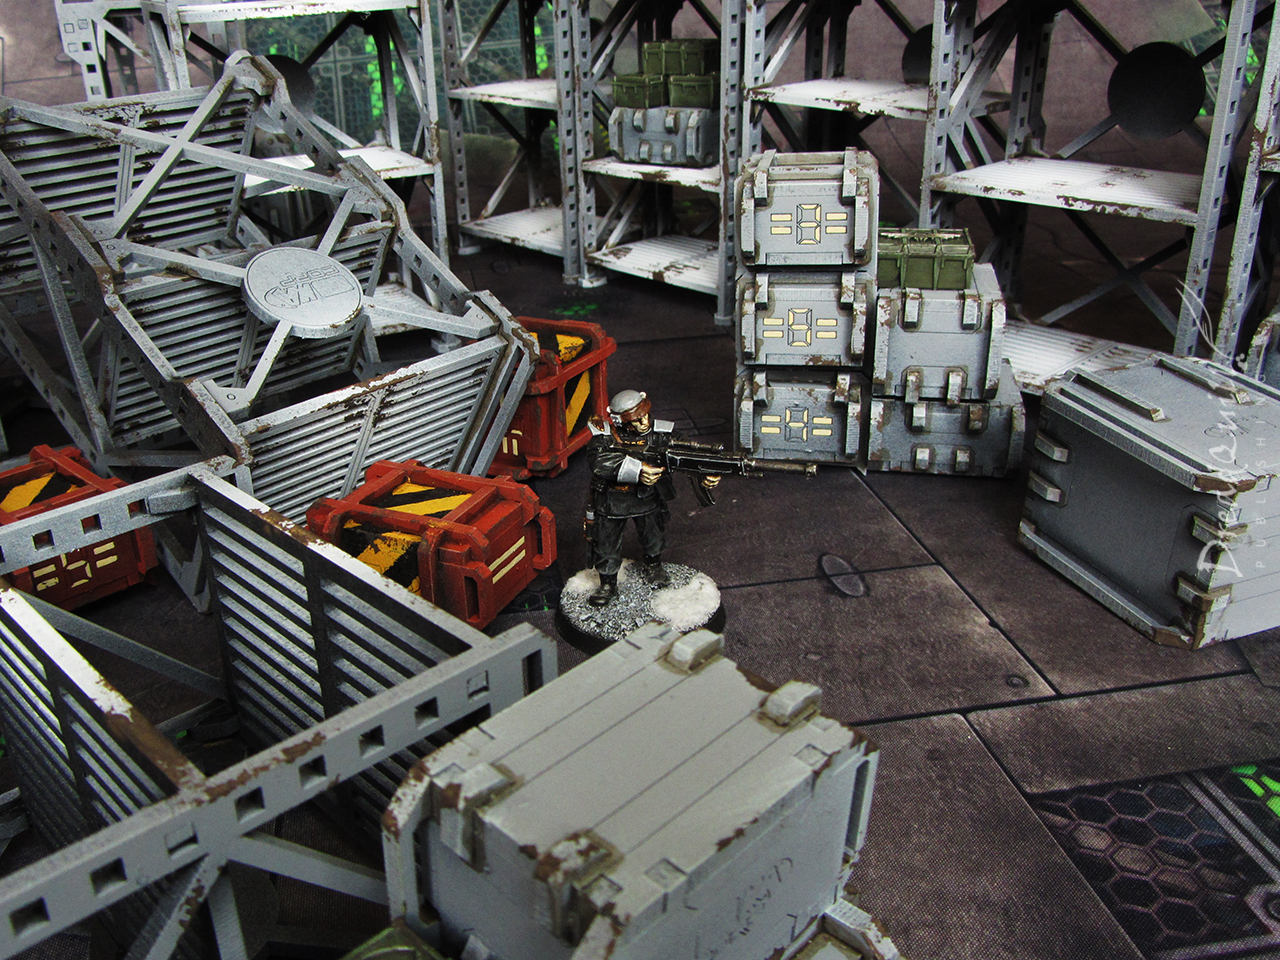
Despite being unreasonably fiddly to assemble, the finished products are also very durable and stack perfectly inside standard-sized boxes (A4, A3 etc). They can be stored without packing with bubblewrap too, so you can fit a big battlefield in a small container.
racking my head for more puns
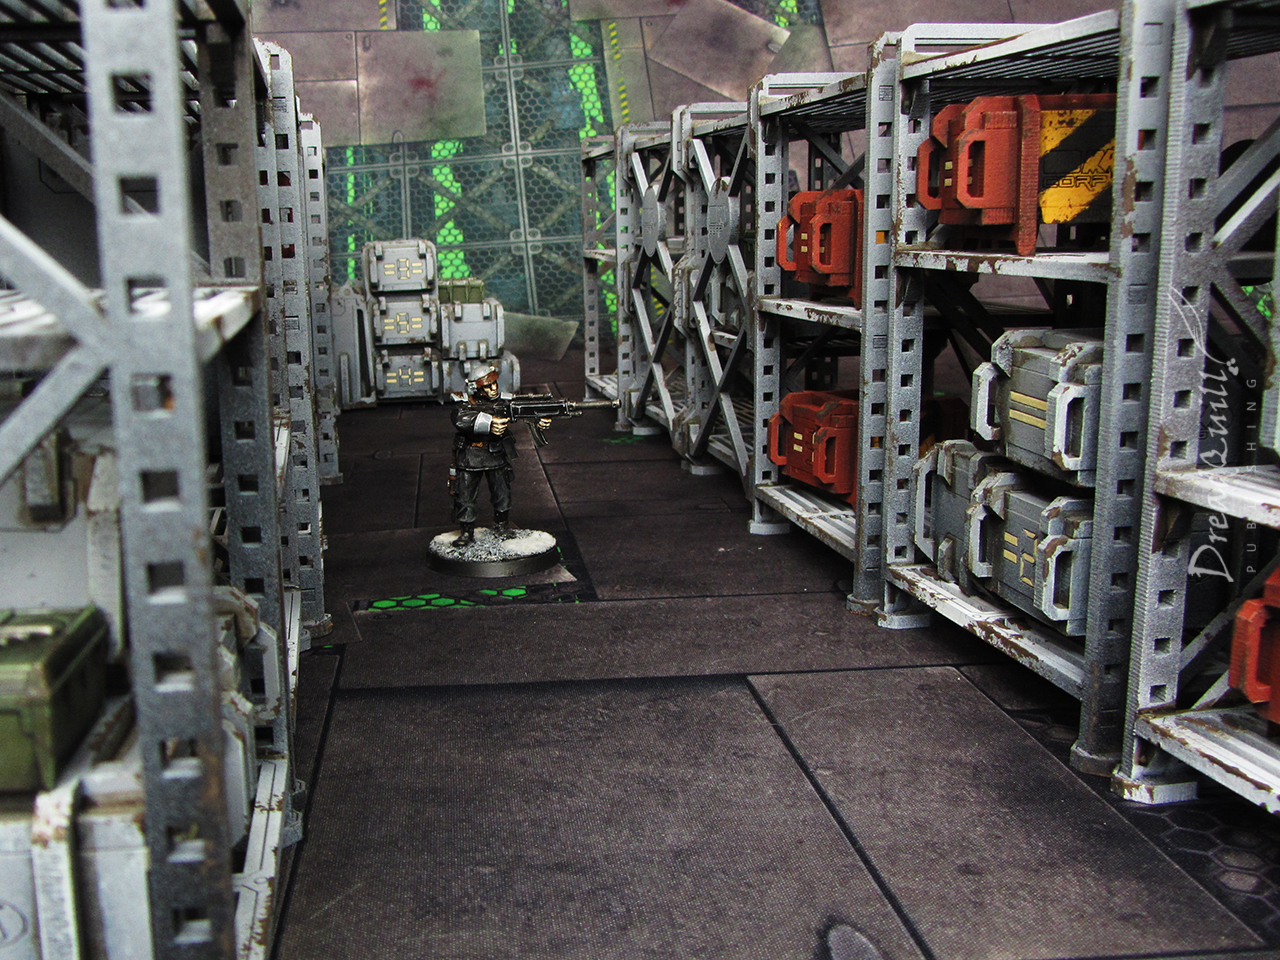
Despite my frustrations with assembly, I would still unreservedly recommend this kit. For Necromunda and other RPG games, I can see these crates and shelves being used as scatter to add flavour. Just be sure to trim down some of the close-fitting parts to save yourself lots of finger pain.
For Inquisitor players however, I can’t recommend how much you need these things in your life. These should be a must-have for anyone’s 54mm collection. The scale is perfect – I’d argue more suitable to 54mm than the smaller 28-32mm counterparts. Warehouses and hangar bays are the inevitable battleground for any investigation, so do yourself a favour and get yourself the best rack money can buy.
Hey there Rob
I love the honest review and I know what you mean with the crates that come with the shelves, they can be fiddly and they are tight to get on. The little pallets were designed so you can add small barrels, again stacking them on and fixing them to the pallets as you see fit this way they are easy to move about and place as you have with your crates. I hope that helps and thank you for the time that you must have put in for the blog post and building the set.
I thought they might be! I’ve got them all in a bag for making smaller warehouse scatter in the future. It’s a lovely set and I’m hoping to have some games on it soon 🙂
Sorry me again.
I hope you don’t mind me using this link so people can read what you written about the Bundle you purchased.